
The $30 3D Printable Scanner Review
![]()
CowTech 3D Scanner
 |
The CowTech Ciclop is a scanner with a large scan volume, simple, yet elegant design, and a $99 price point that blows any other laser scanner out of the water. The user prints the plastic parts on their own printer in any color and resolution they choose, and can assemble the scanner in less than 30 minutes. Then, simply take any object you want to replicate, set it on the 200mm laser cut acrylic turntable, and start scanning. |
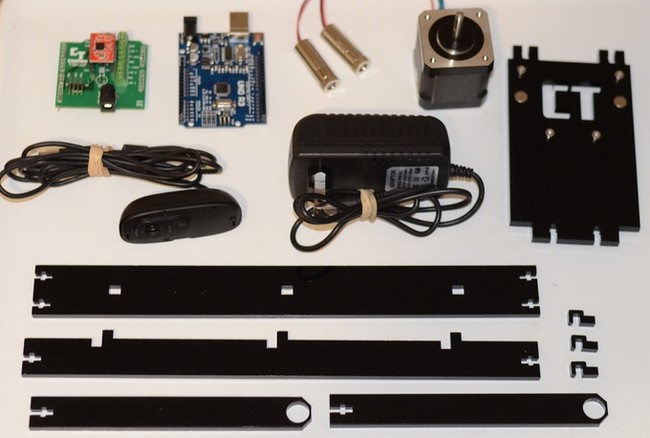
This is what you get in the kit, the rest you need to print yourself!
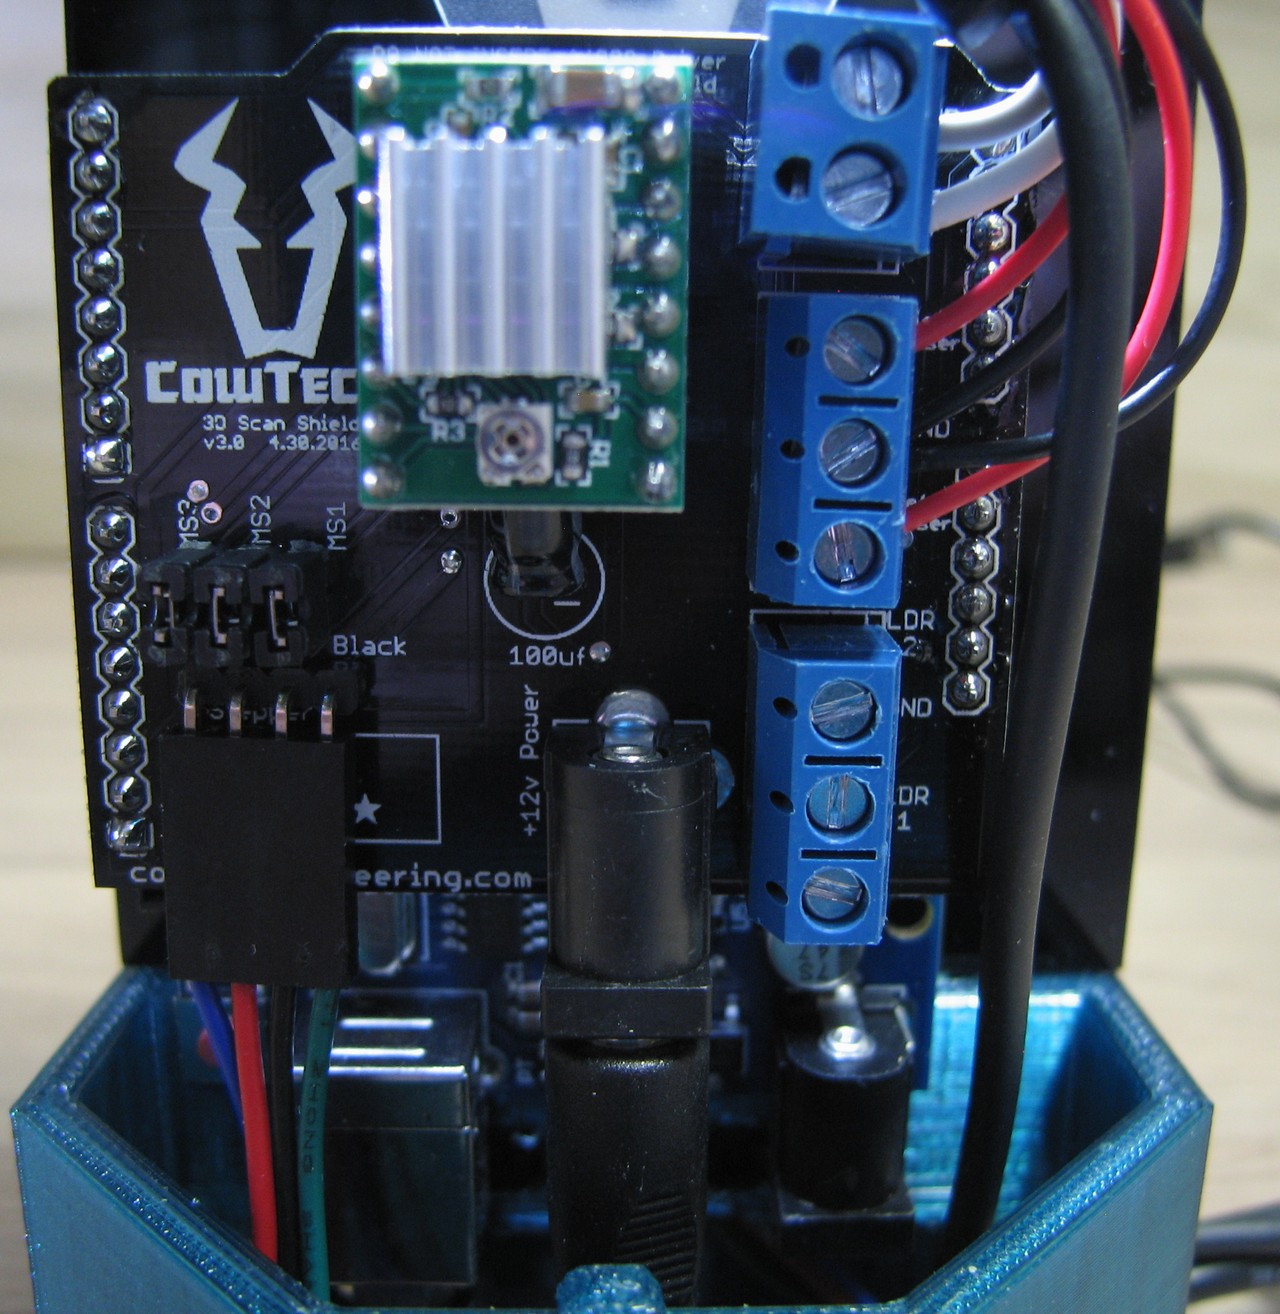
Once the circuit boards are assembled they will look this this (click to enlarge).
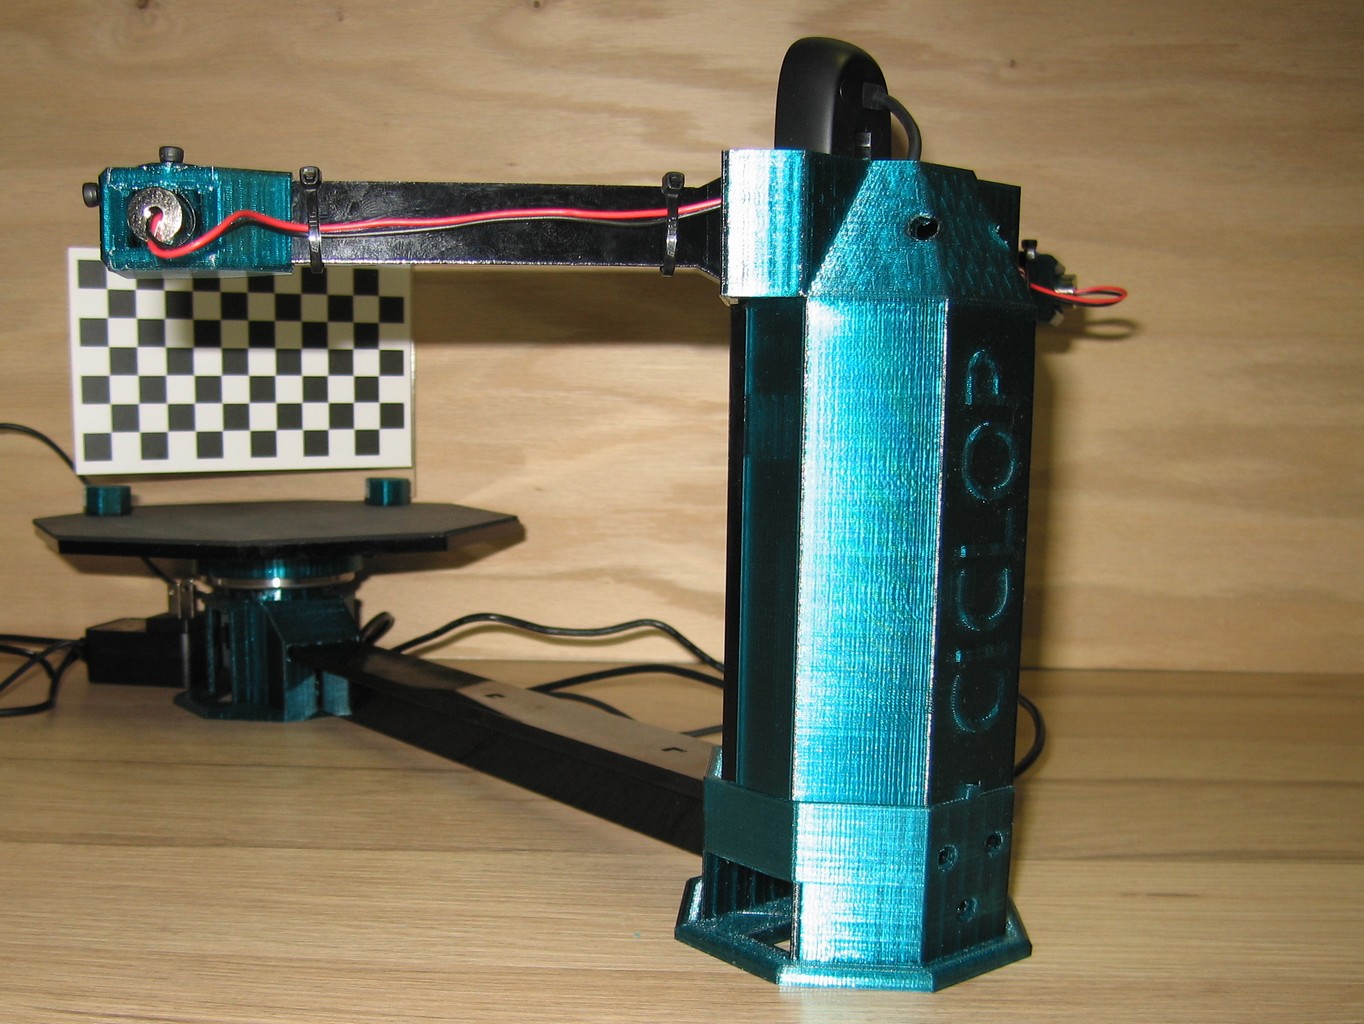
Finished scanner from the scanning table (click to enlarge).

View from the side (click to enlarge).
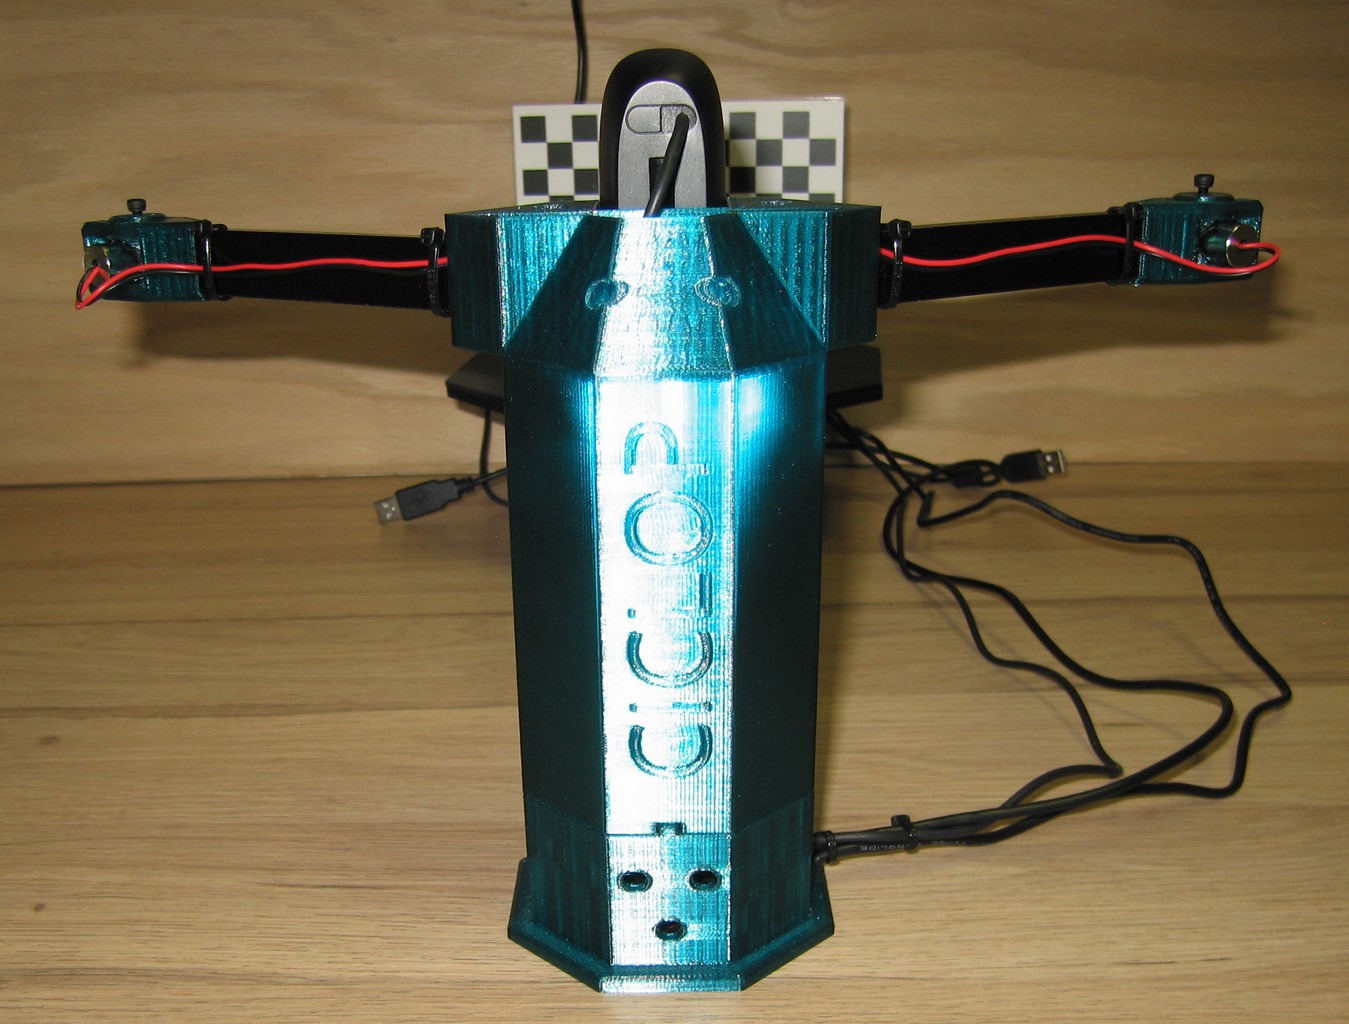
view form the rear (click to enlarge).
Windows 10 Anniversary update has changed how web-cam drivers access the system so until Logitech or Microsoft fixes the issue I can't scan anything.
Update April 20 2017
After the creator's Windows 10 update I tried the scanner again it works, I can complete a full scan now.
Calibration Woes, these scanners are really finicky and the calibration process is a long one. I had to re-organize my work area and install more lighting just to get the required "Rainbow lines" on the "Checkerboard Target". Rainbow lines are a pattern that shows along the Checkerboard Target in the Horus scanning program during set-up and ideally these should remain showing as you turn the target away from the camera to at least a minimum 45 degree angle in both directions. Lighting is the key here and it's difficult to keep the light even enough to get the same amount of light this step.
The next step is to calibrate the two lasers this involves adjusting the laser focus as sharp as possible and keeping the lines as vertical and in the proper plane of coverage on any object place on the turntable. Also you need to fiddle with settings to get the best reading possible on the target and your object. If you wish to view the actual set-up instructions click Here
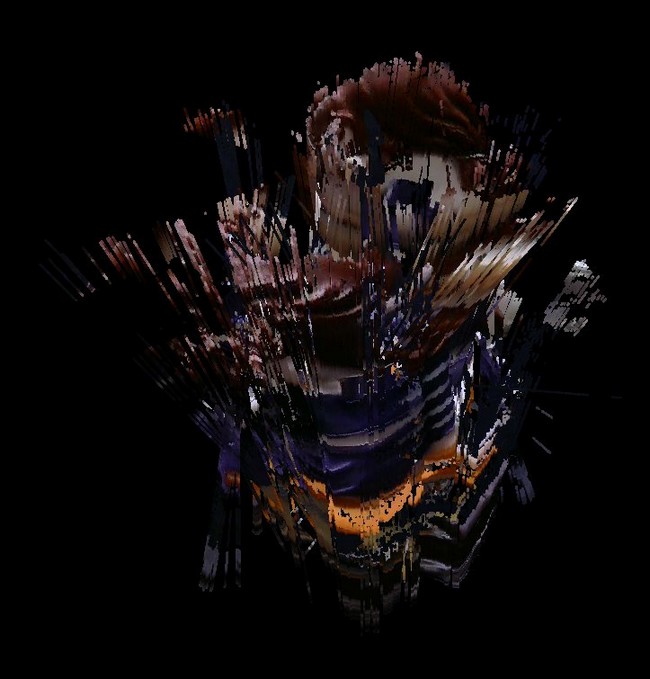
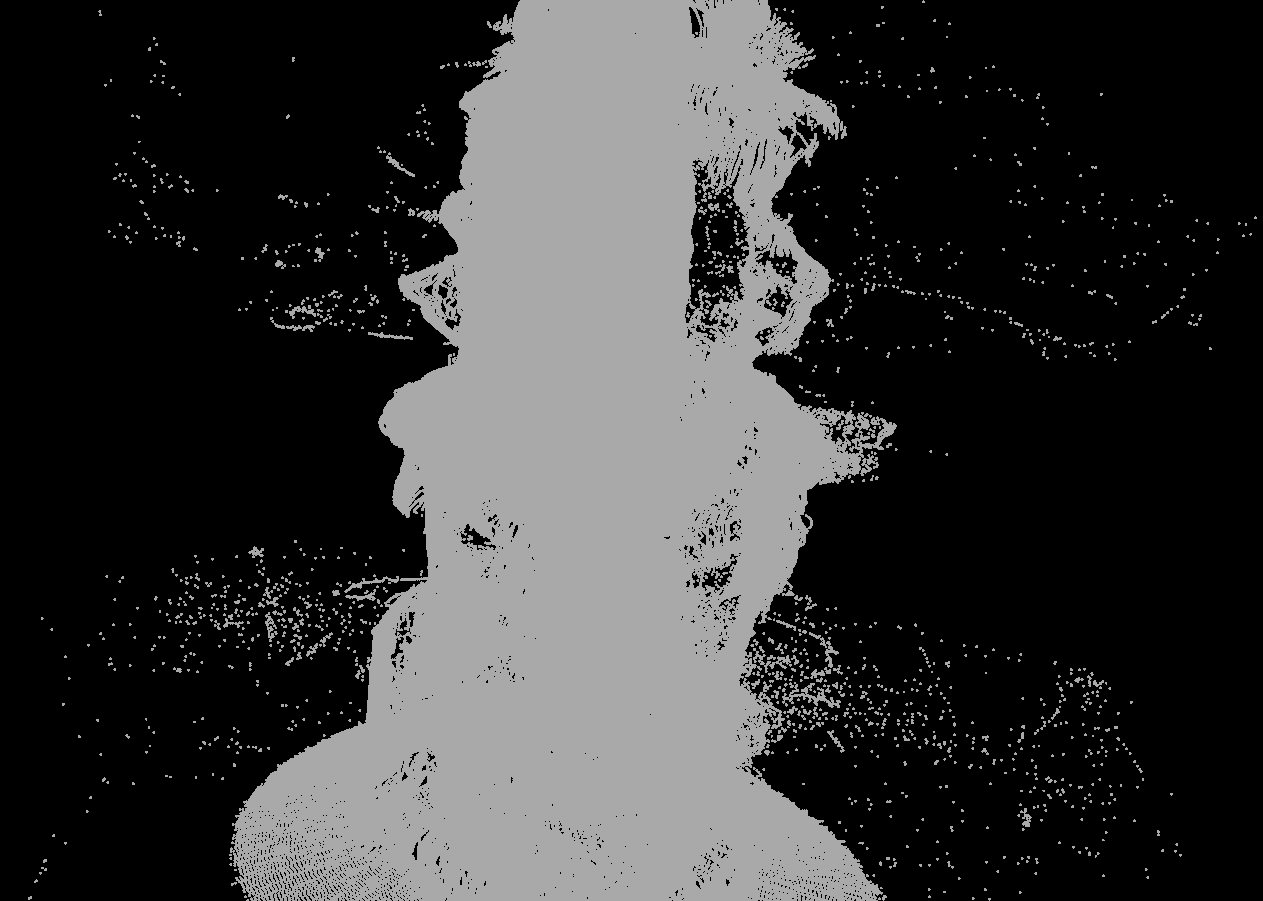
After many many hours of tweaking adjusting and visiting help forums I managed to capture the following 3D scans. I read the forums and tried some things mentioned but the scans below were as close I was able to get to a a good scan the last one is just the lasers (no texture) click to enlarge.
|
3D scan using lasers only |
What it was actually scanning |

Compared to the scans I have seen on youtube using the scanner this one is based on I have no idea why mine are so bad compared to those. I did a lot of reading and everyone has calibration woes so I keep adjusting and trying again with various setting changes.
Keep in mind that if the object being scanned is convex/concave it messes with the lasers, also holes or openings causes issues. The object also can't be to dark or too reflective as the lasers won't be seen correctly. This does impose an interesting set of limitations and perhaps the objects I was scanning fall outside of the ideal objects to be scanned.
I can't really recommend this type of scanner to anyone at this point. I have a pretty good track record at figuring this type of stuff out so If I still can't get any good results it means the product/software is defective or it's really just that way too difficult to use and calibrate. I figure between reading forums and fiddling with the scanner settings and calibration I have easily but over 100+ hours into getting a proper usable 3D scan. I will keep trying things but for now this project is sitting in the closet collecting dust!
| I really can't suggest getting any of these laser type 3D scanners when a much cheaper and better 3D scanner is available for less than $30. Assuming you have a Phone with a camera and 3D printer (or patience). Click the image to see the review or click Here. | 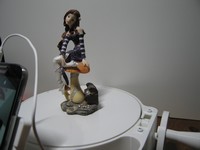 |