
The $30 3D Printable Scanner Review
![]()
e3D BigBox Printer Build and Review.
The BigBox is a no-compromises, high specification 3D printer. It combines immense print resolution, huge print volume and an extrusion system capable of almost every material on the market. Presented in a neat, clutter free package with an easy to use toolchain. Two renowned companies in the maker scene have teamed up to bring a whole new experience of 3D printing. E3D and LittleBox have 15 years of 3D printing experience between them and have poured that know-how into designing a 3D printer that meets the specifications that they demand in a 3D printer.
Like a lot of products this one started on 'Kickstarter' I was not able to purchase mine from that successfully campaign but I was able to Pre-order direct from the BigBox website. Now pre-order has a strange definition as you need to pay the full purchase price then wait patiently until they deliver the product which in my case took several months I Pre-ordered mine on Feb. 3/2016 and it arrived on May 26/2016 (fours months). I admit they were in the middle of trying to ship printers to all the Kickstarter backers (and were perhaps a little disorganized) hopefully after the back-log has been shipped out wait times will actually be in the 4 week range mentioned on the pre-order page!
The printer can be ordered in several configurations and in the middle of waiting for my order they released the 'Titan' Extruder $75 (£45) which meant I had to spend some more money to include it as an upgrade to my purchase but since the printer hadn't shipped yet I at least had no extra shipping costs.
I purchased the BigBox-Pro-kit $ 1500 (£895) and upgraded to an Acrylic frame $165 (£99) added the Octoprint upgrade $125 (£75) and lastly decide to purchase the slicing software package with Simplify3D $160 (£95). in case you weren't adding that up it comes to just over $2000 and remember this is for the parts only it's like Ikea 'some assembly required' but with a lot more parts!
Now you can order this printer completely built and tested but it adds $750 (£450) to the price and due to the fragile nature of Acrylic will only ship it with the plywood frame.
They do have a few different versions but the main difference is the option for using two extruders at the same time, mind your it can be added later to the BigBox if desired. You'll need a few parts and a firmware upgrade but it can be added. The single best feature is the open-source nature of the printer almost any modification can be made or parts added changed as you want you just need the time and parts (which usually can be found almost anywhere). If you want you can actually download all the plans and print your own 3D parts and source the other parts needed all available from Here
Assembly took me over 80 hours, to be fair I had some issues with parts and the Assembly instructions along the way but with help from e3D and the forums was able to build a fully functioning printer (more on these issues later).
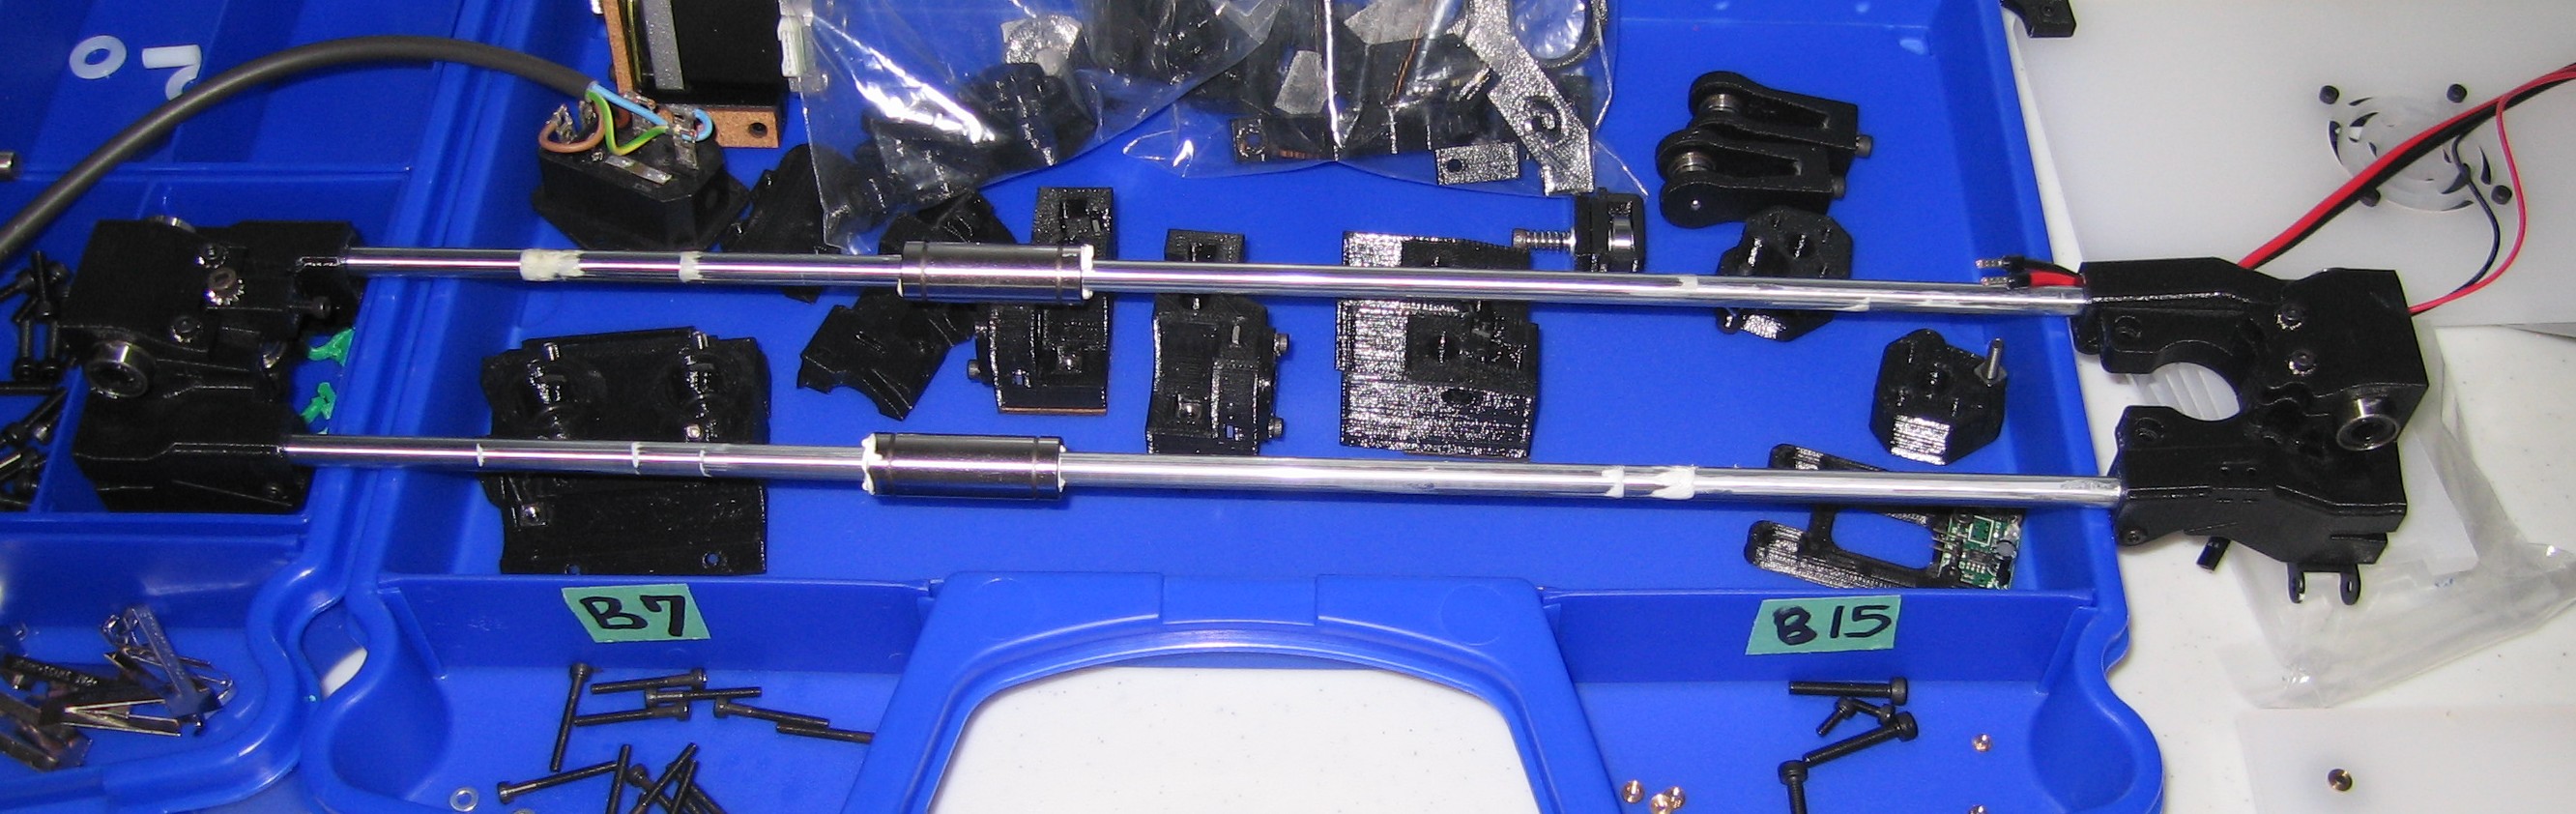
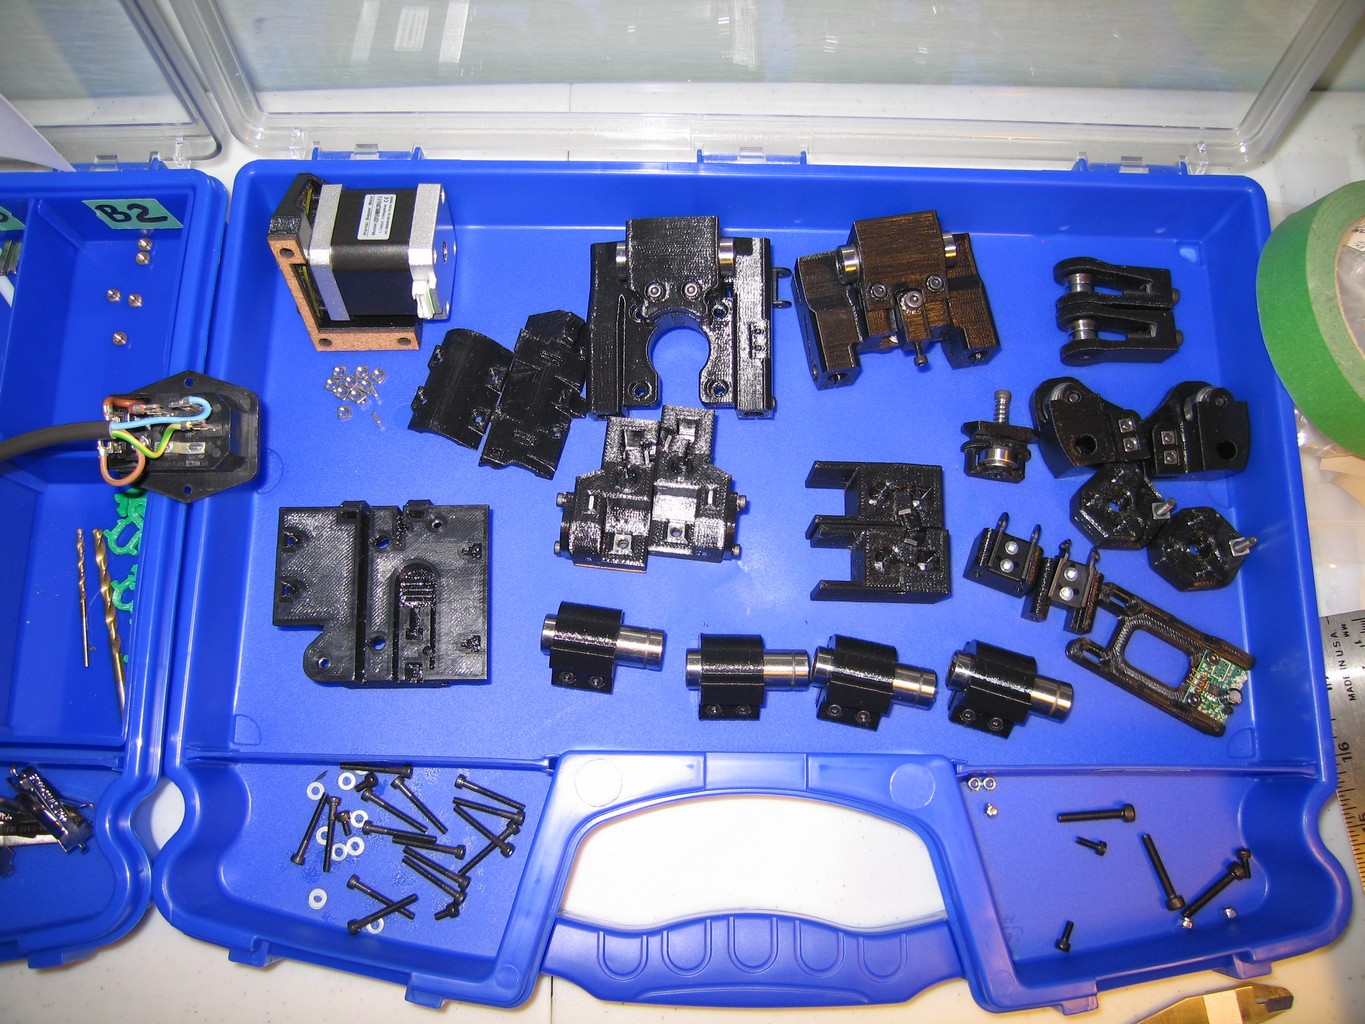
Lets start with a gallery of the parts that I actually got to assemble the printer.
You can click on any picture to see it larger size.
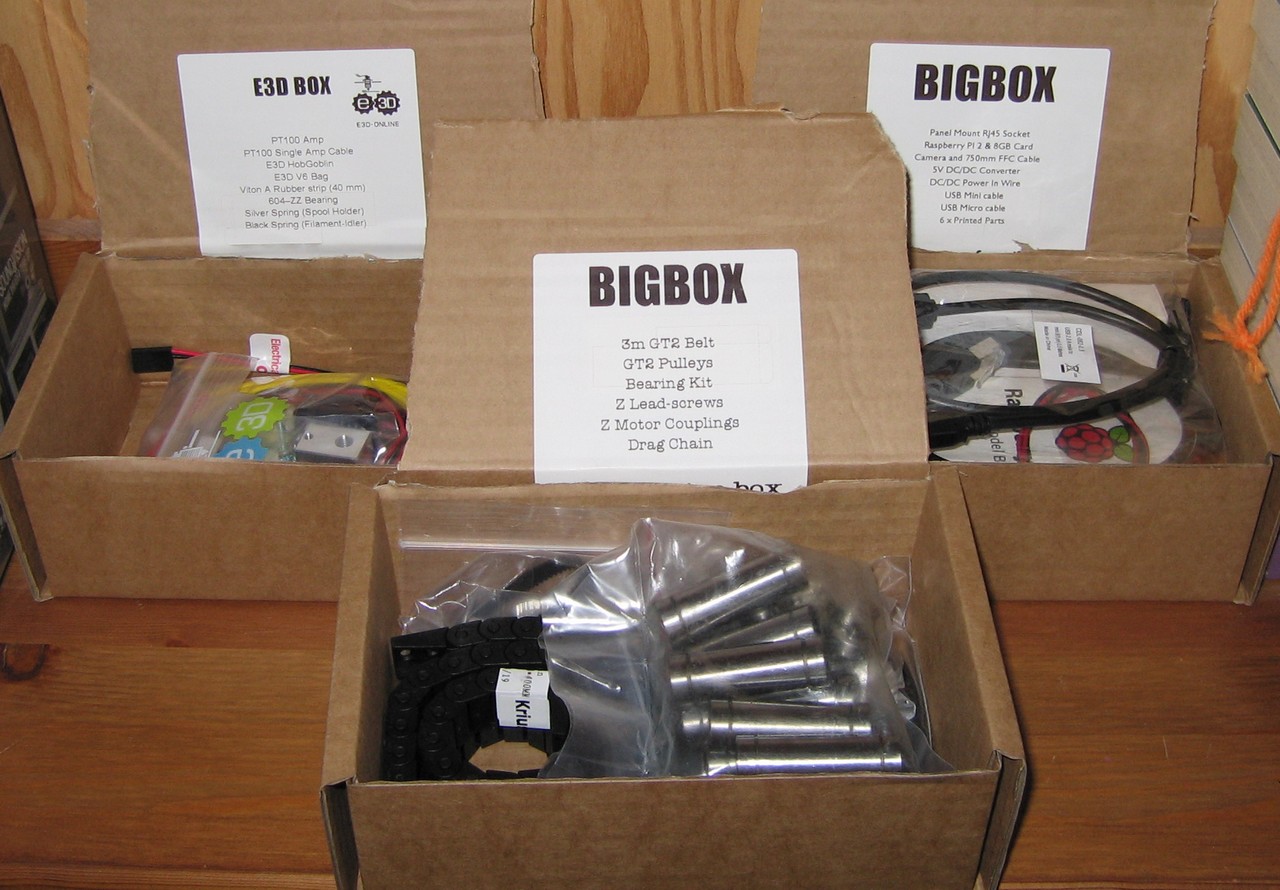 Bearings, Octoprint and e3D V6 |
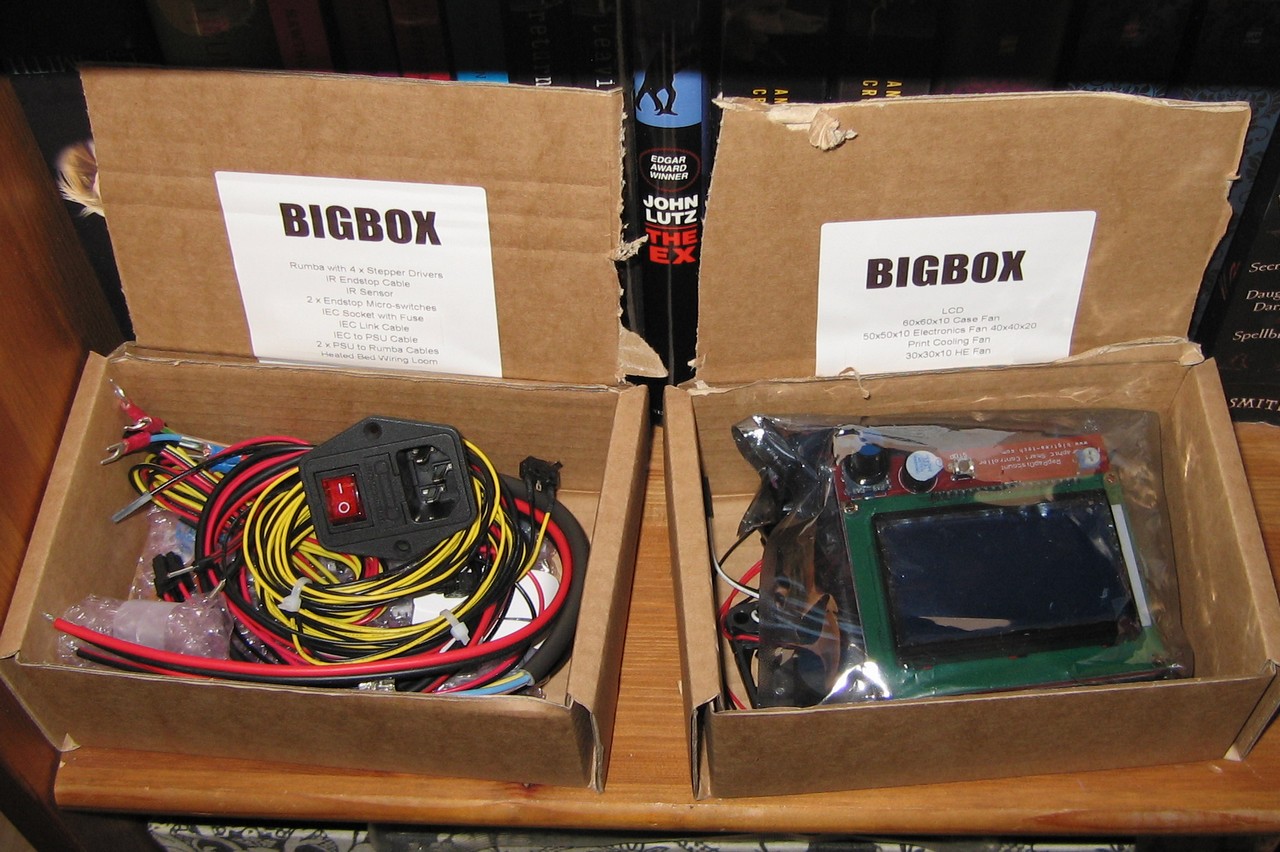 Rumba, LCD and Power |
 Stepper Motors and Rods |
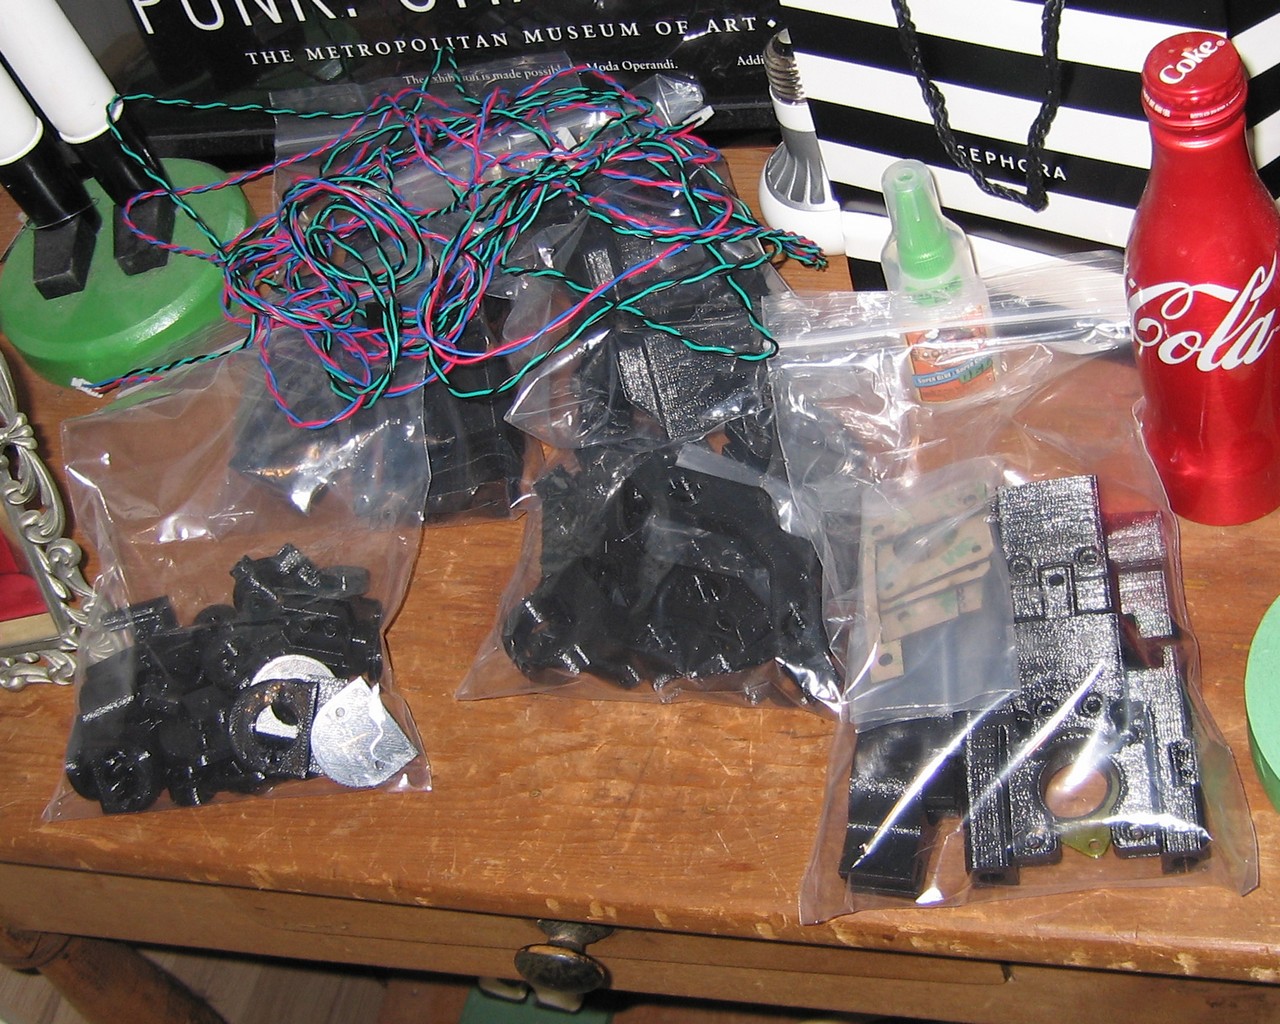 3D Printed parts and wires |
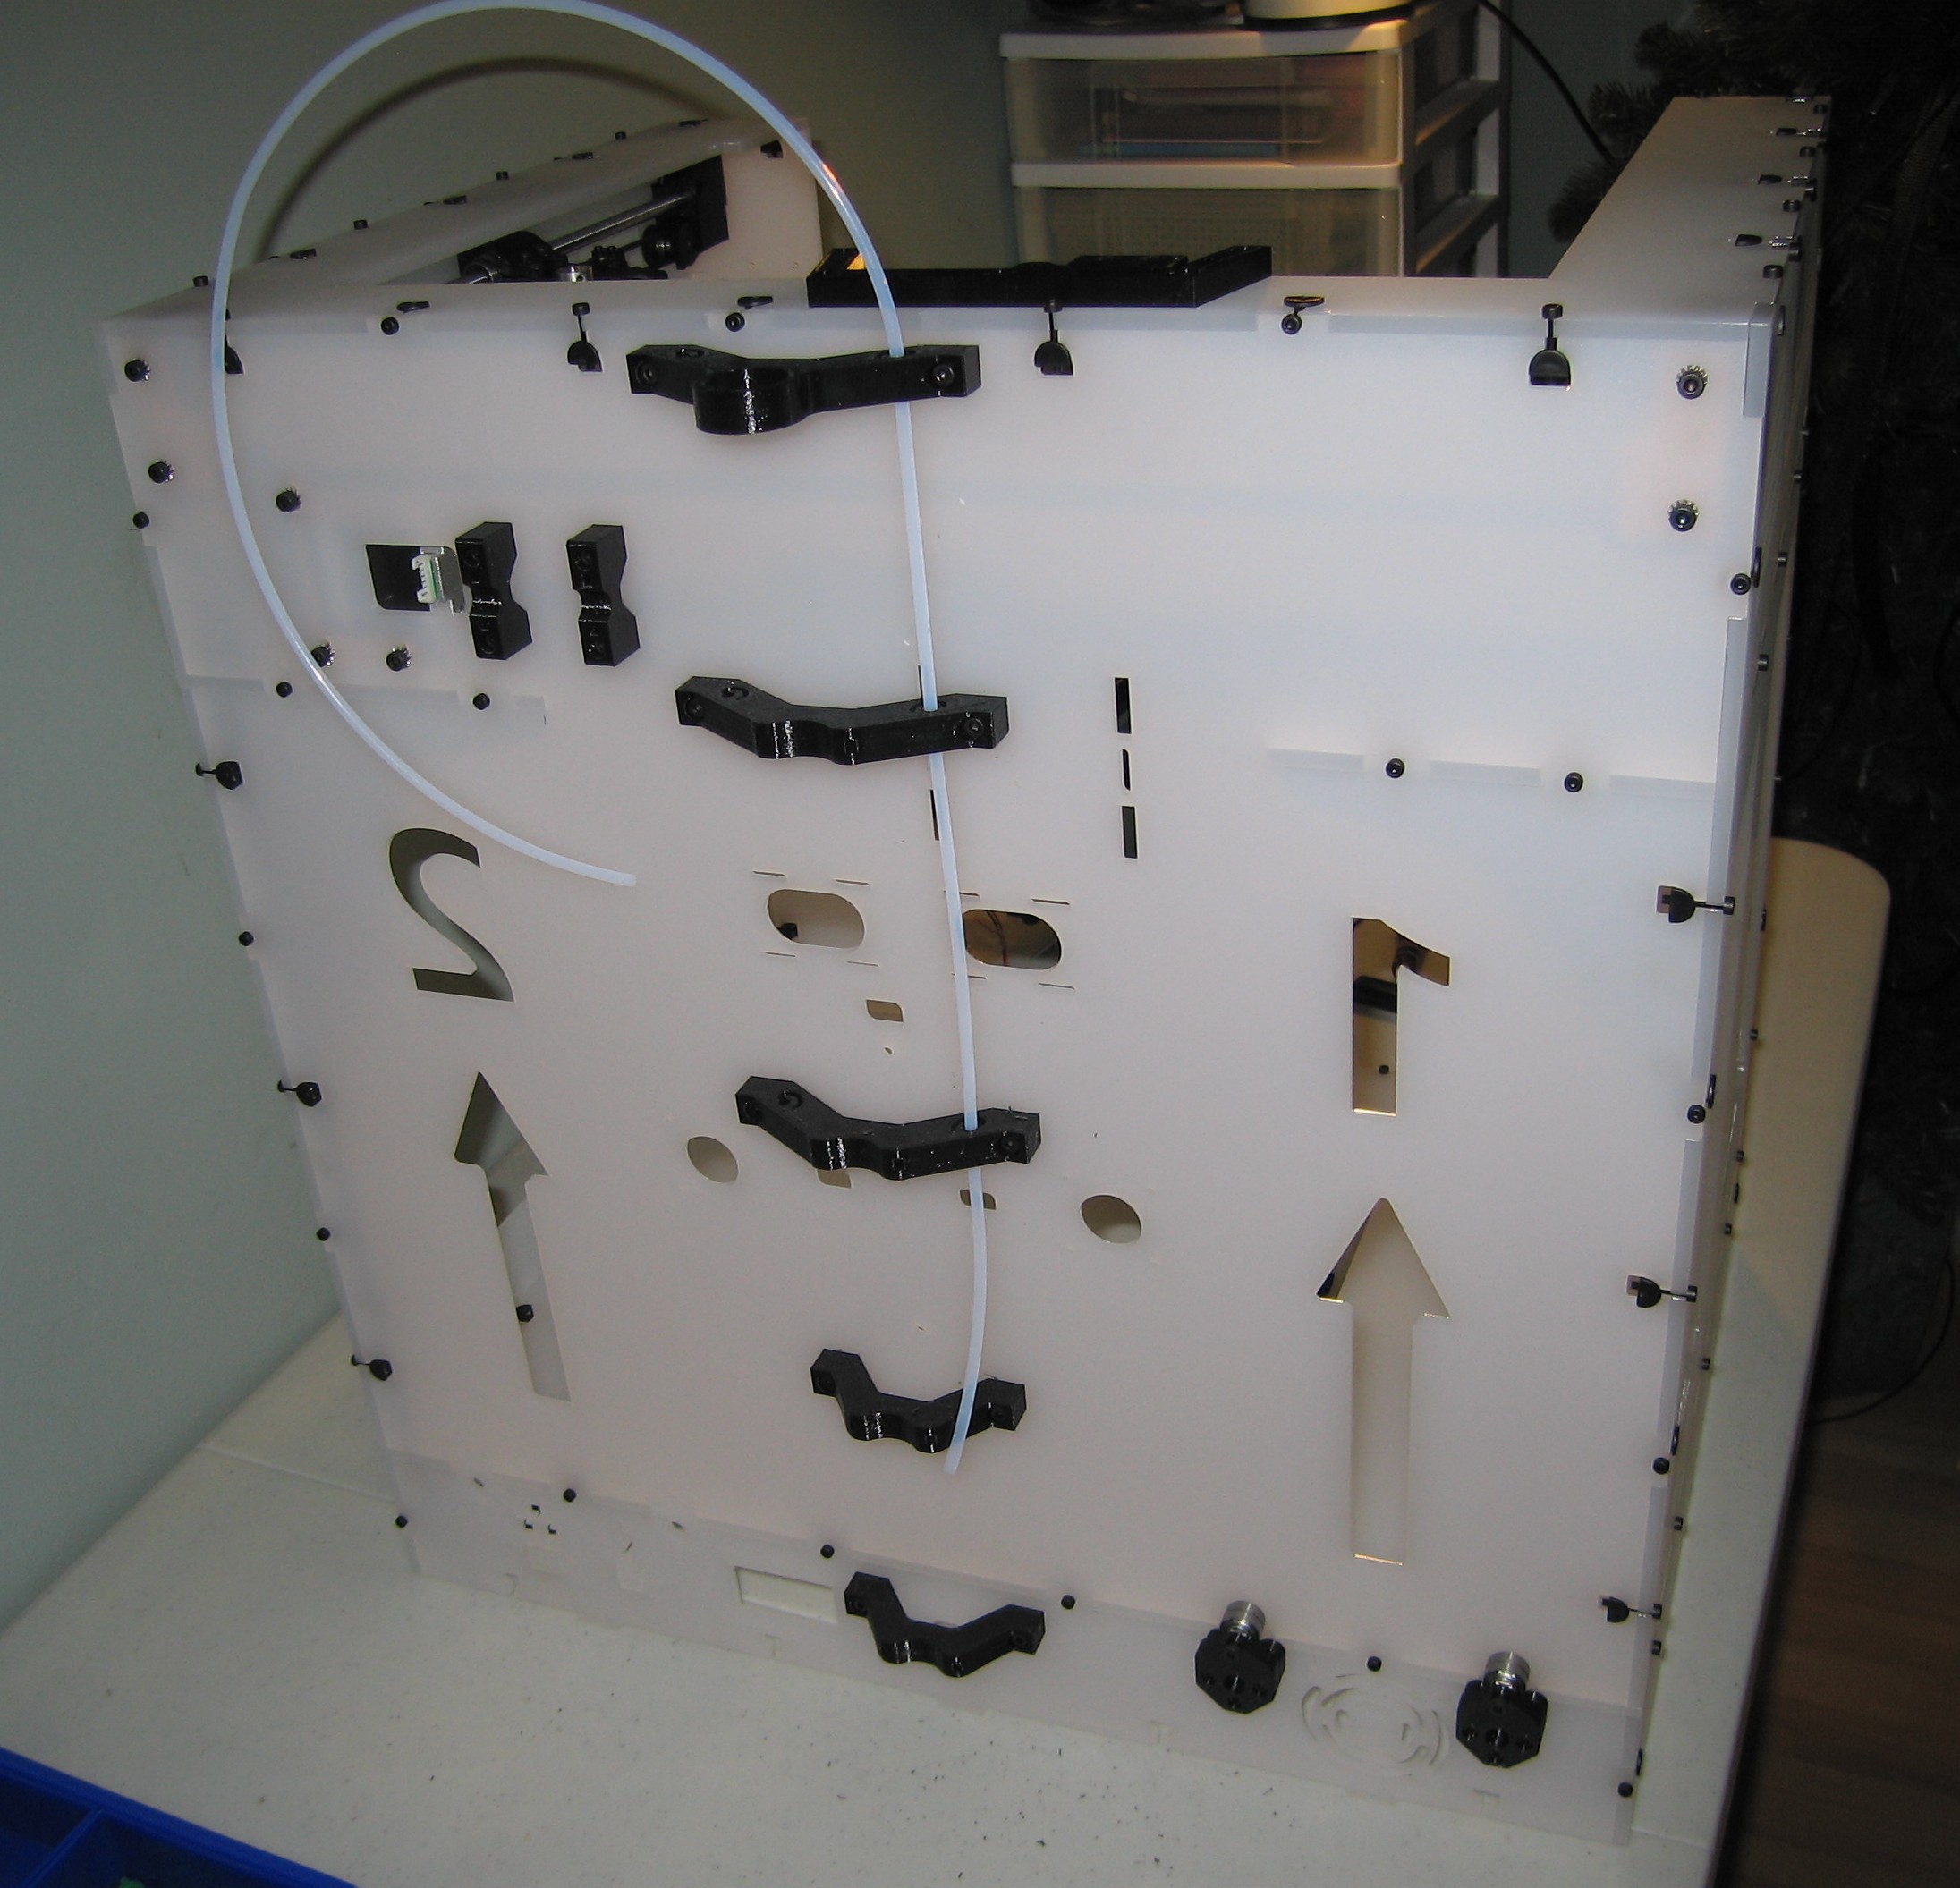
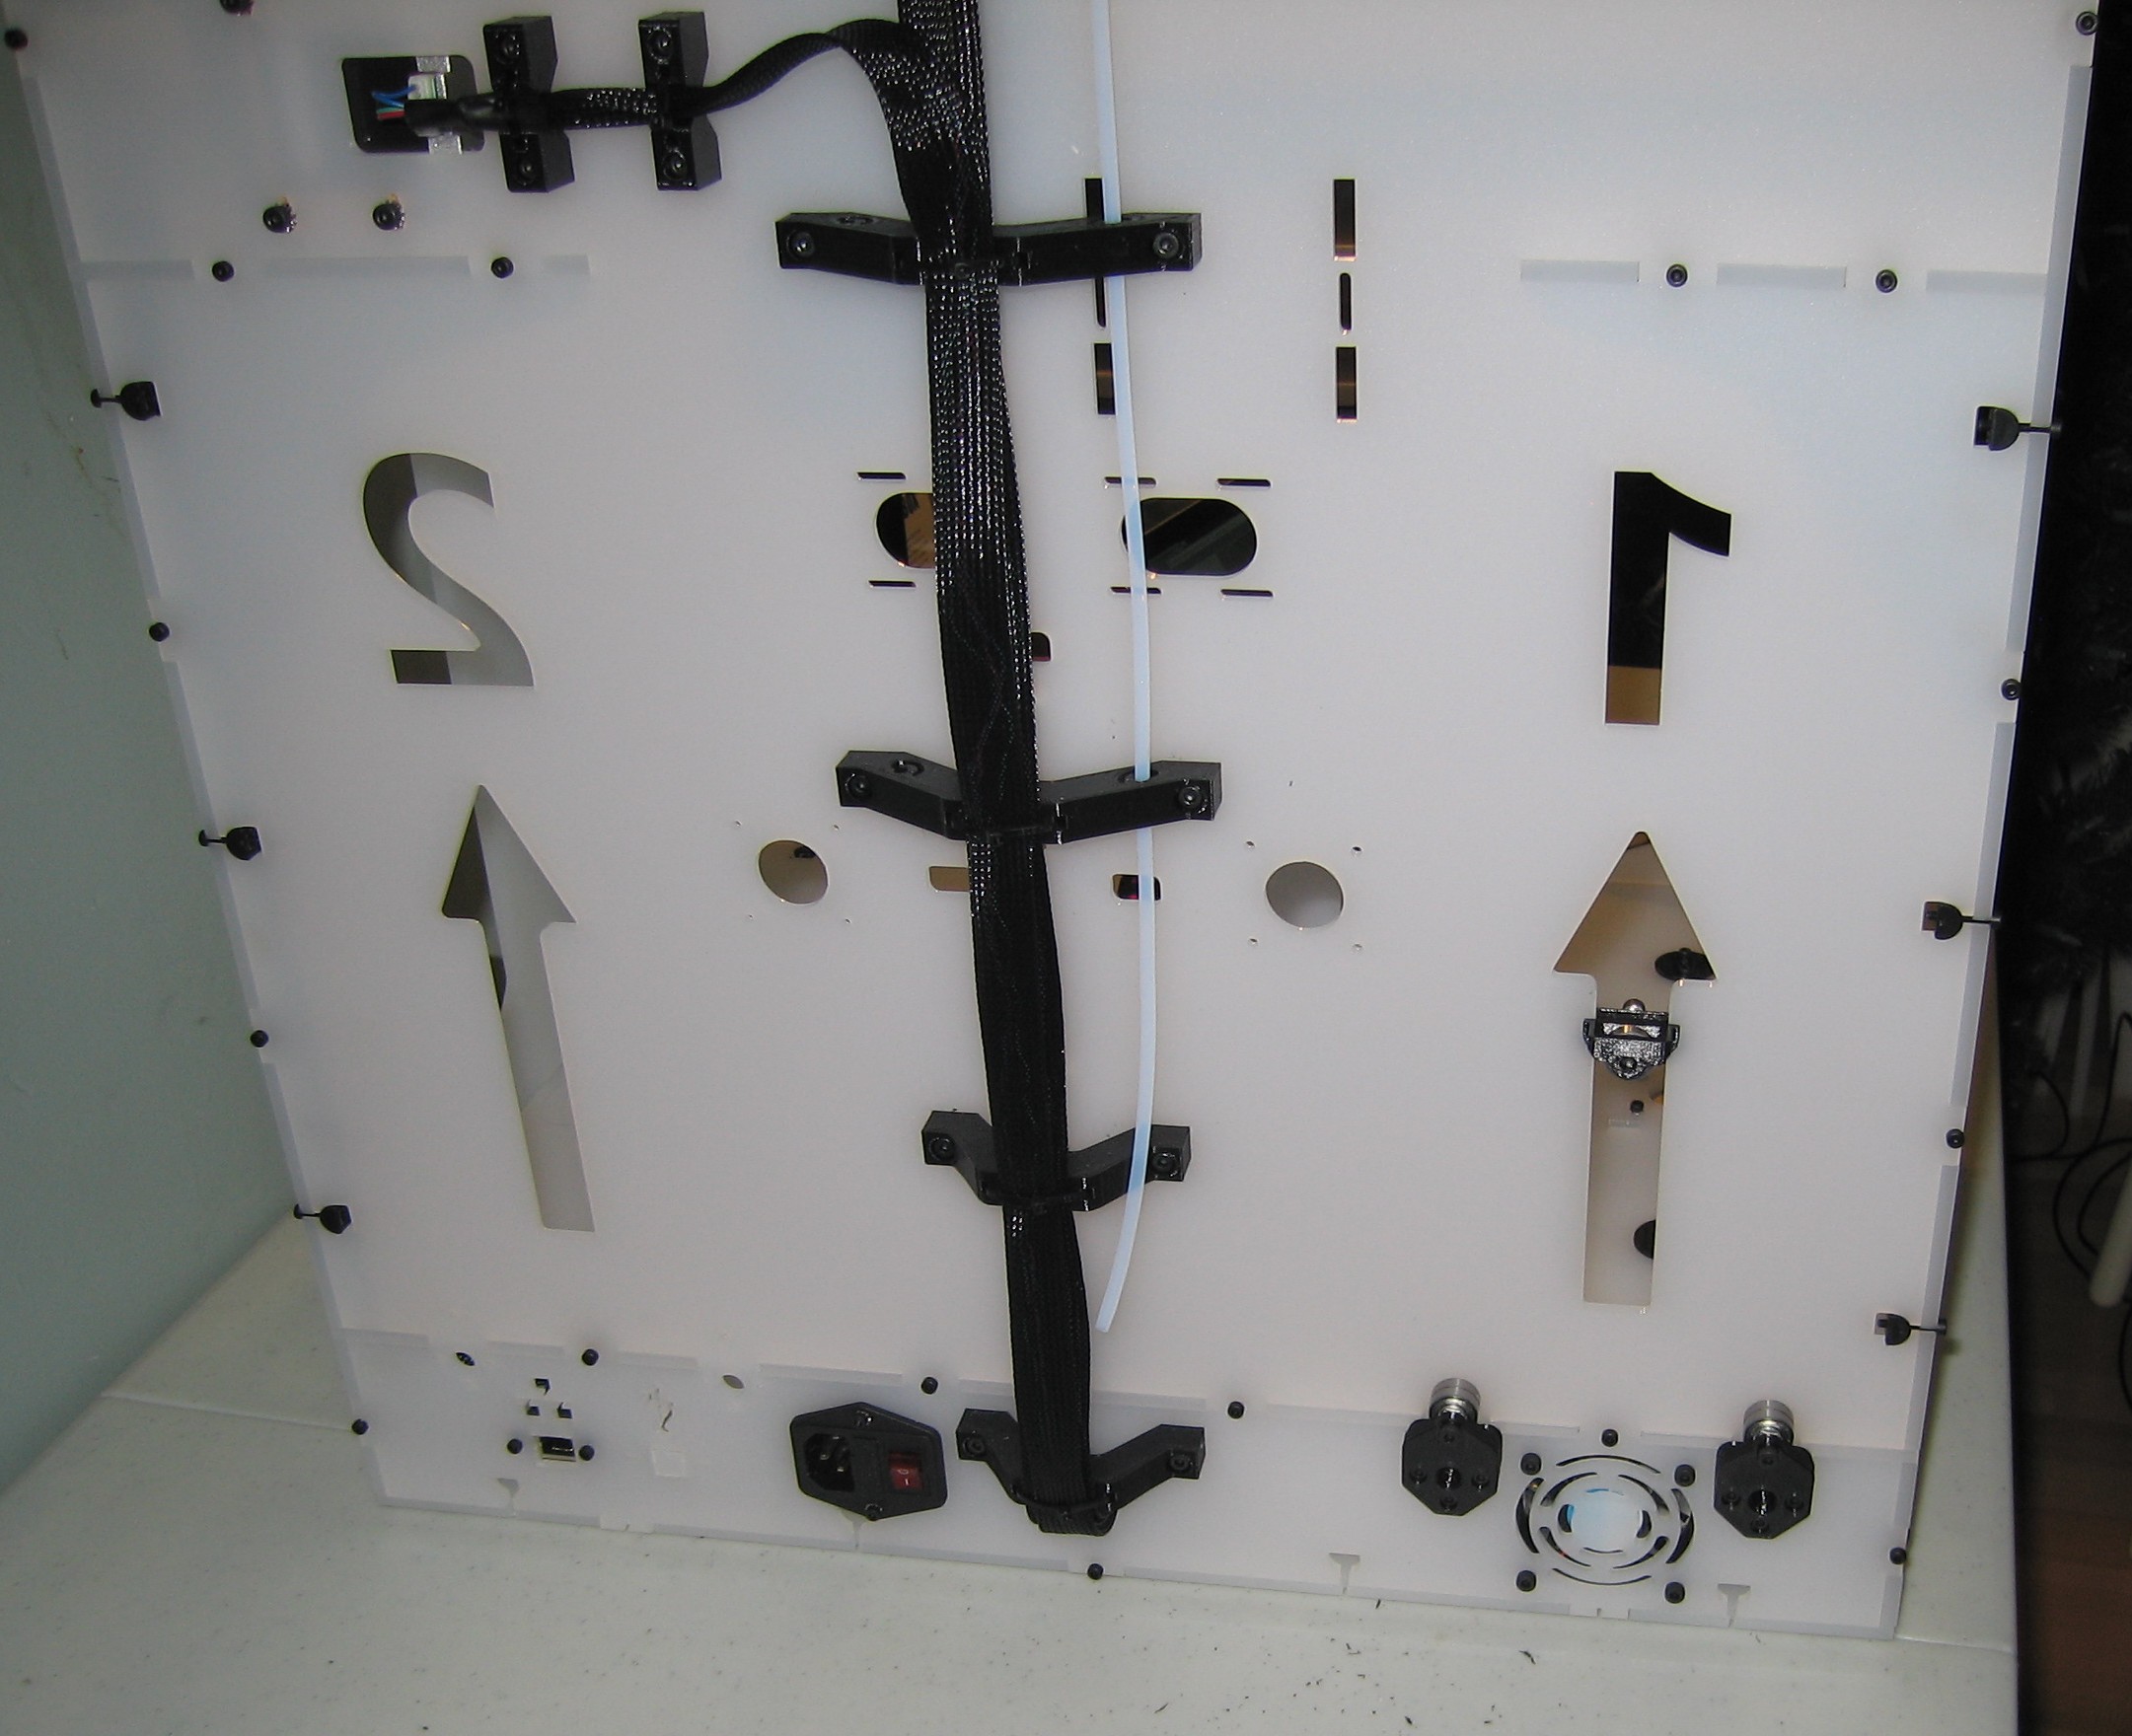
 Acrylic frame pieces |
 lots of nuts and bolts |
 more nuts and bolts and stuff |
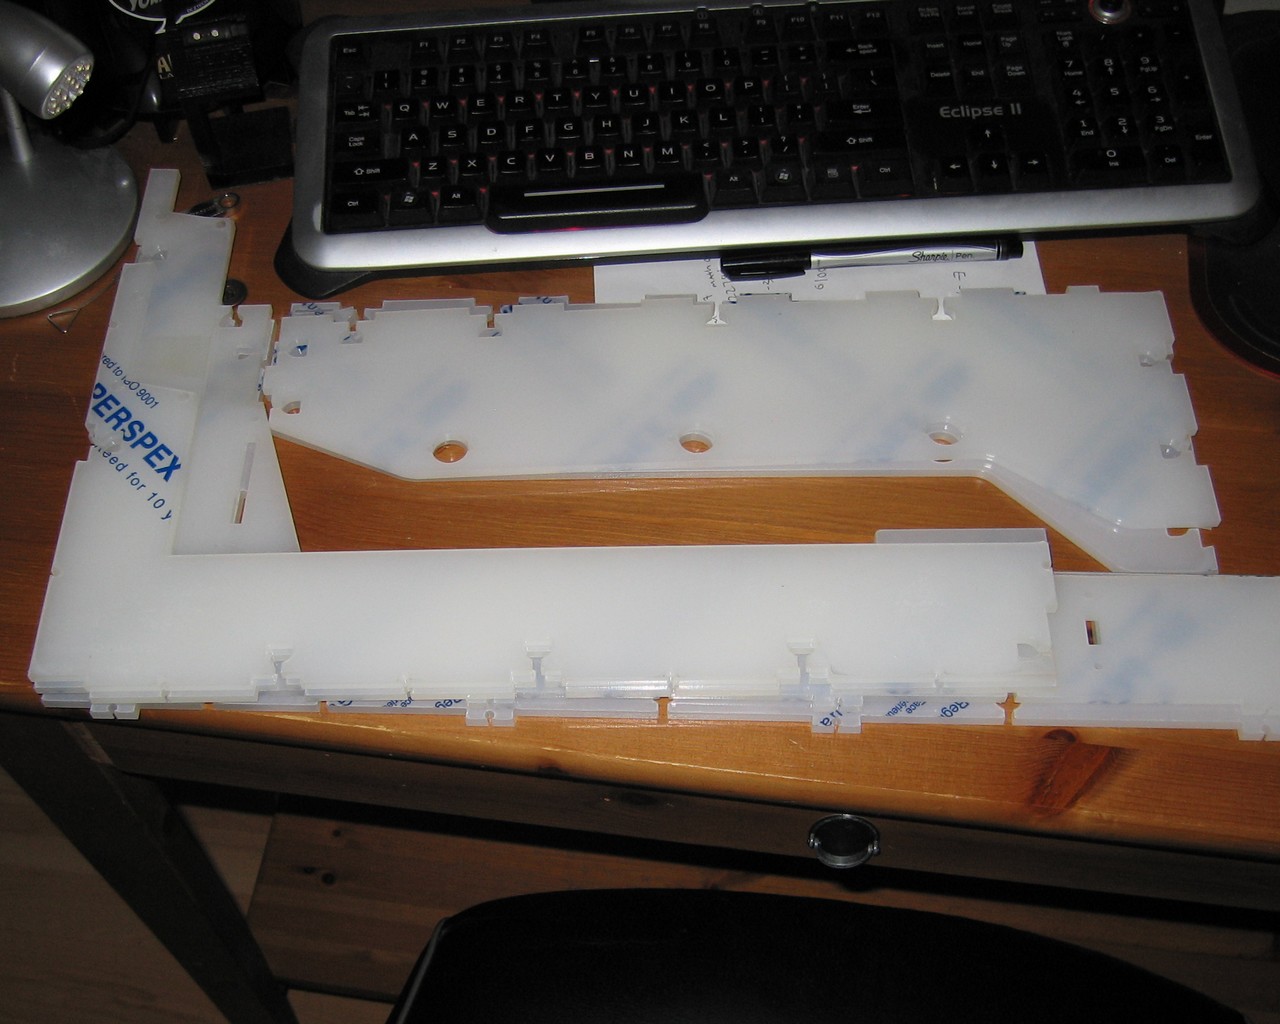 more Acrylic frame parts |
 and more Acrylic frame parts |
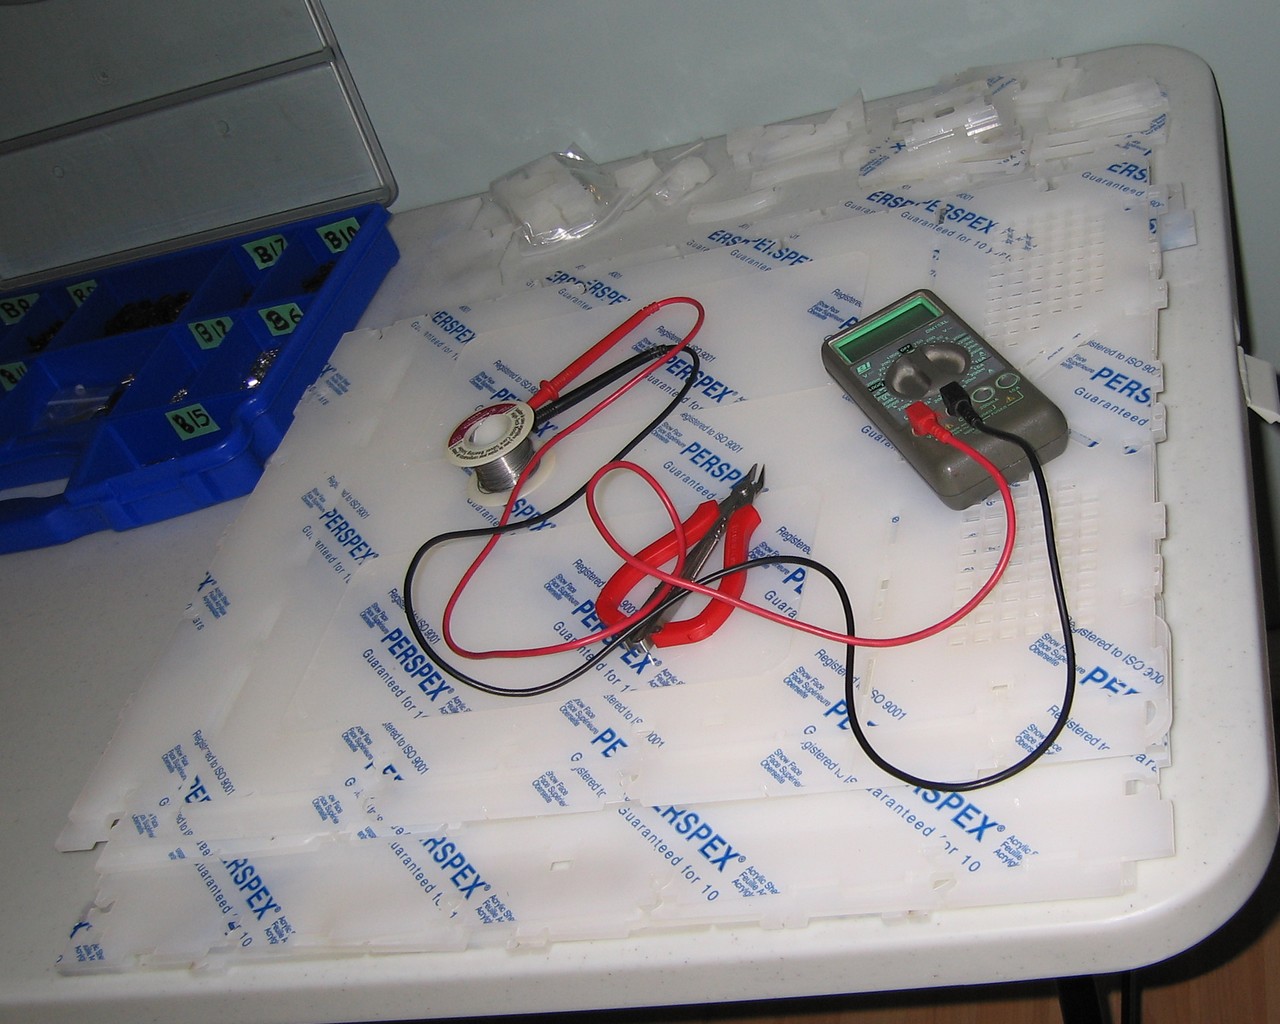
I used a portable folding eight foot table to put all the parts on and they literally covered the entire table!
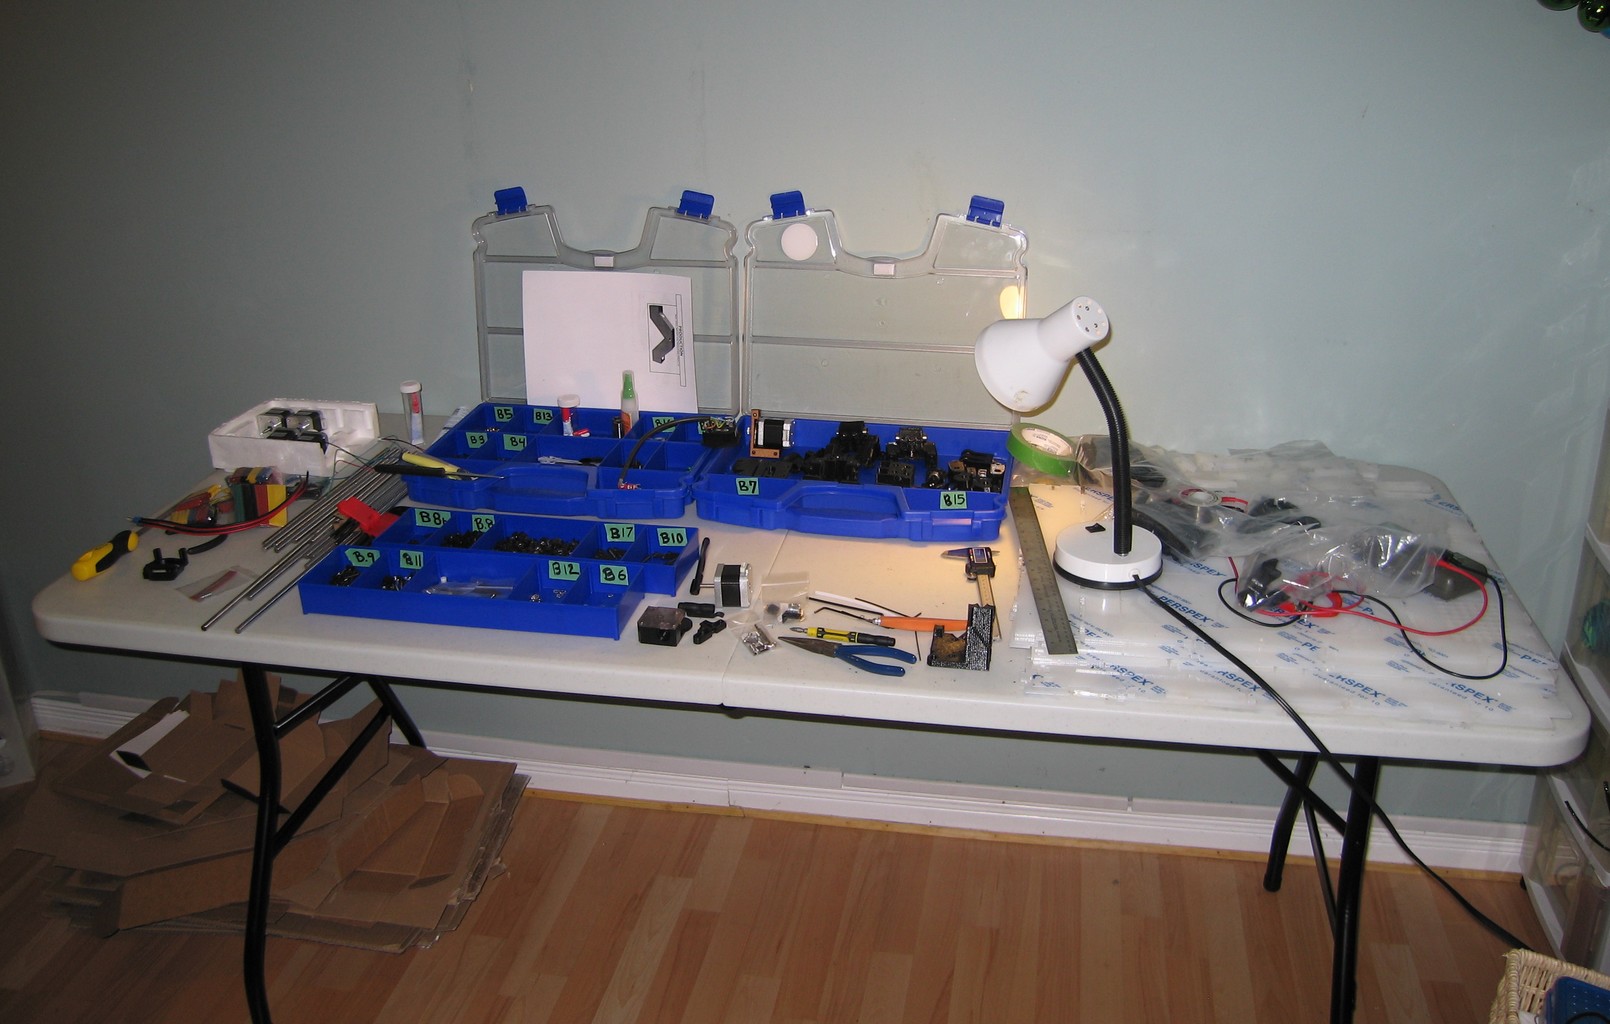
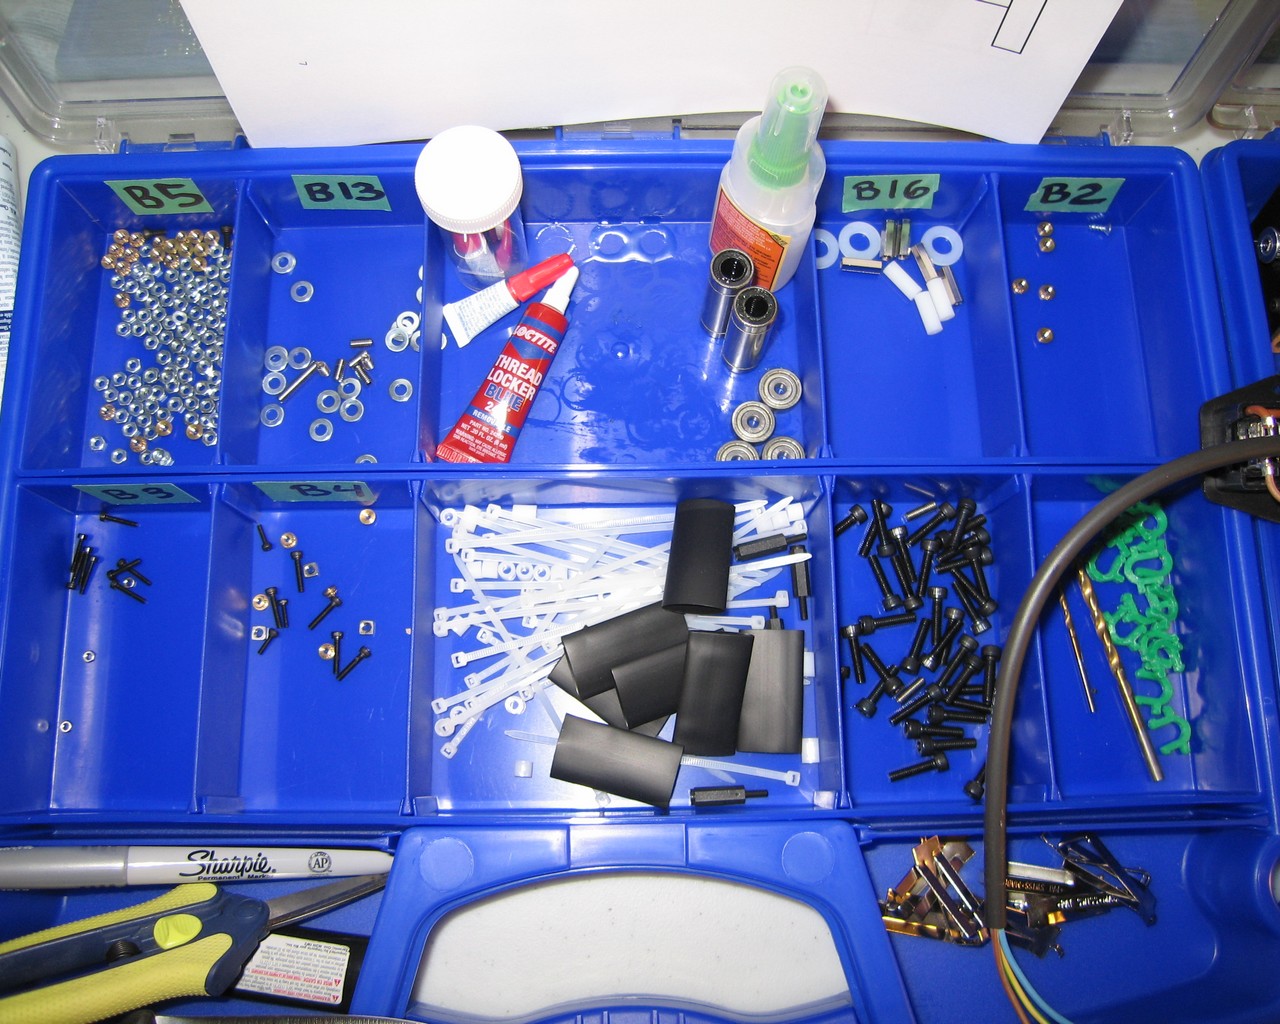
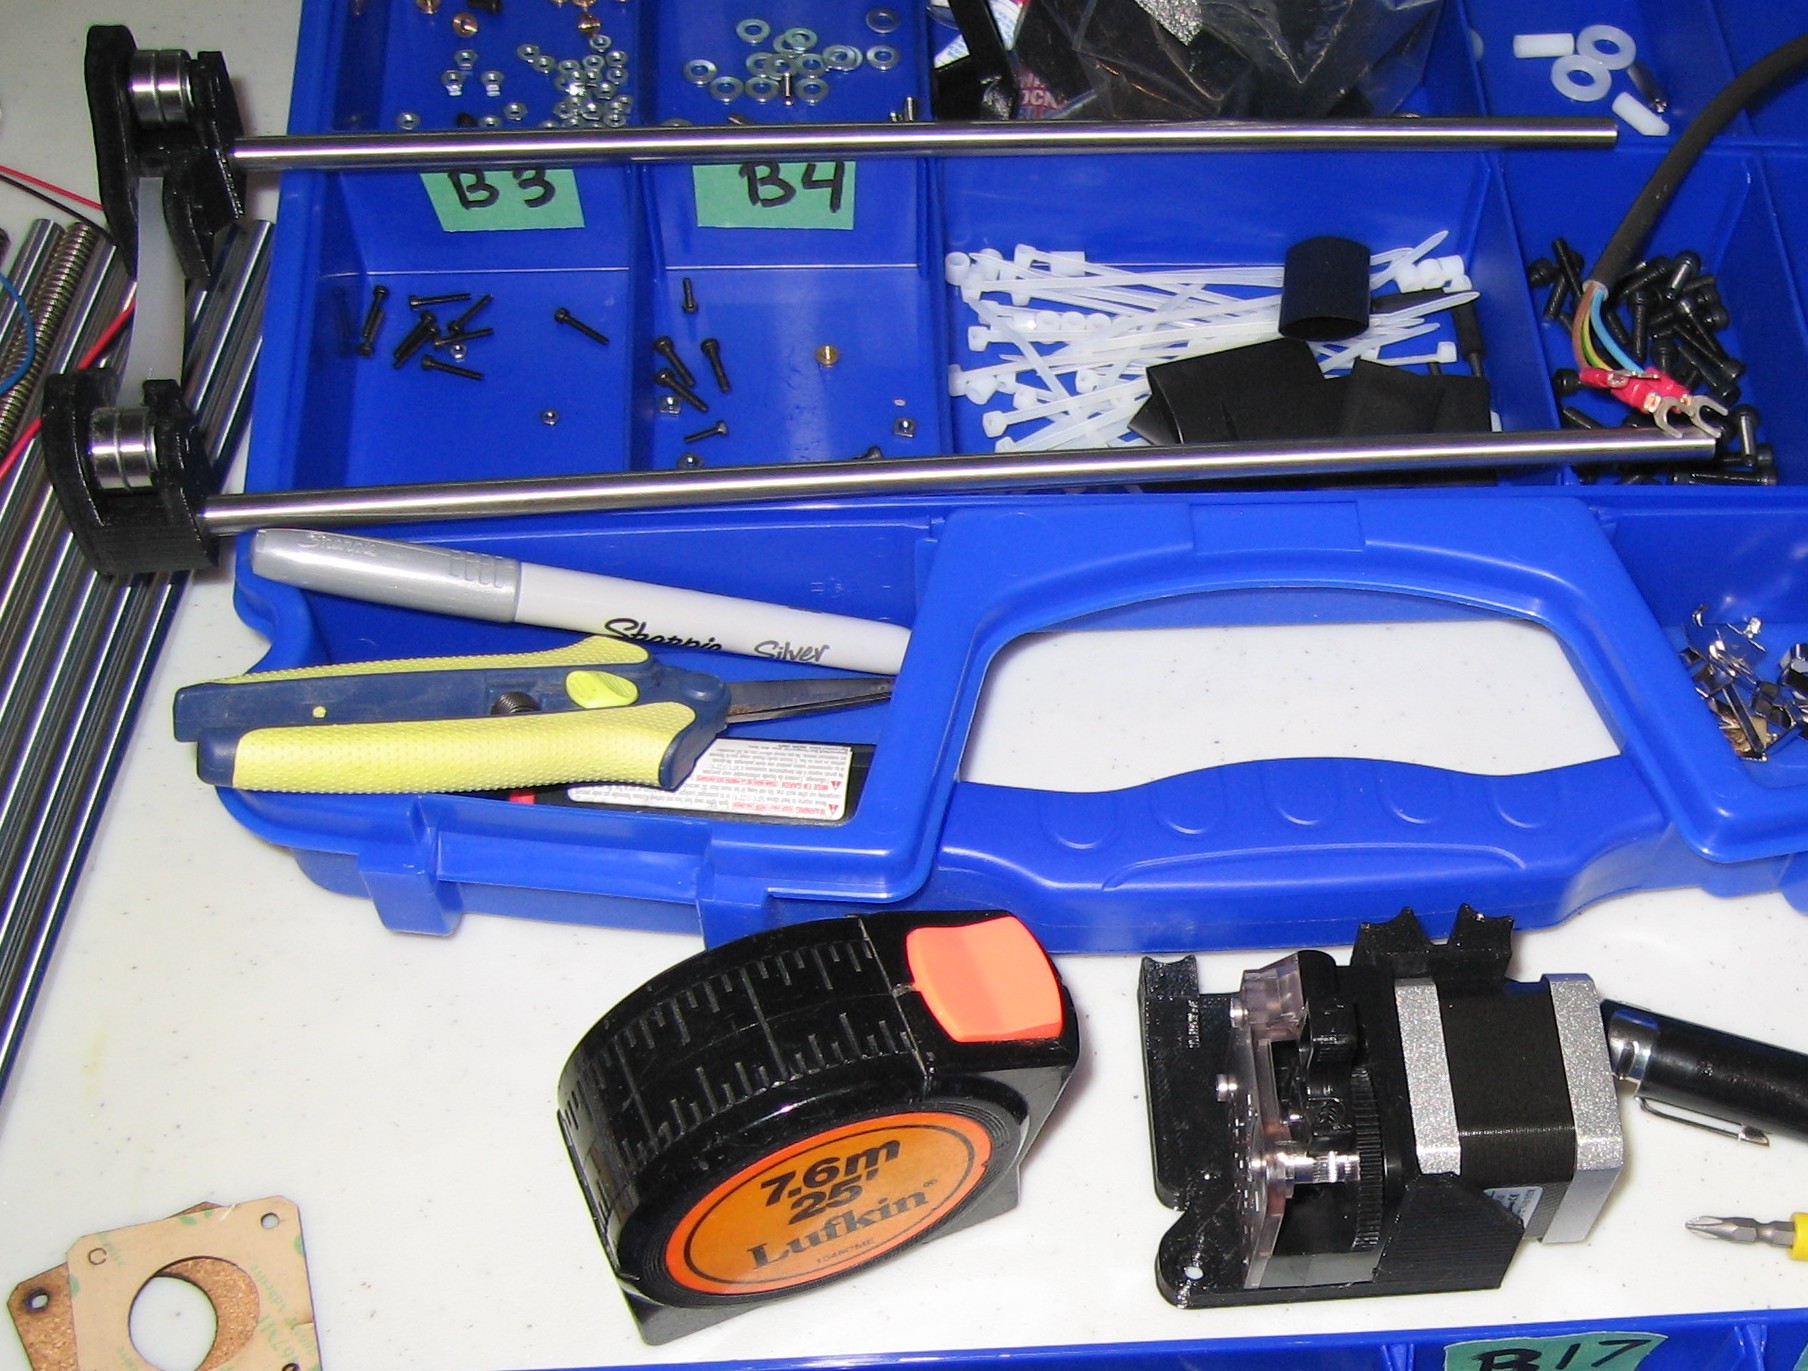
All of the screws come in little bags with identification labels (B4, B5) so to make life a little easier I used an organization drawer with separators to identify and dump the little bags into, this made finding the parts a little easier as each bag contains various types and lengths of nuts bolts and such.
You will need a good ruler so it's suggested to purchase a Digital Caliper as you often need to find a specific size which is mixed within a bag of various sized bolts/nuts.
One of the issues with the instructions is that they are for various slightly different revisions/models of the printer so some steps are specific for v1.0 or v1.1 and the Dual extruder model and lets not forget the Titan upgrade which changes parts and assembly instructions again. So I was building a BigBox v1.1 Hybrid and since I wasn't sure what that really meant it was a challenge trying to find parts for that version, you see sometimes the only way to figure out what step I was supposed to make was based on what actual parts I had compared to the instruction stage I was following. This is of course based on the instructions at the time so they may have made improvements.
We start small by building all the Sub-assemblies, these will be used to build the major assemblies as the build goes onwards. They are pretty simple to build, I did notice the supplied 3D Printed parts were a little tight when trying to put screws through them. the photos below show the completed Sub-assemblies
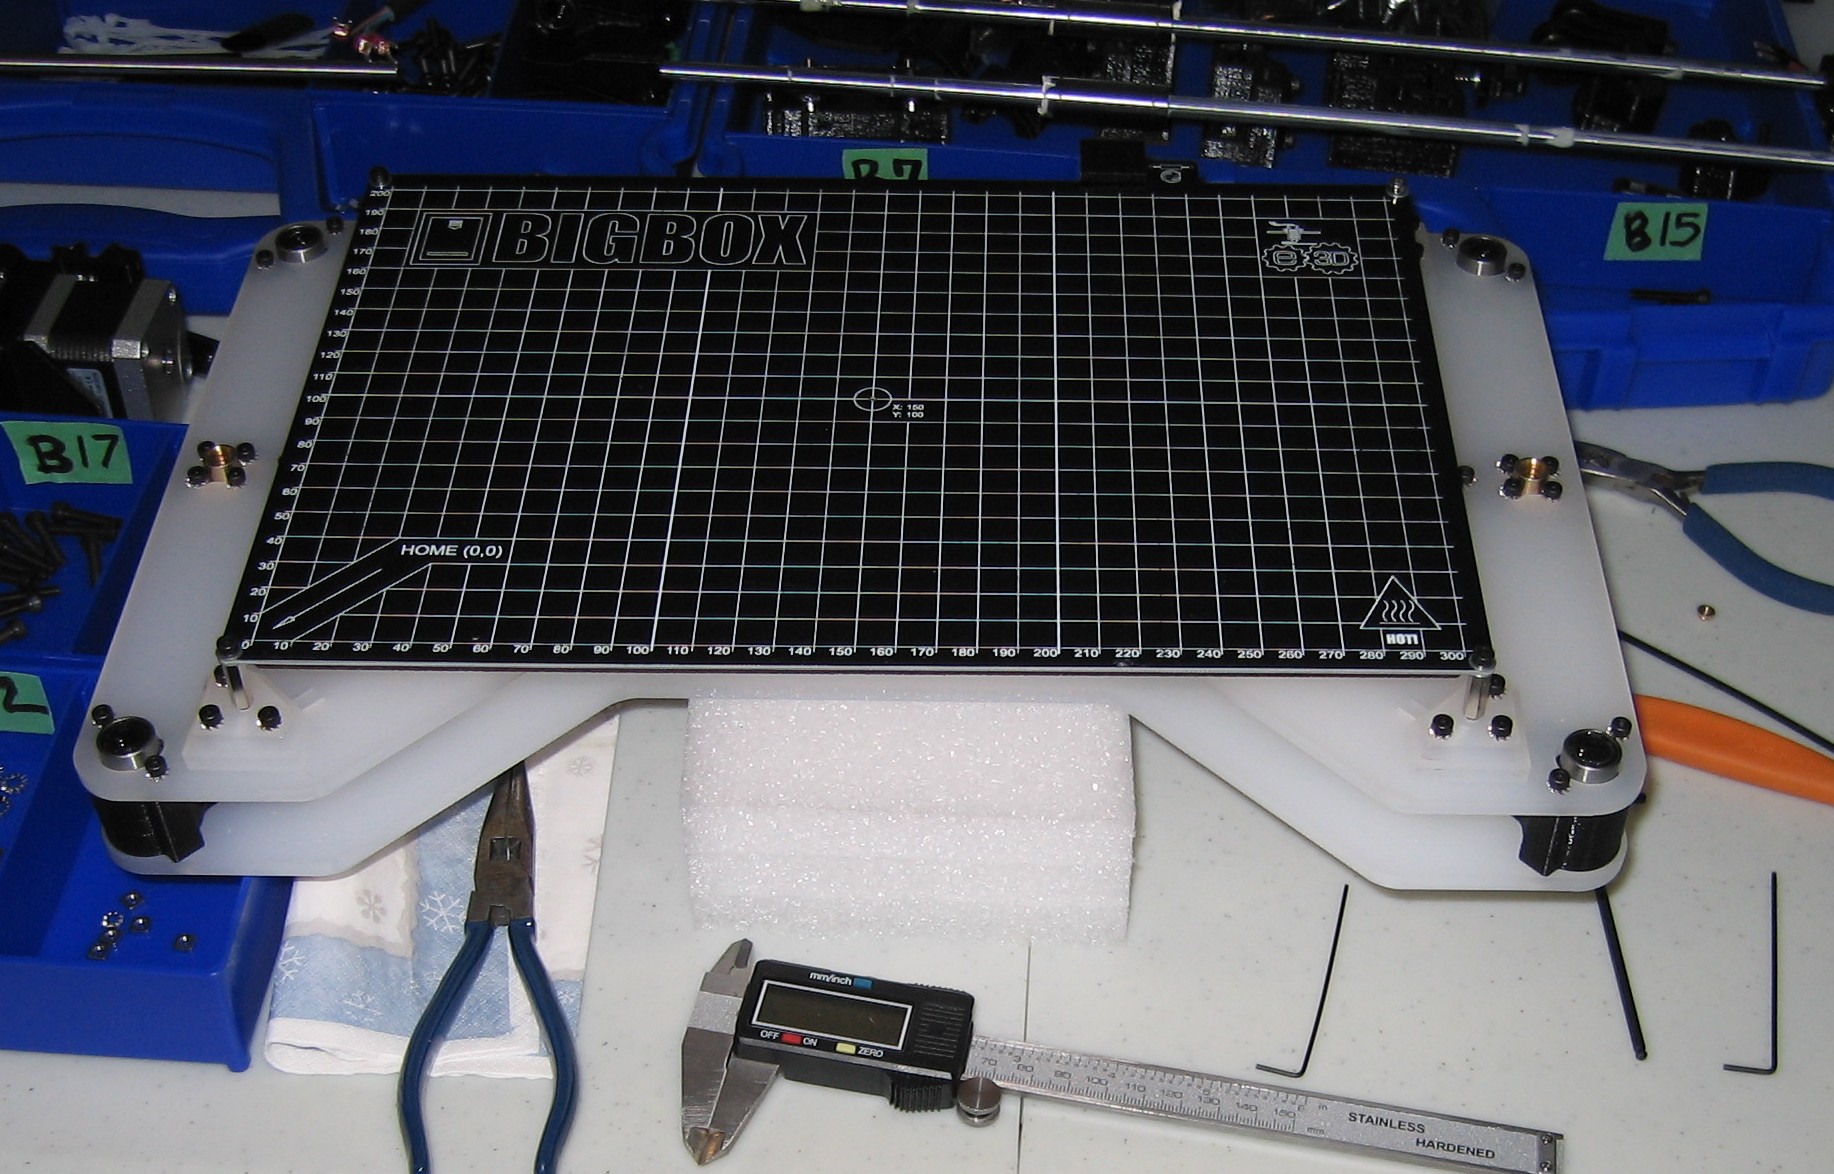
The next step was building what will eventually become the Heated print-bed it contains four corners using LMU Bearings and two brass threaded parts that will enable the bed to travel up/down on threaded rods and the actual Heating element. The one used by the Bigbox works by heating the outside edges and allowing the heat to radiate towards the middle of the plate, unlike other printers which heat the middle and it radiates toward the outer edges. Apparently the method used by the BigBox allows for more accurate temperature control across the entire surface.
This is 'Titan' it has a 3:1 gear reduction this gear ratio means you’ll need less torque for the same filament pushing force also it means the gearing triples the resolution of the system and allows for smooth printing at the lowest of layer heights. All I know is I had to assemble Titan also and the little bugger is shown in the photo below.
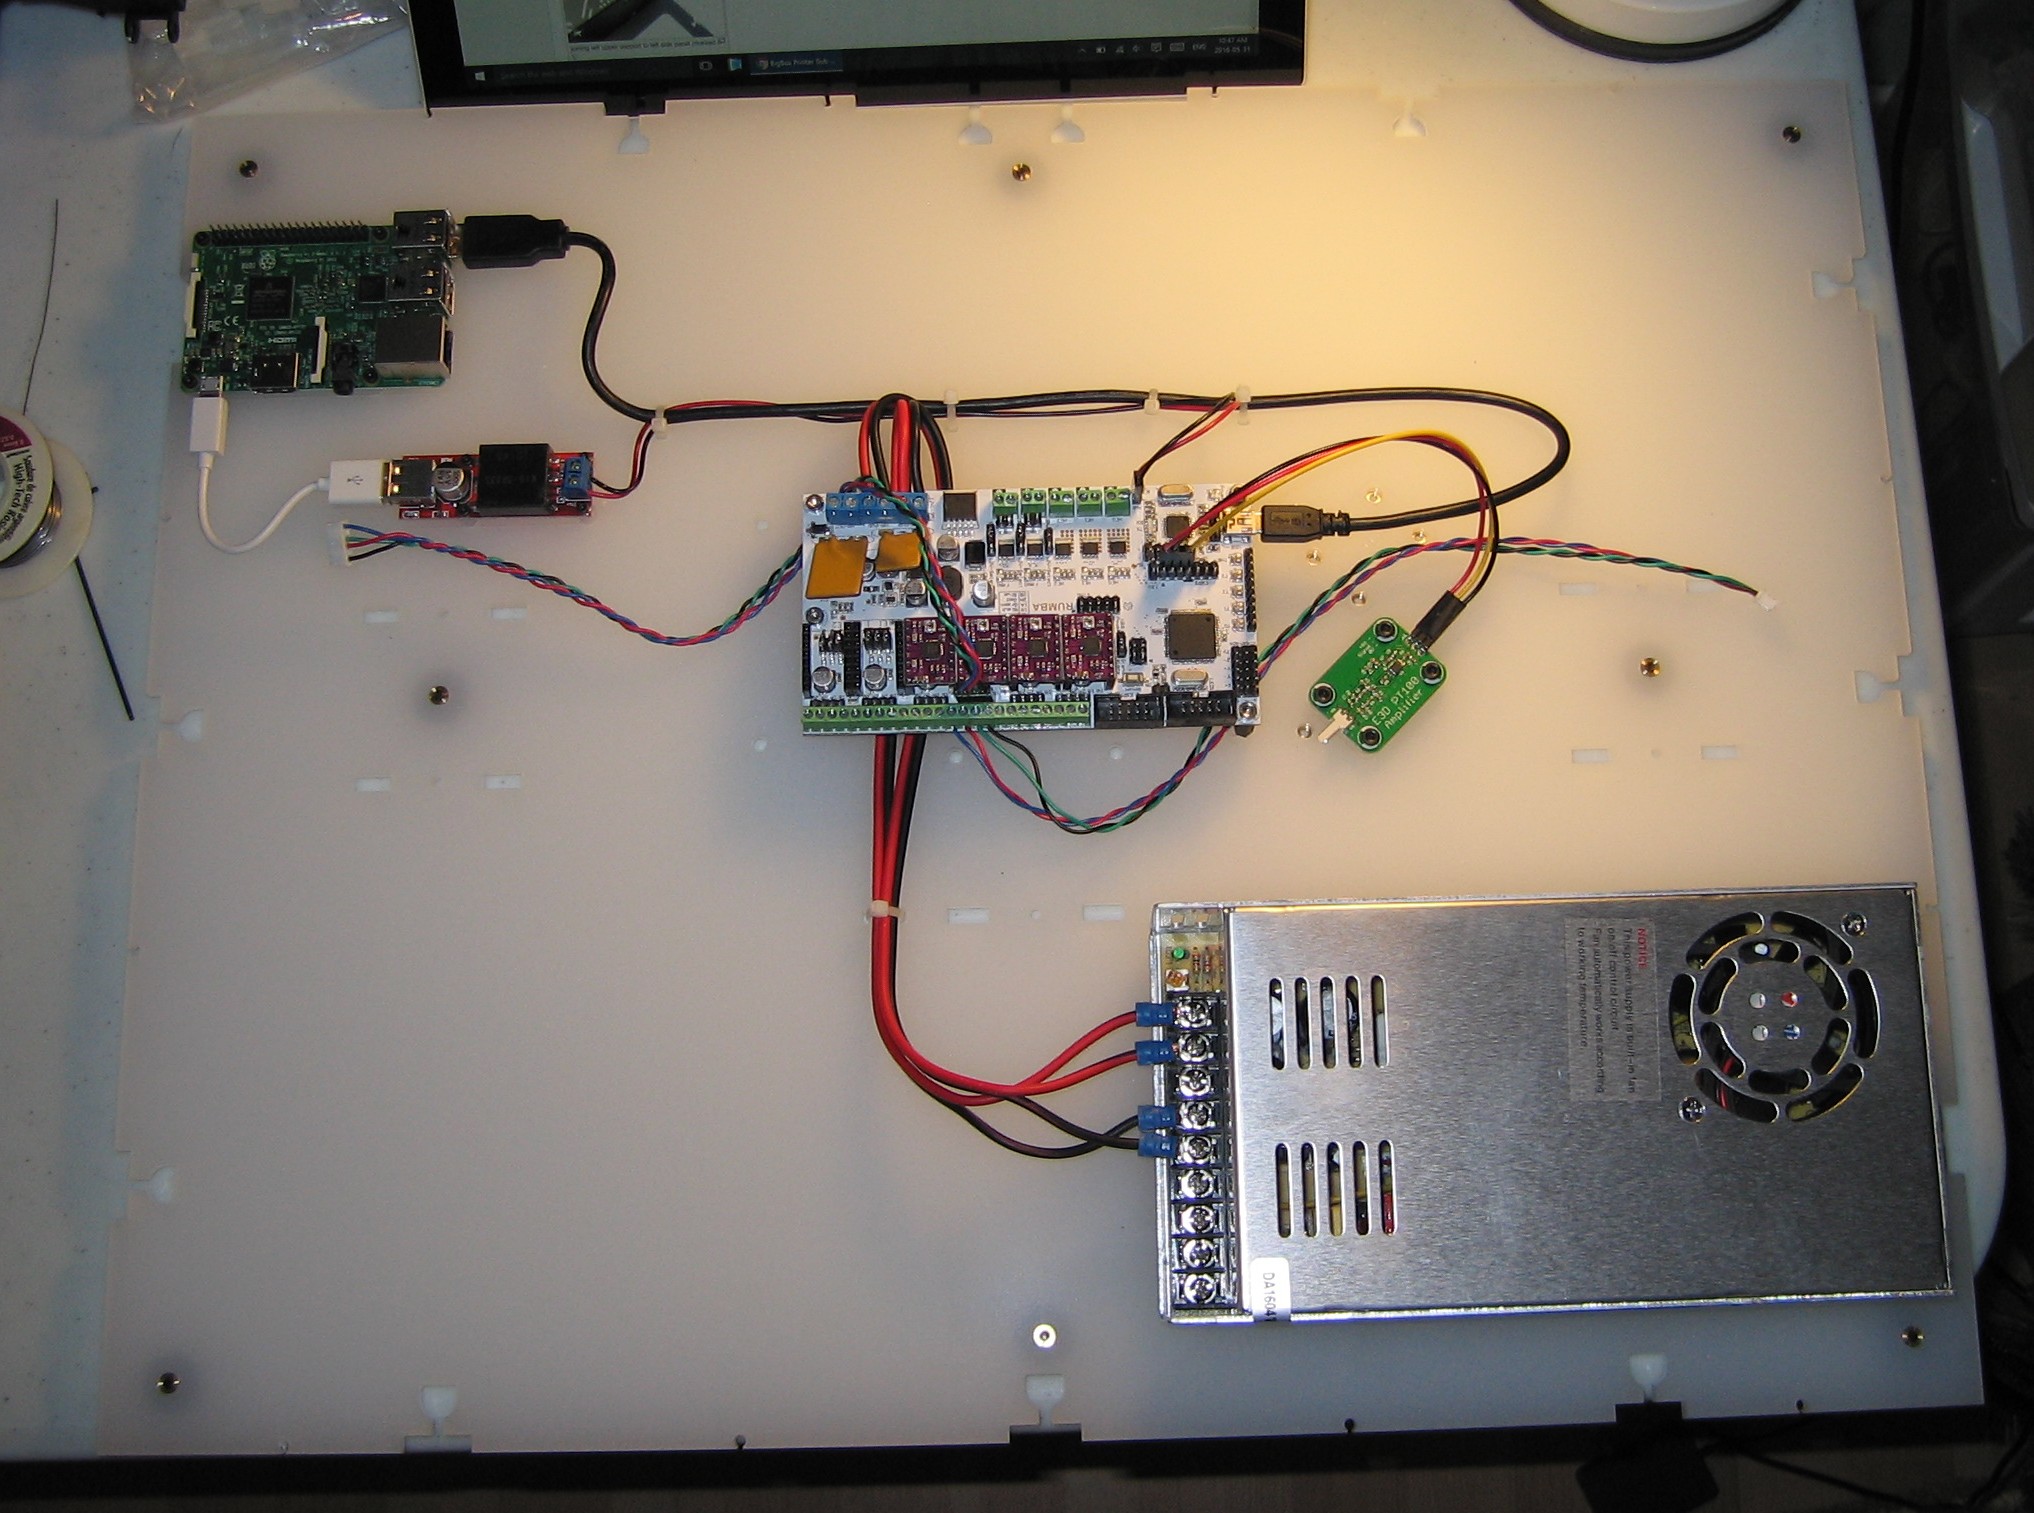
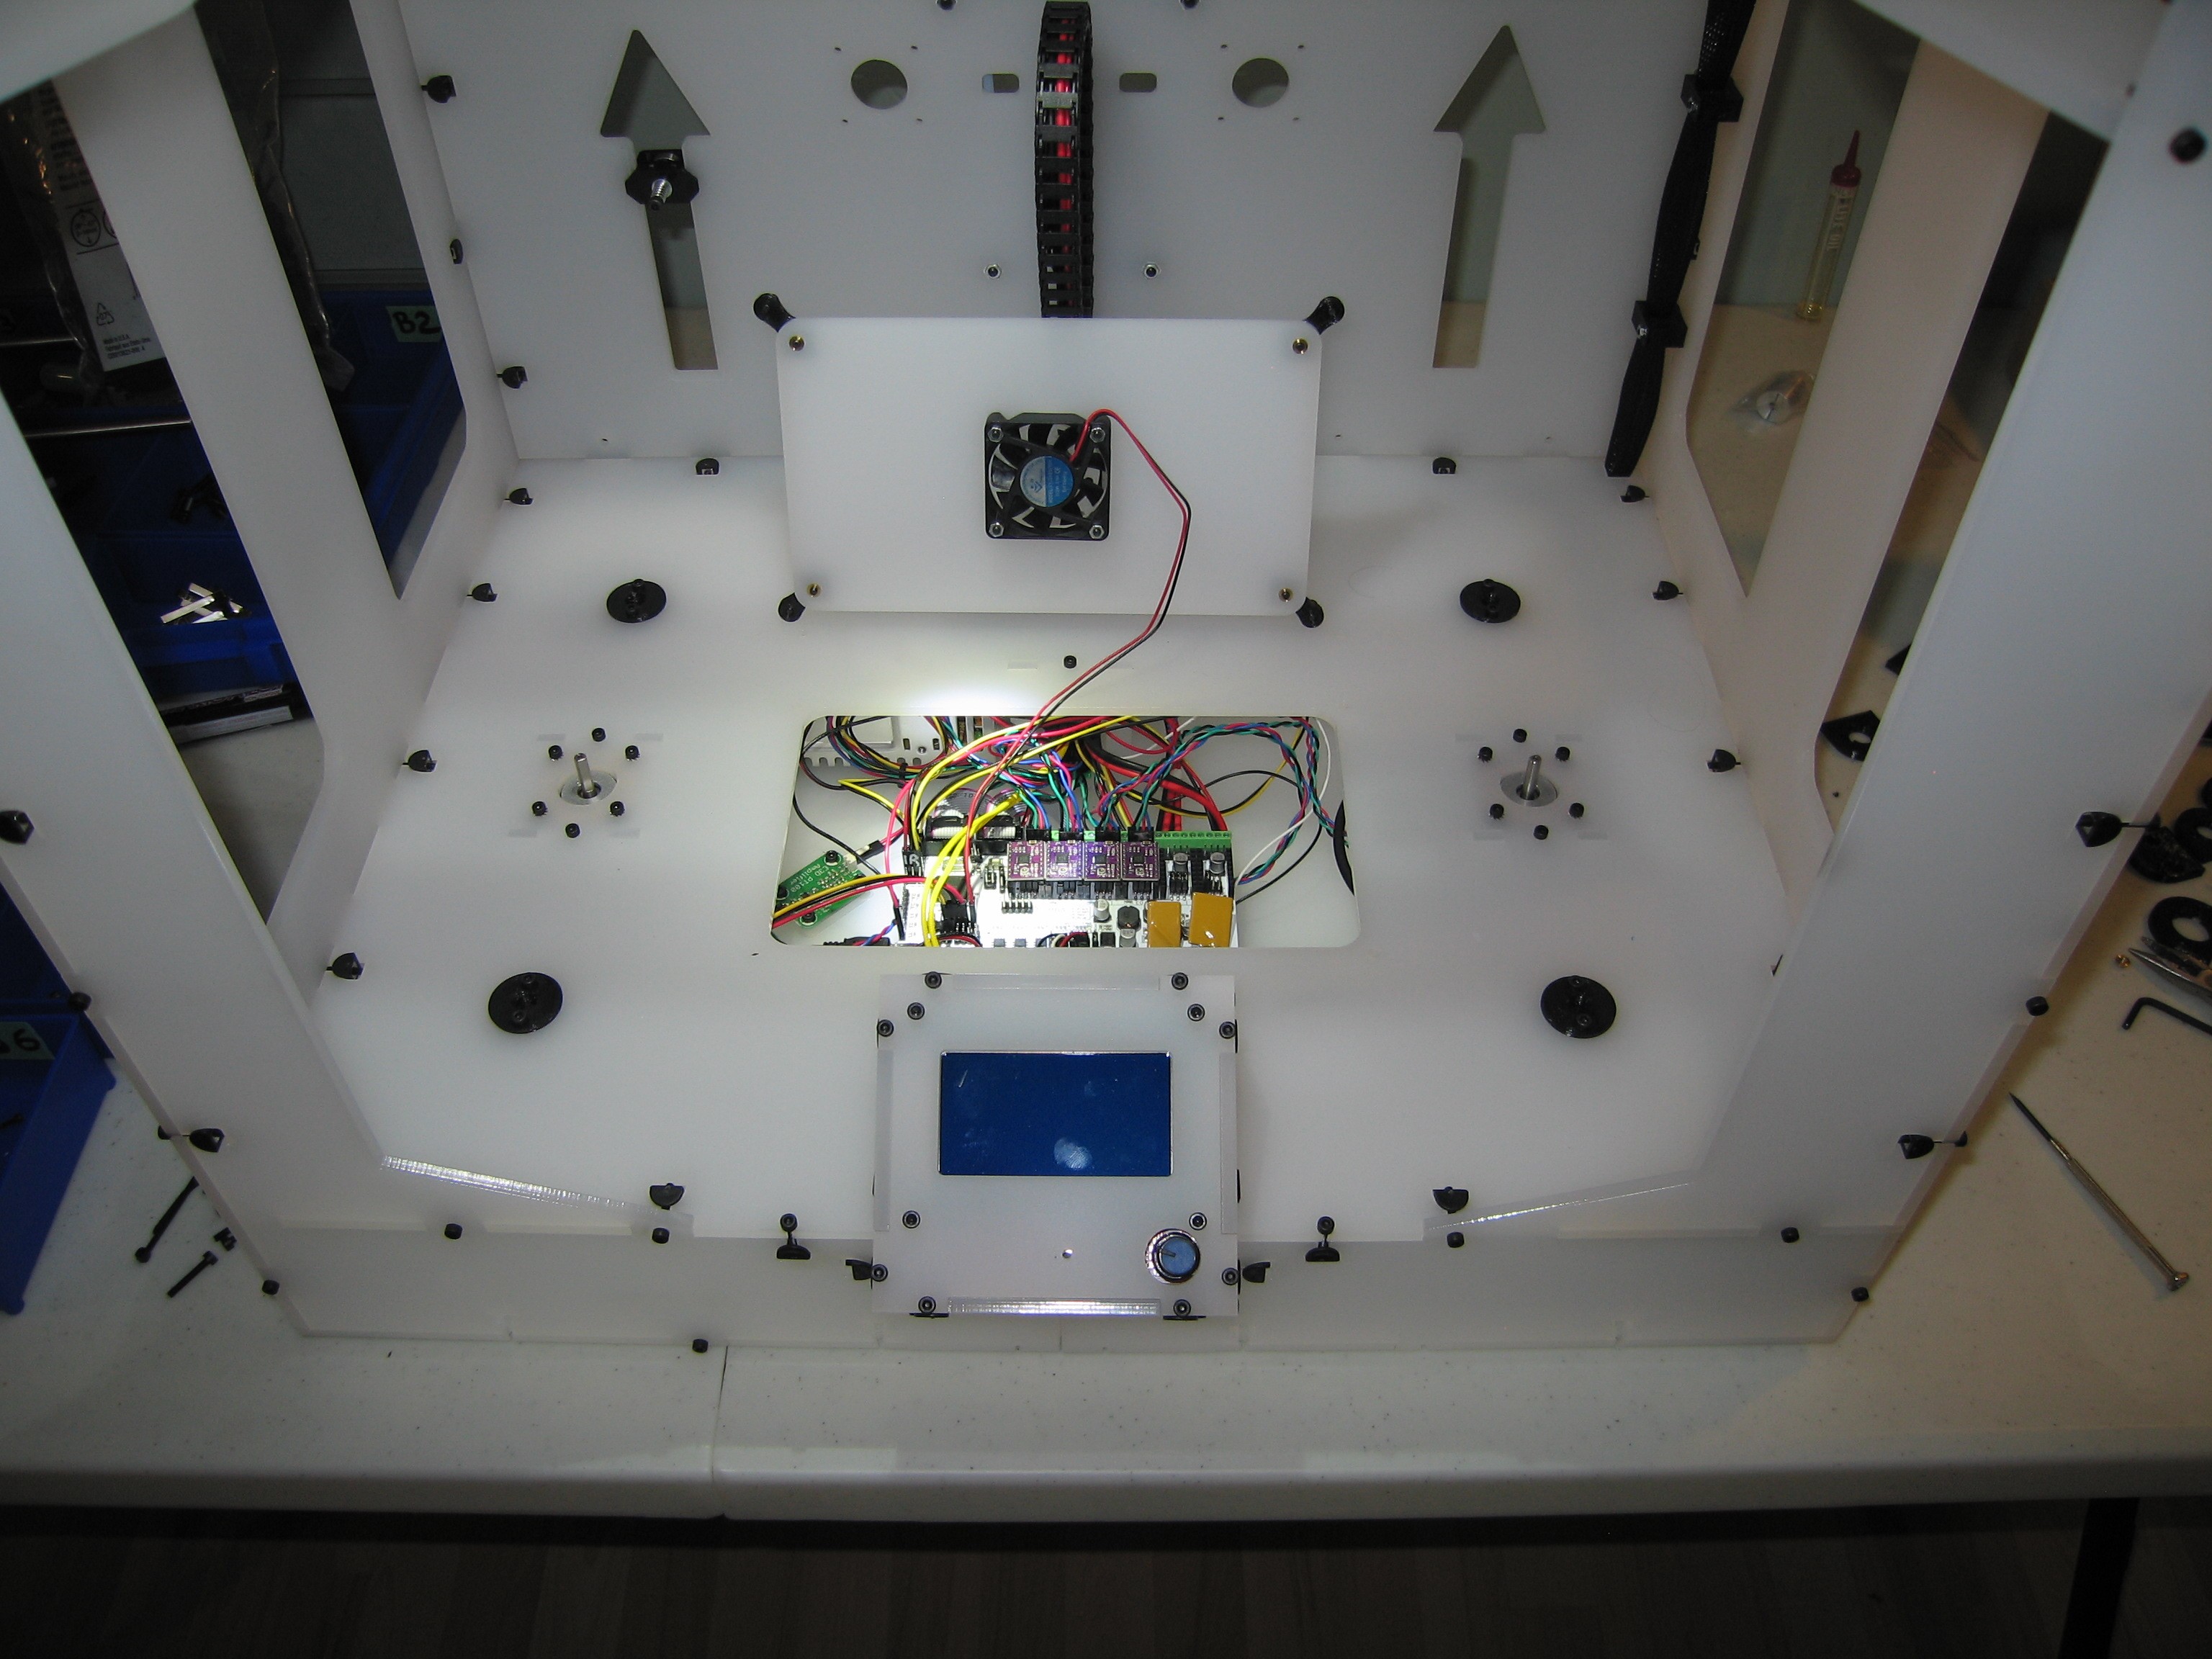
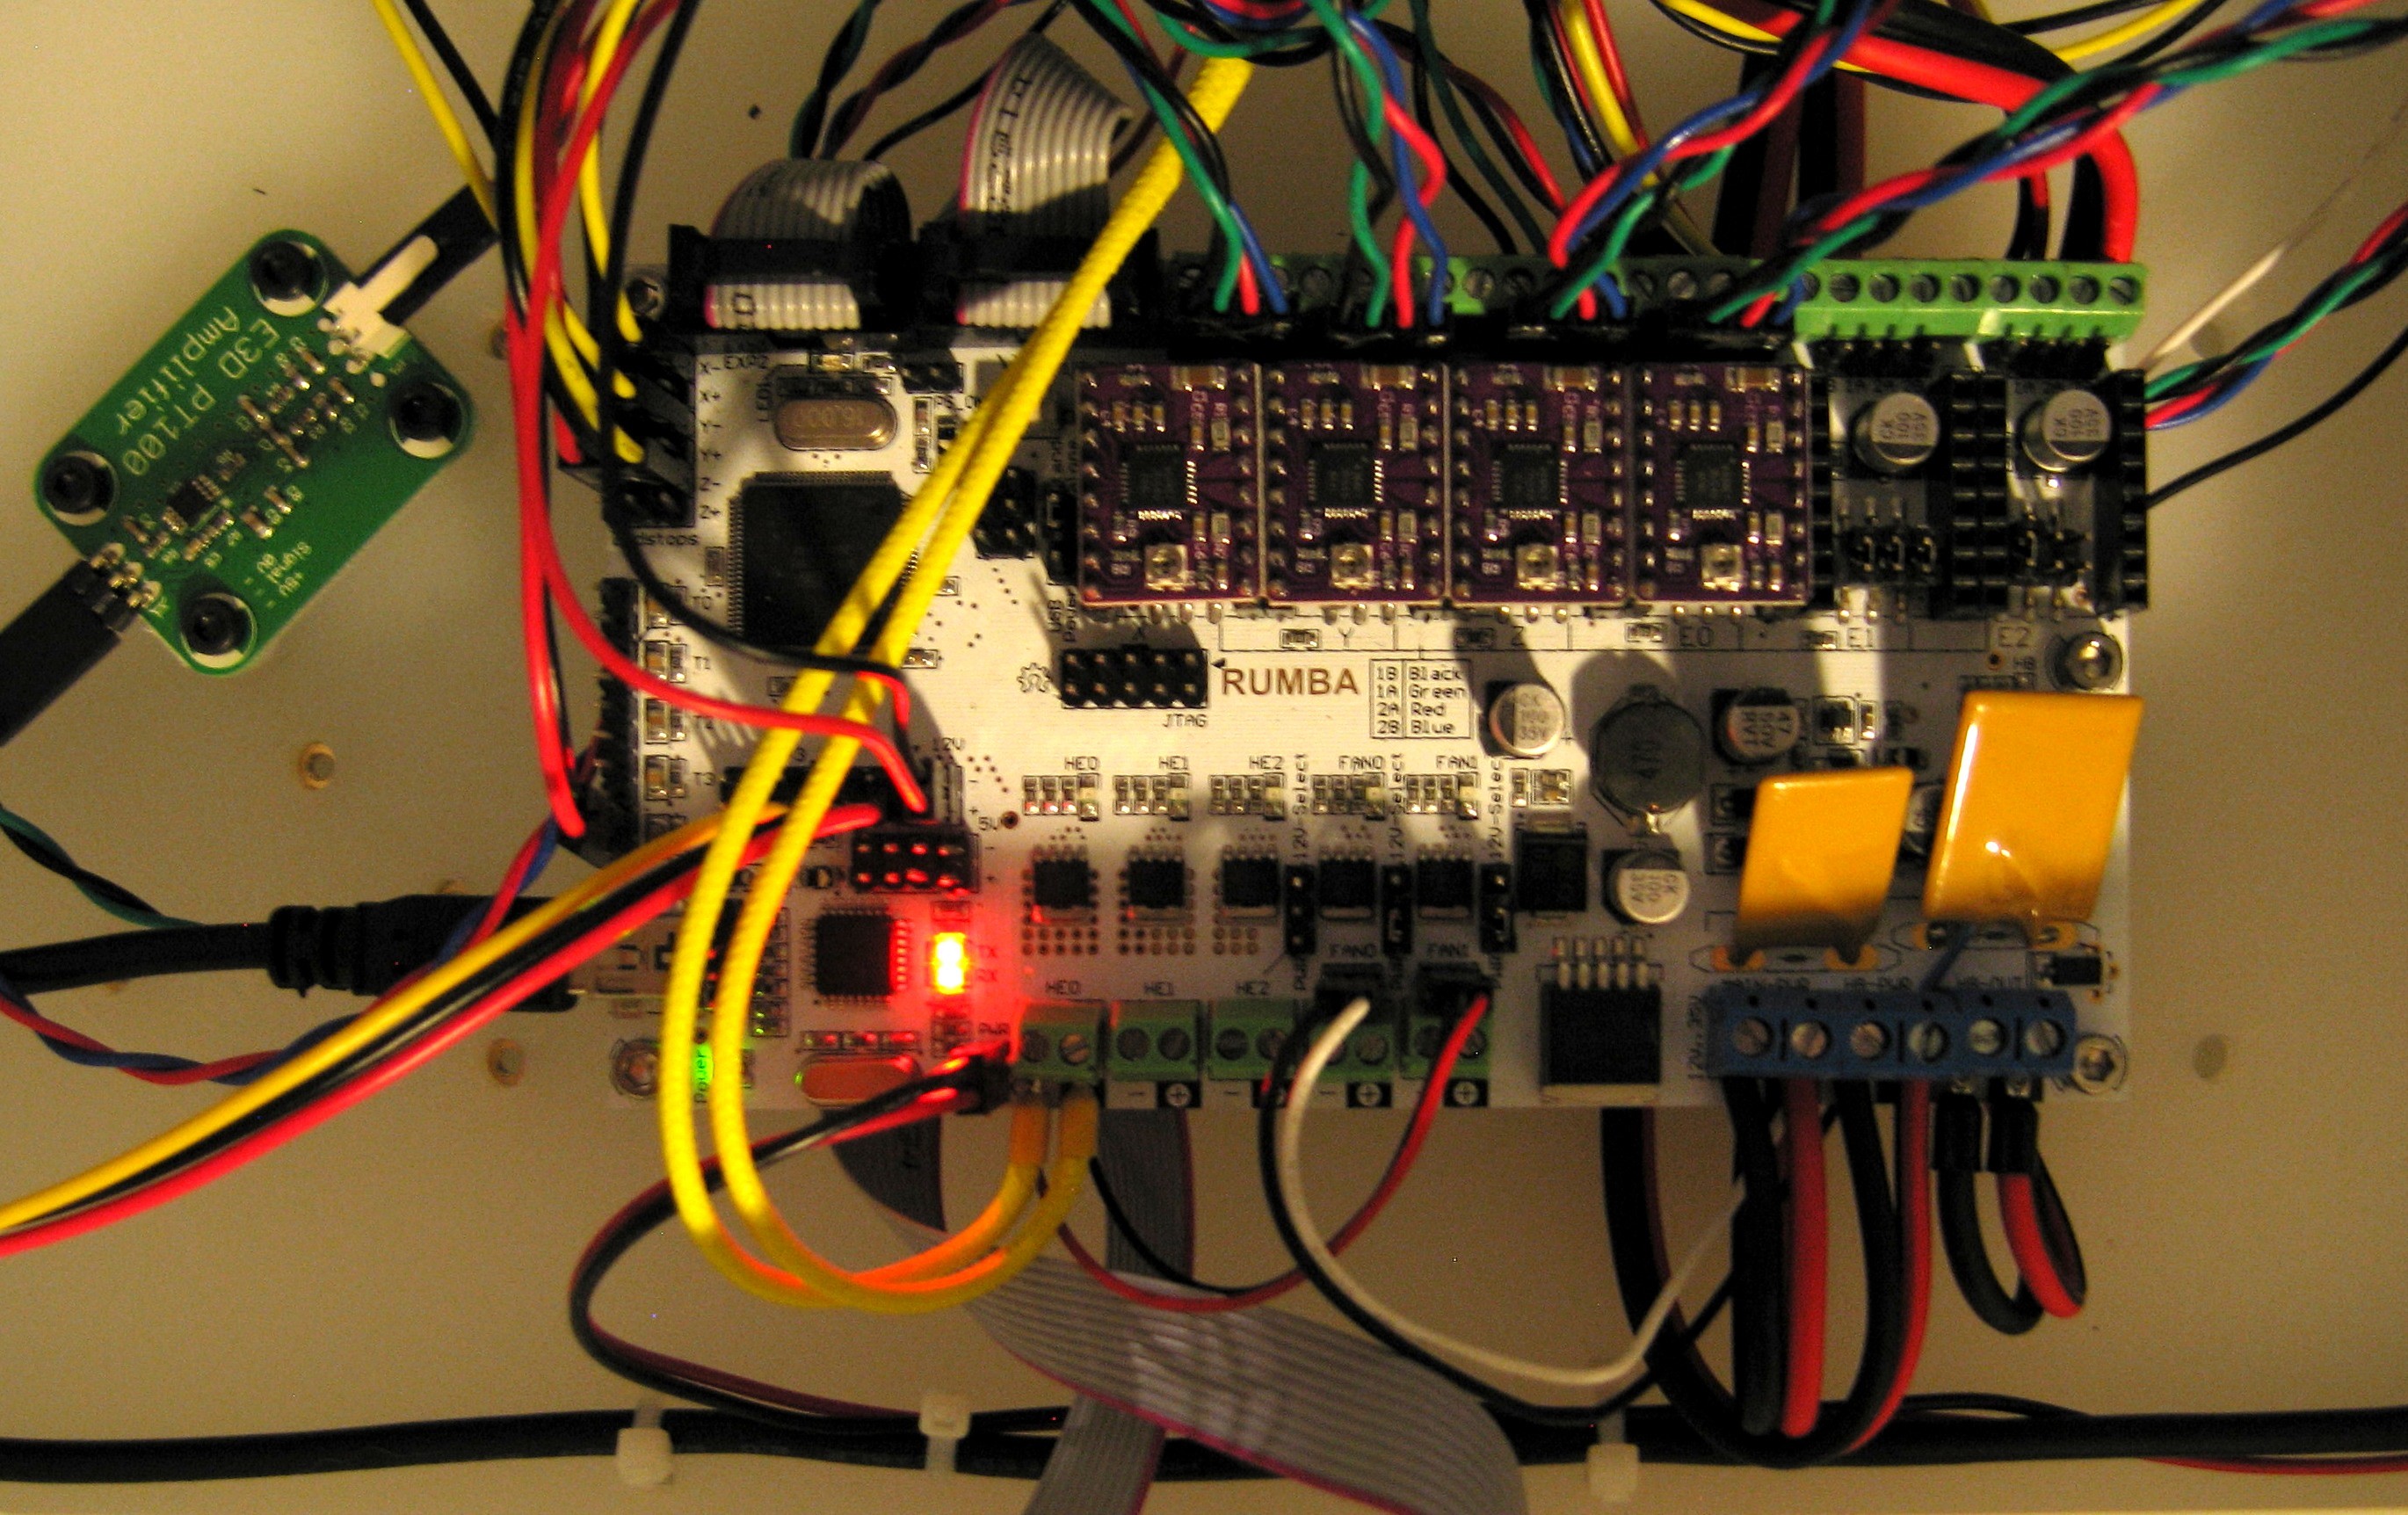
Literally the only parts fully assembled within the BigBox kit are the Power Supply and electronic boards! in this step we but the Power supply, Rumba, Raspberry Pi and DC Converter onto what will become the base of the printer. Make sure these are followed exactly as fixing problems later means removing a lot of parts to access whatever you need to fix. The main compartment does have an access hatch but it only really allows you to access the 'Rumba' Board.
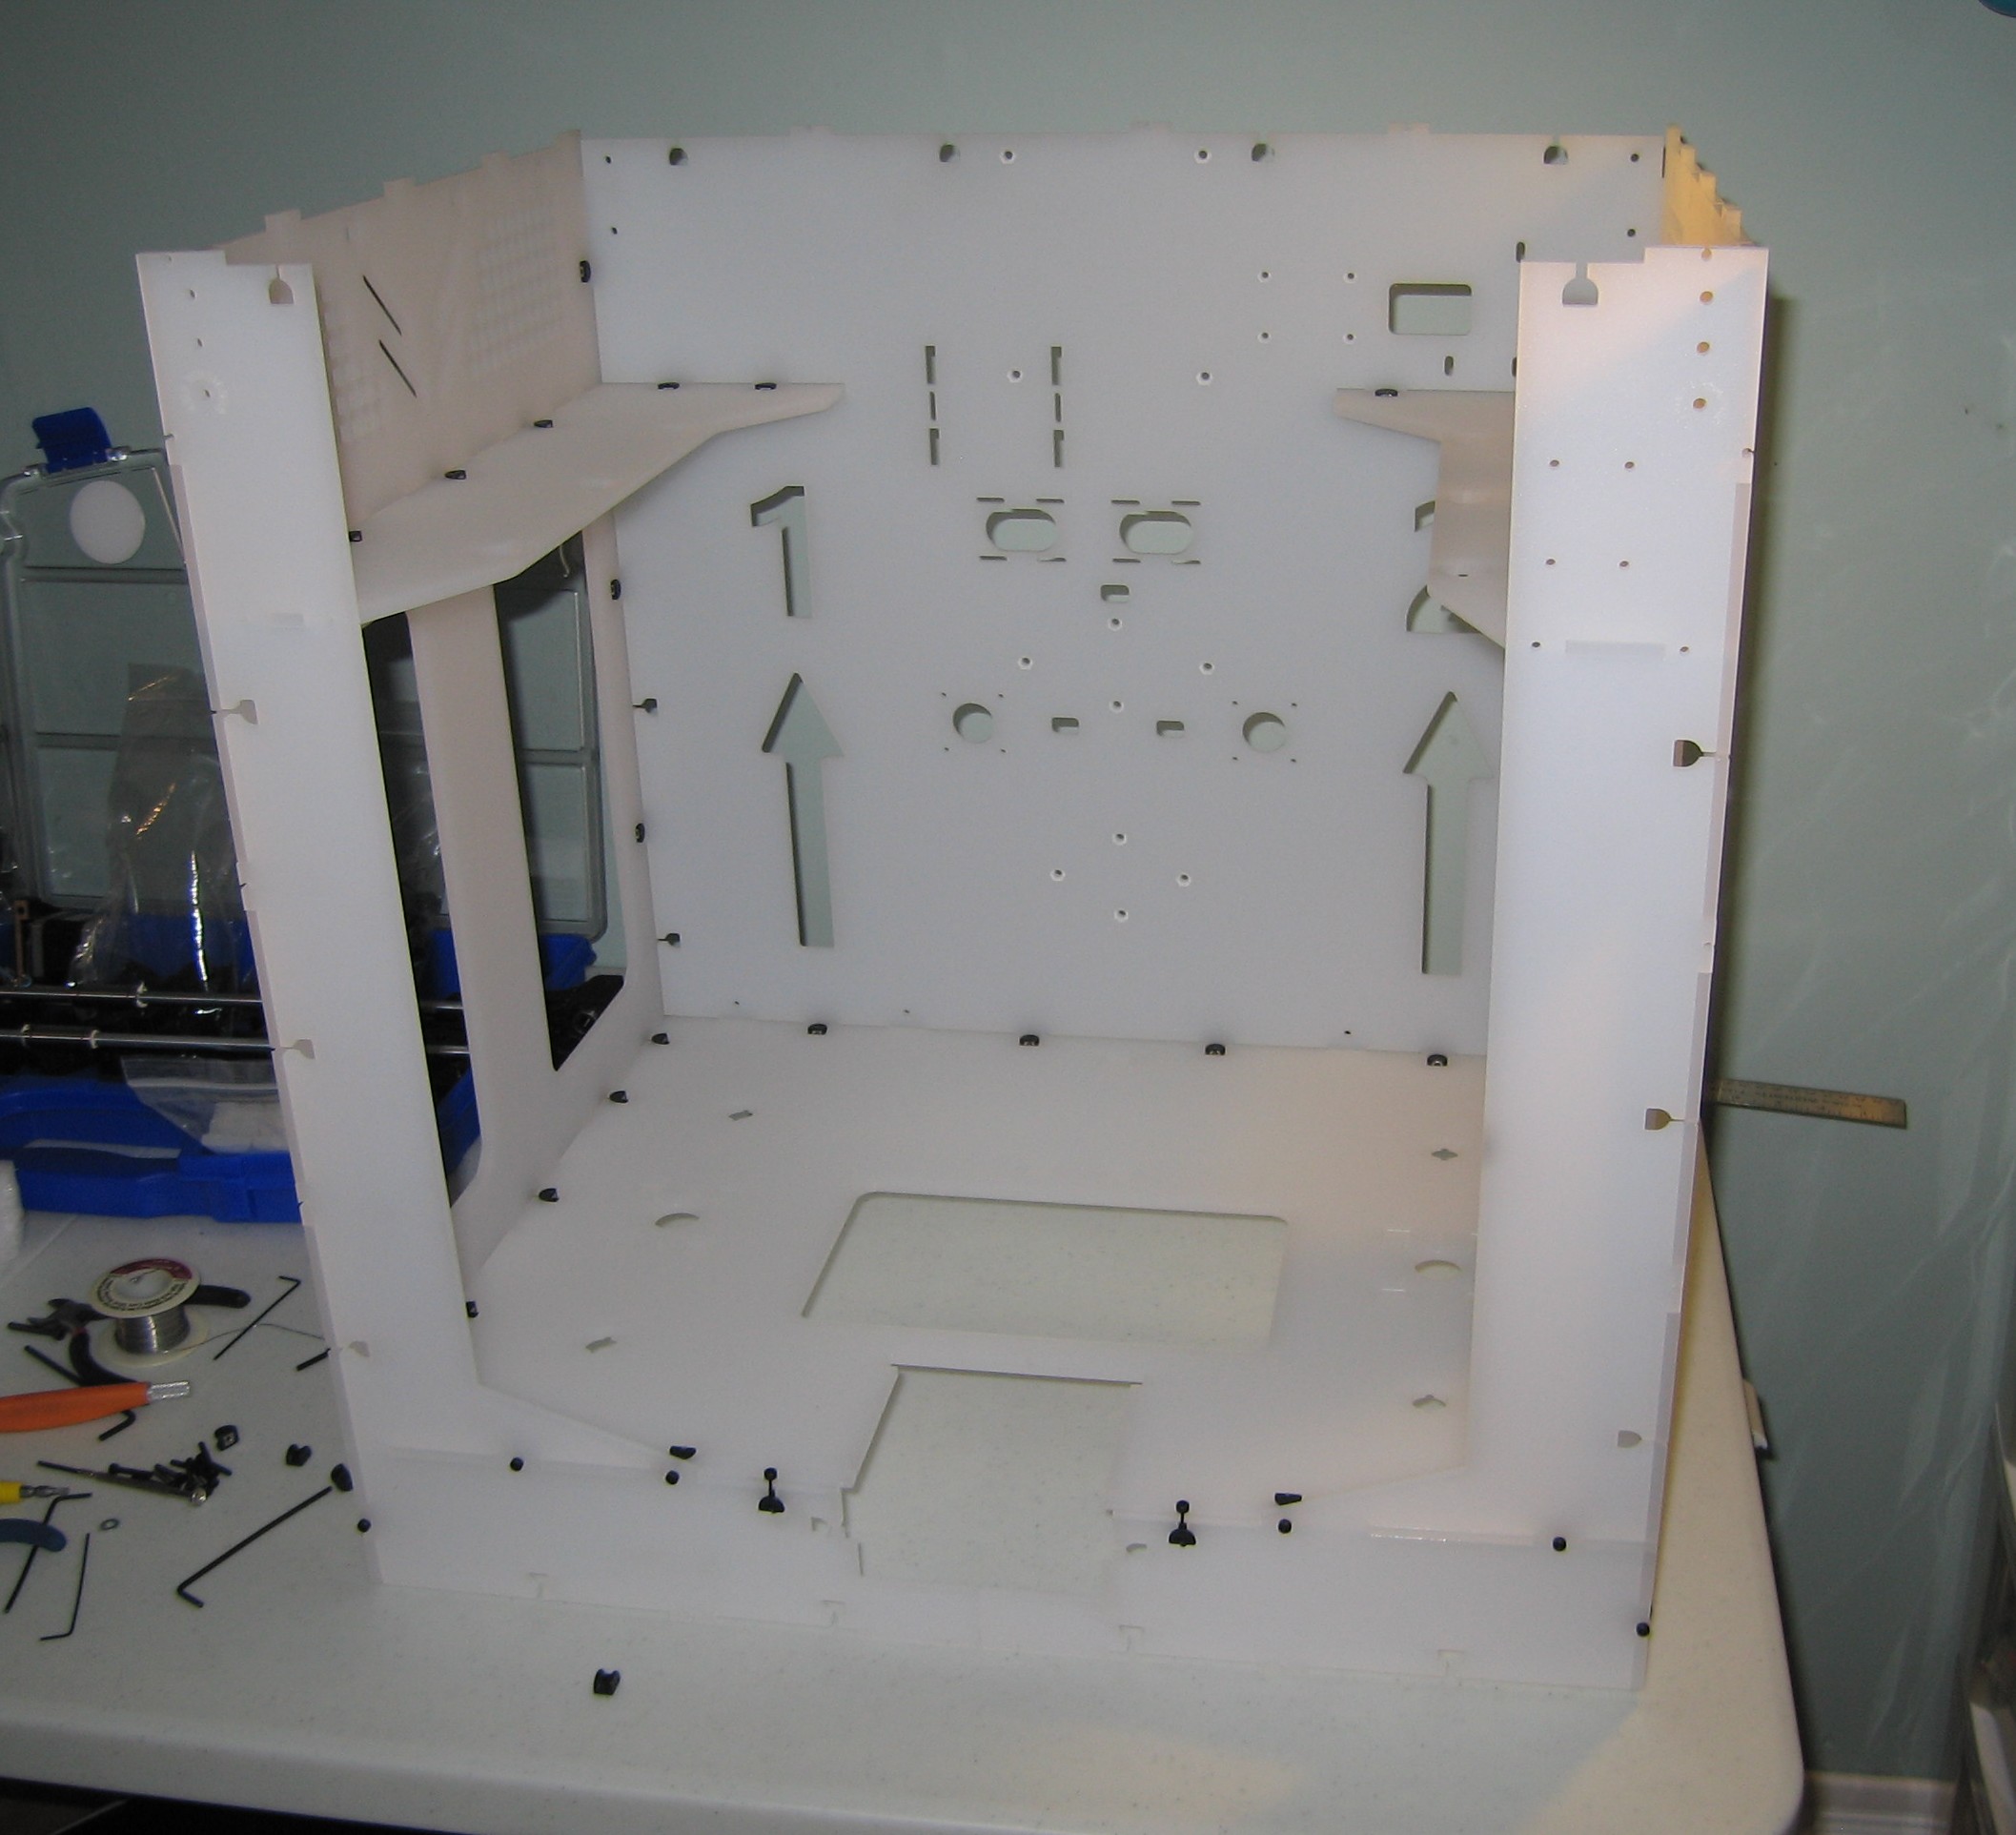
Frame Assembly, it looks easy enough and it is pretty straight forward but when building the frame it uses special 'Nut-Traps' to help avoid stress on the parts which helps to avoid cracks at these points. While these do the job they are a pain to get into place, in some areas like the bottom of the frame they are almost impossible to hold into place while trying to thread the bolts for these hard to reach sections I printed out these clips which hold the traps in place. I did have the advantage of having another 3D printer around at the time the Mod-T which allowed me to print the clips if you don't have one then you can use tape or glue to hold these into place instead.
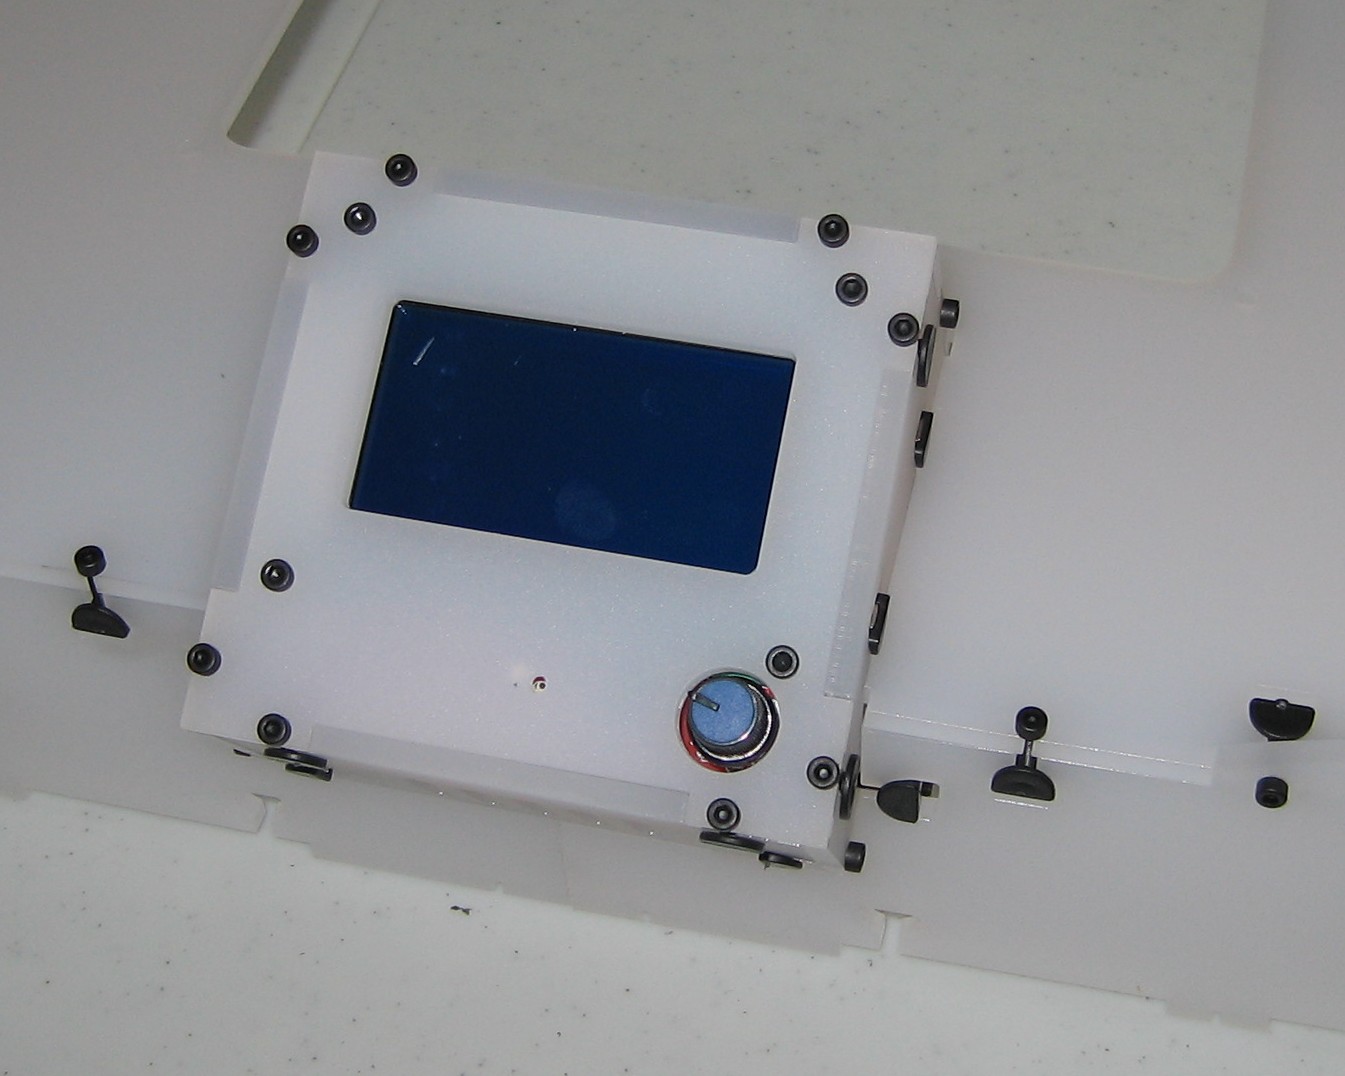
These are the parts to build the LCD Compartment, My LCD arrived with a scratch, I did get a replacement shipped but I wasn't willing to wait around so I installed it anyway.
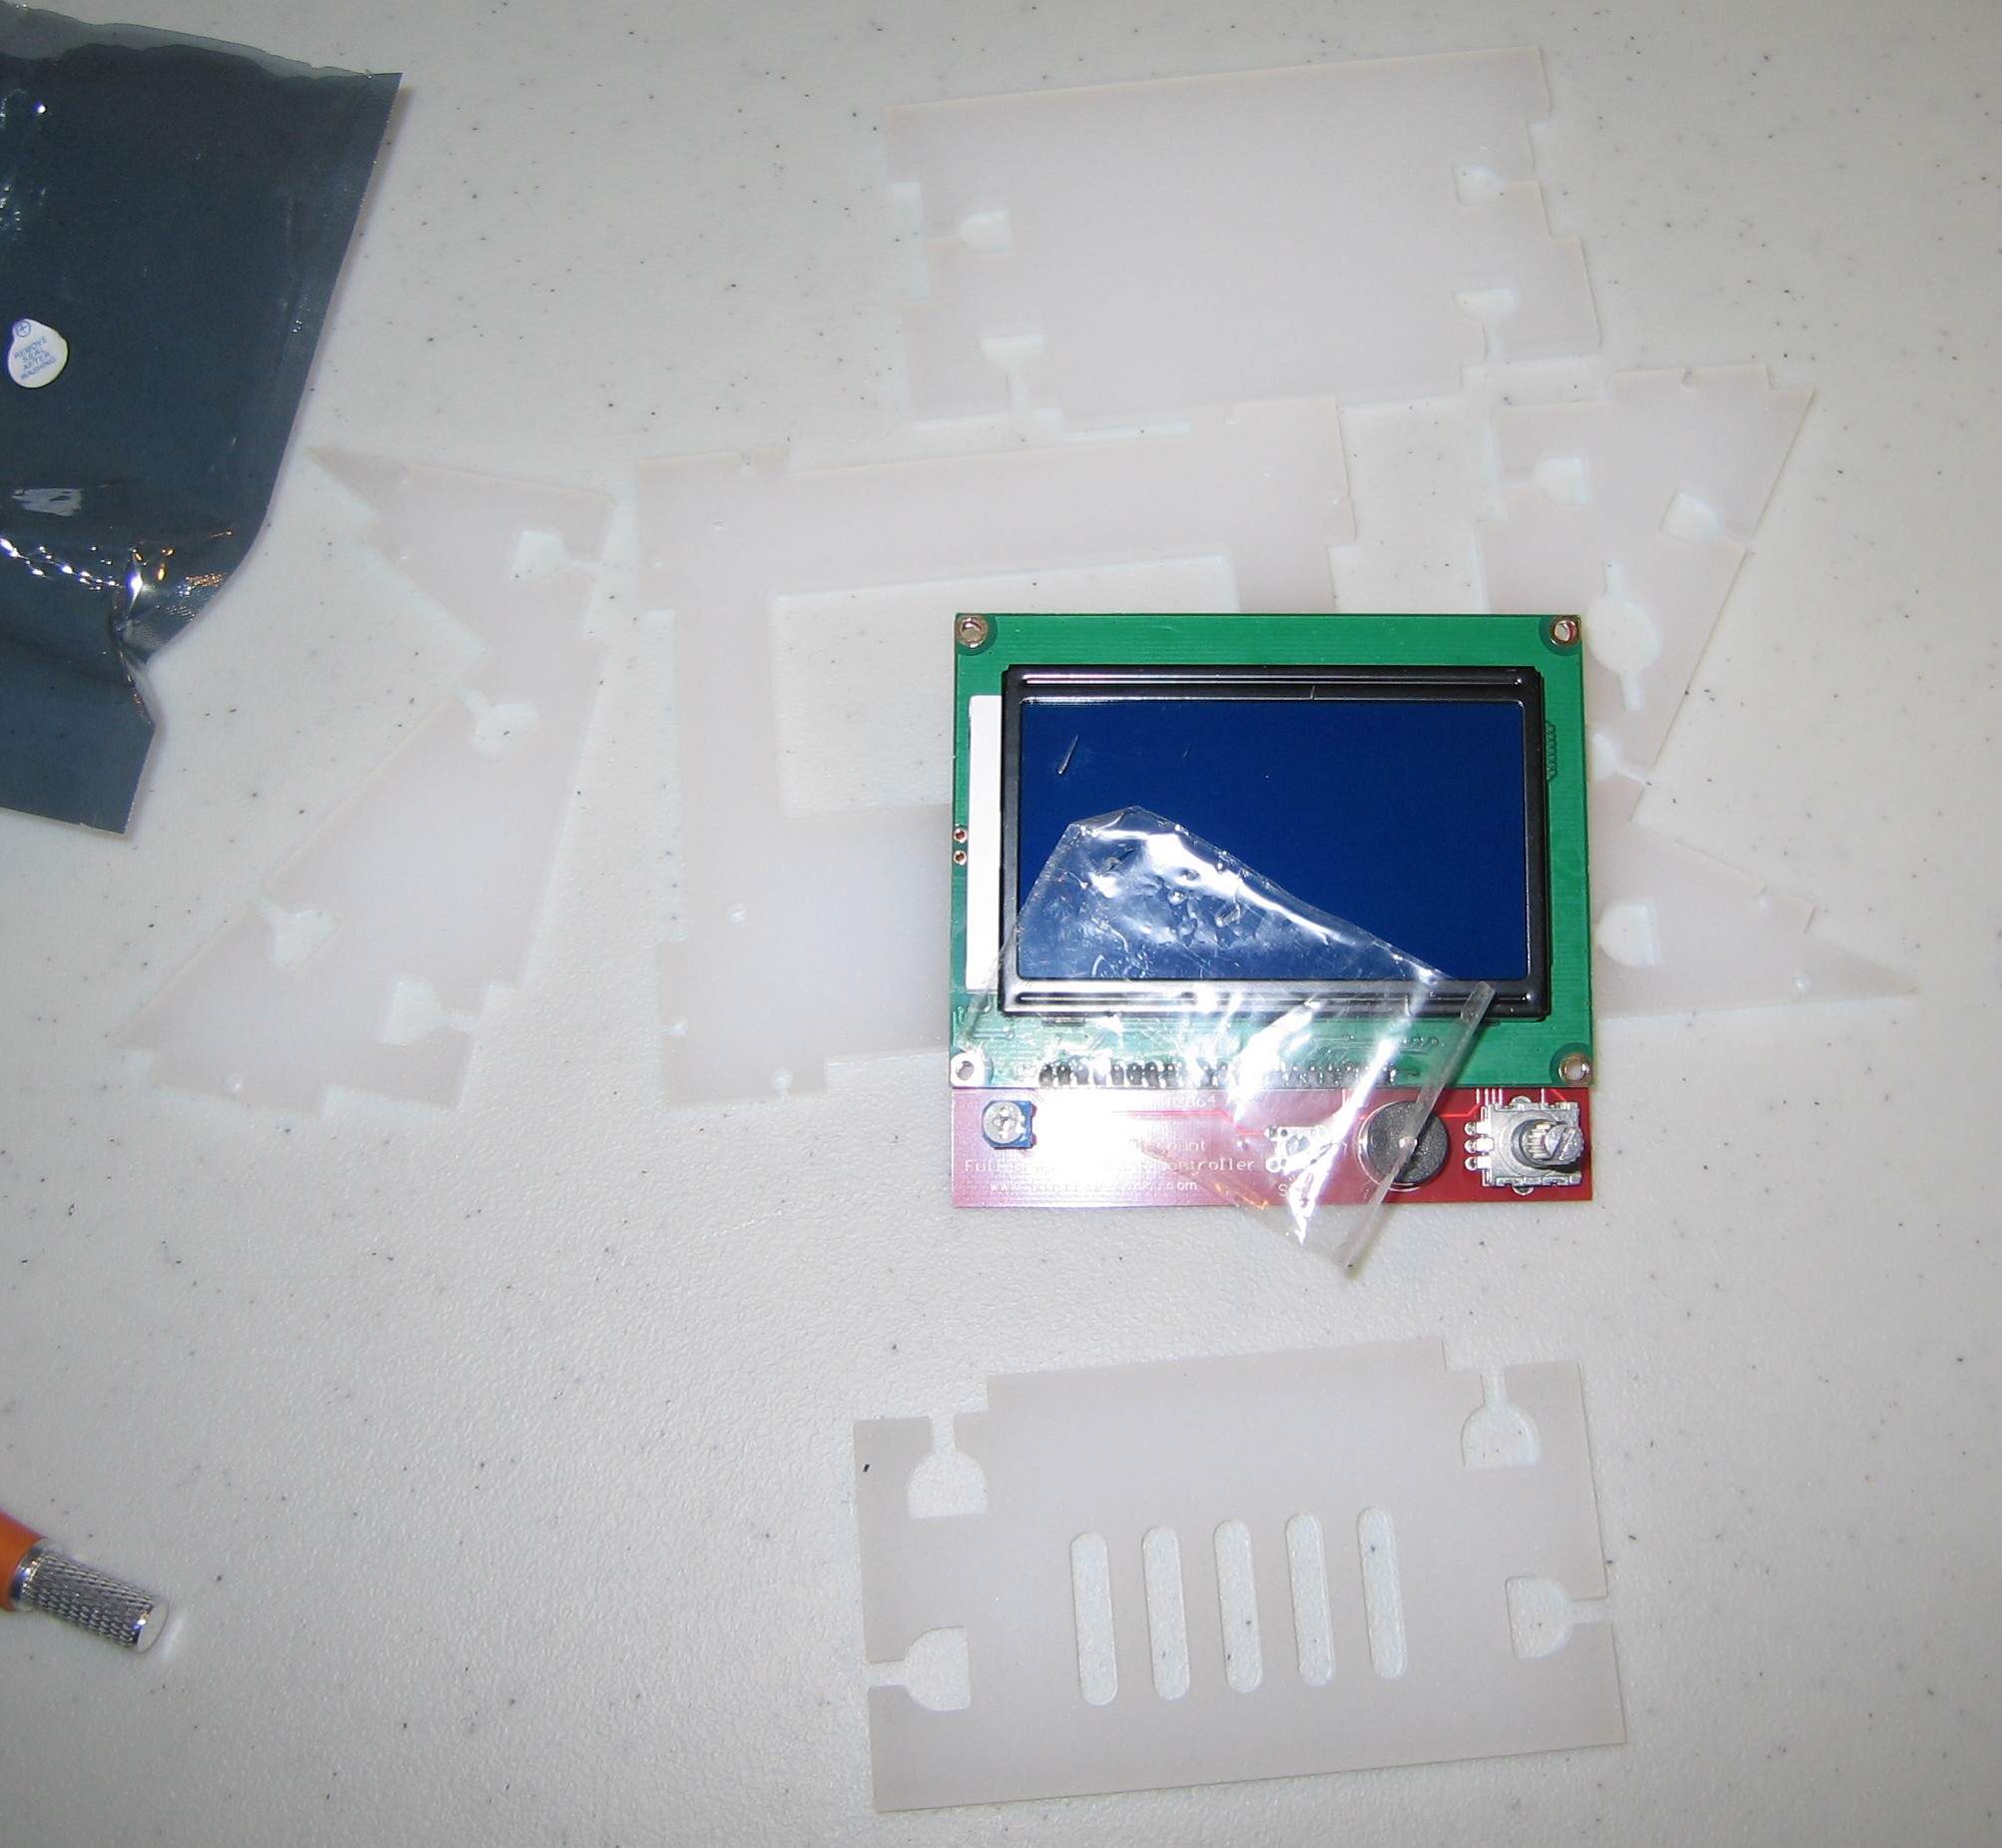
This step caused me some problems as the documentation wanted me to rotate the holding clips on the rear of the LCD 180 degrees, this was needed due to a error on the original LCD boards that shipped. The issue was corrected by the time my part was shipped but the instructions did not have any information regarding this fix. I did as the instructions said only to have a non-working LCD later (blinked 3 times no display). After much troubleshooting and questions on the forum I noticed another person who was having the same issue and I eventually decided to swap the connecter blocks back to the original orientation and viola the LCD was working!
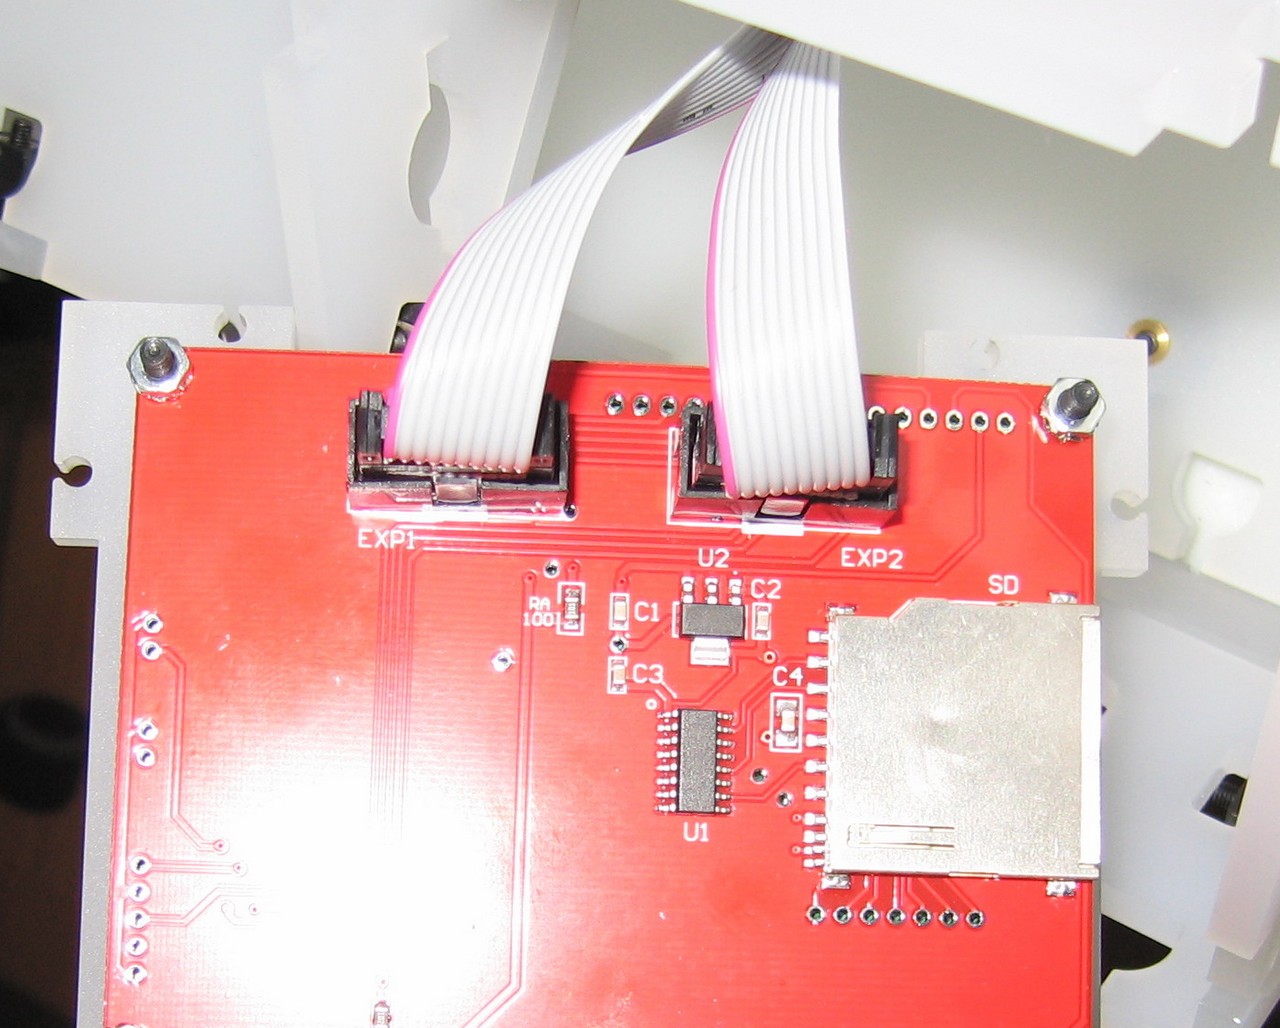
Here is the LCD compartment attached to the frame
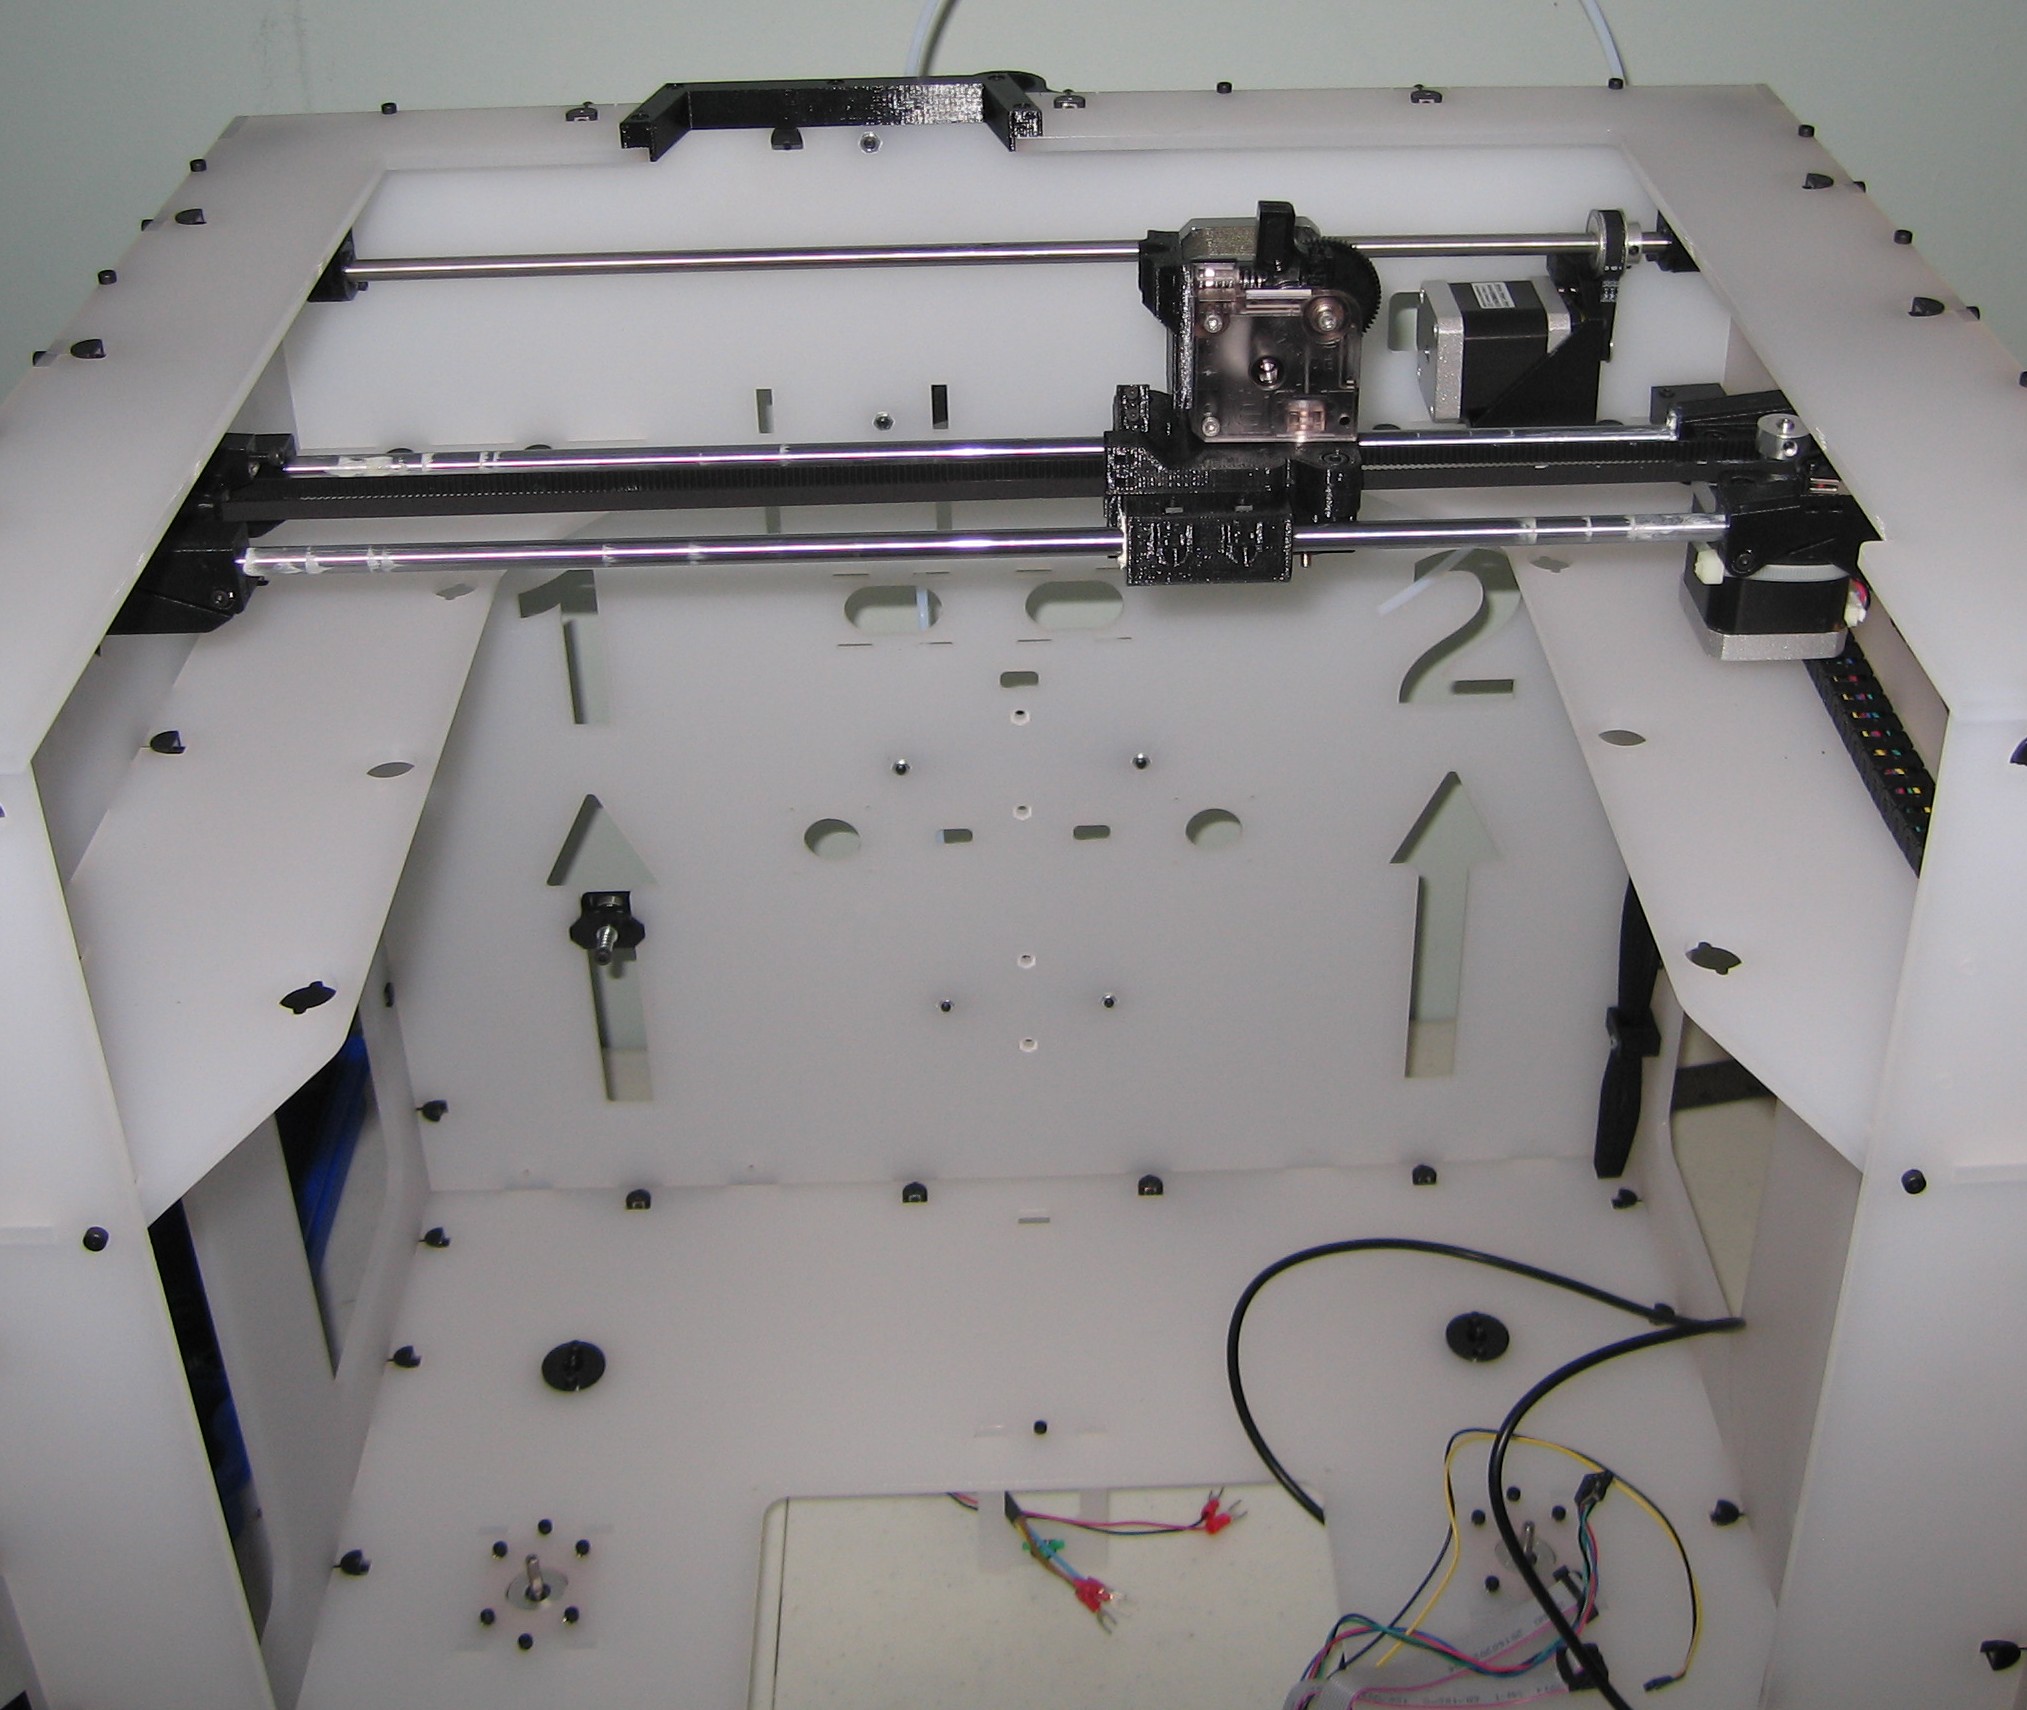
Now it's time for the X and Y Assemblies to be installed into the frame at this point it's just installed into the frame loosely it only gets tightened up in the later steps
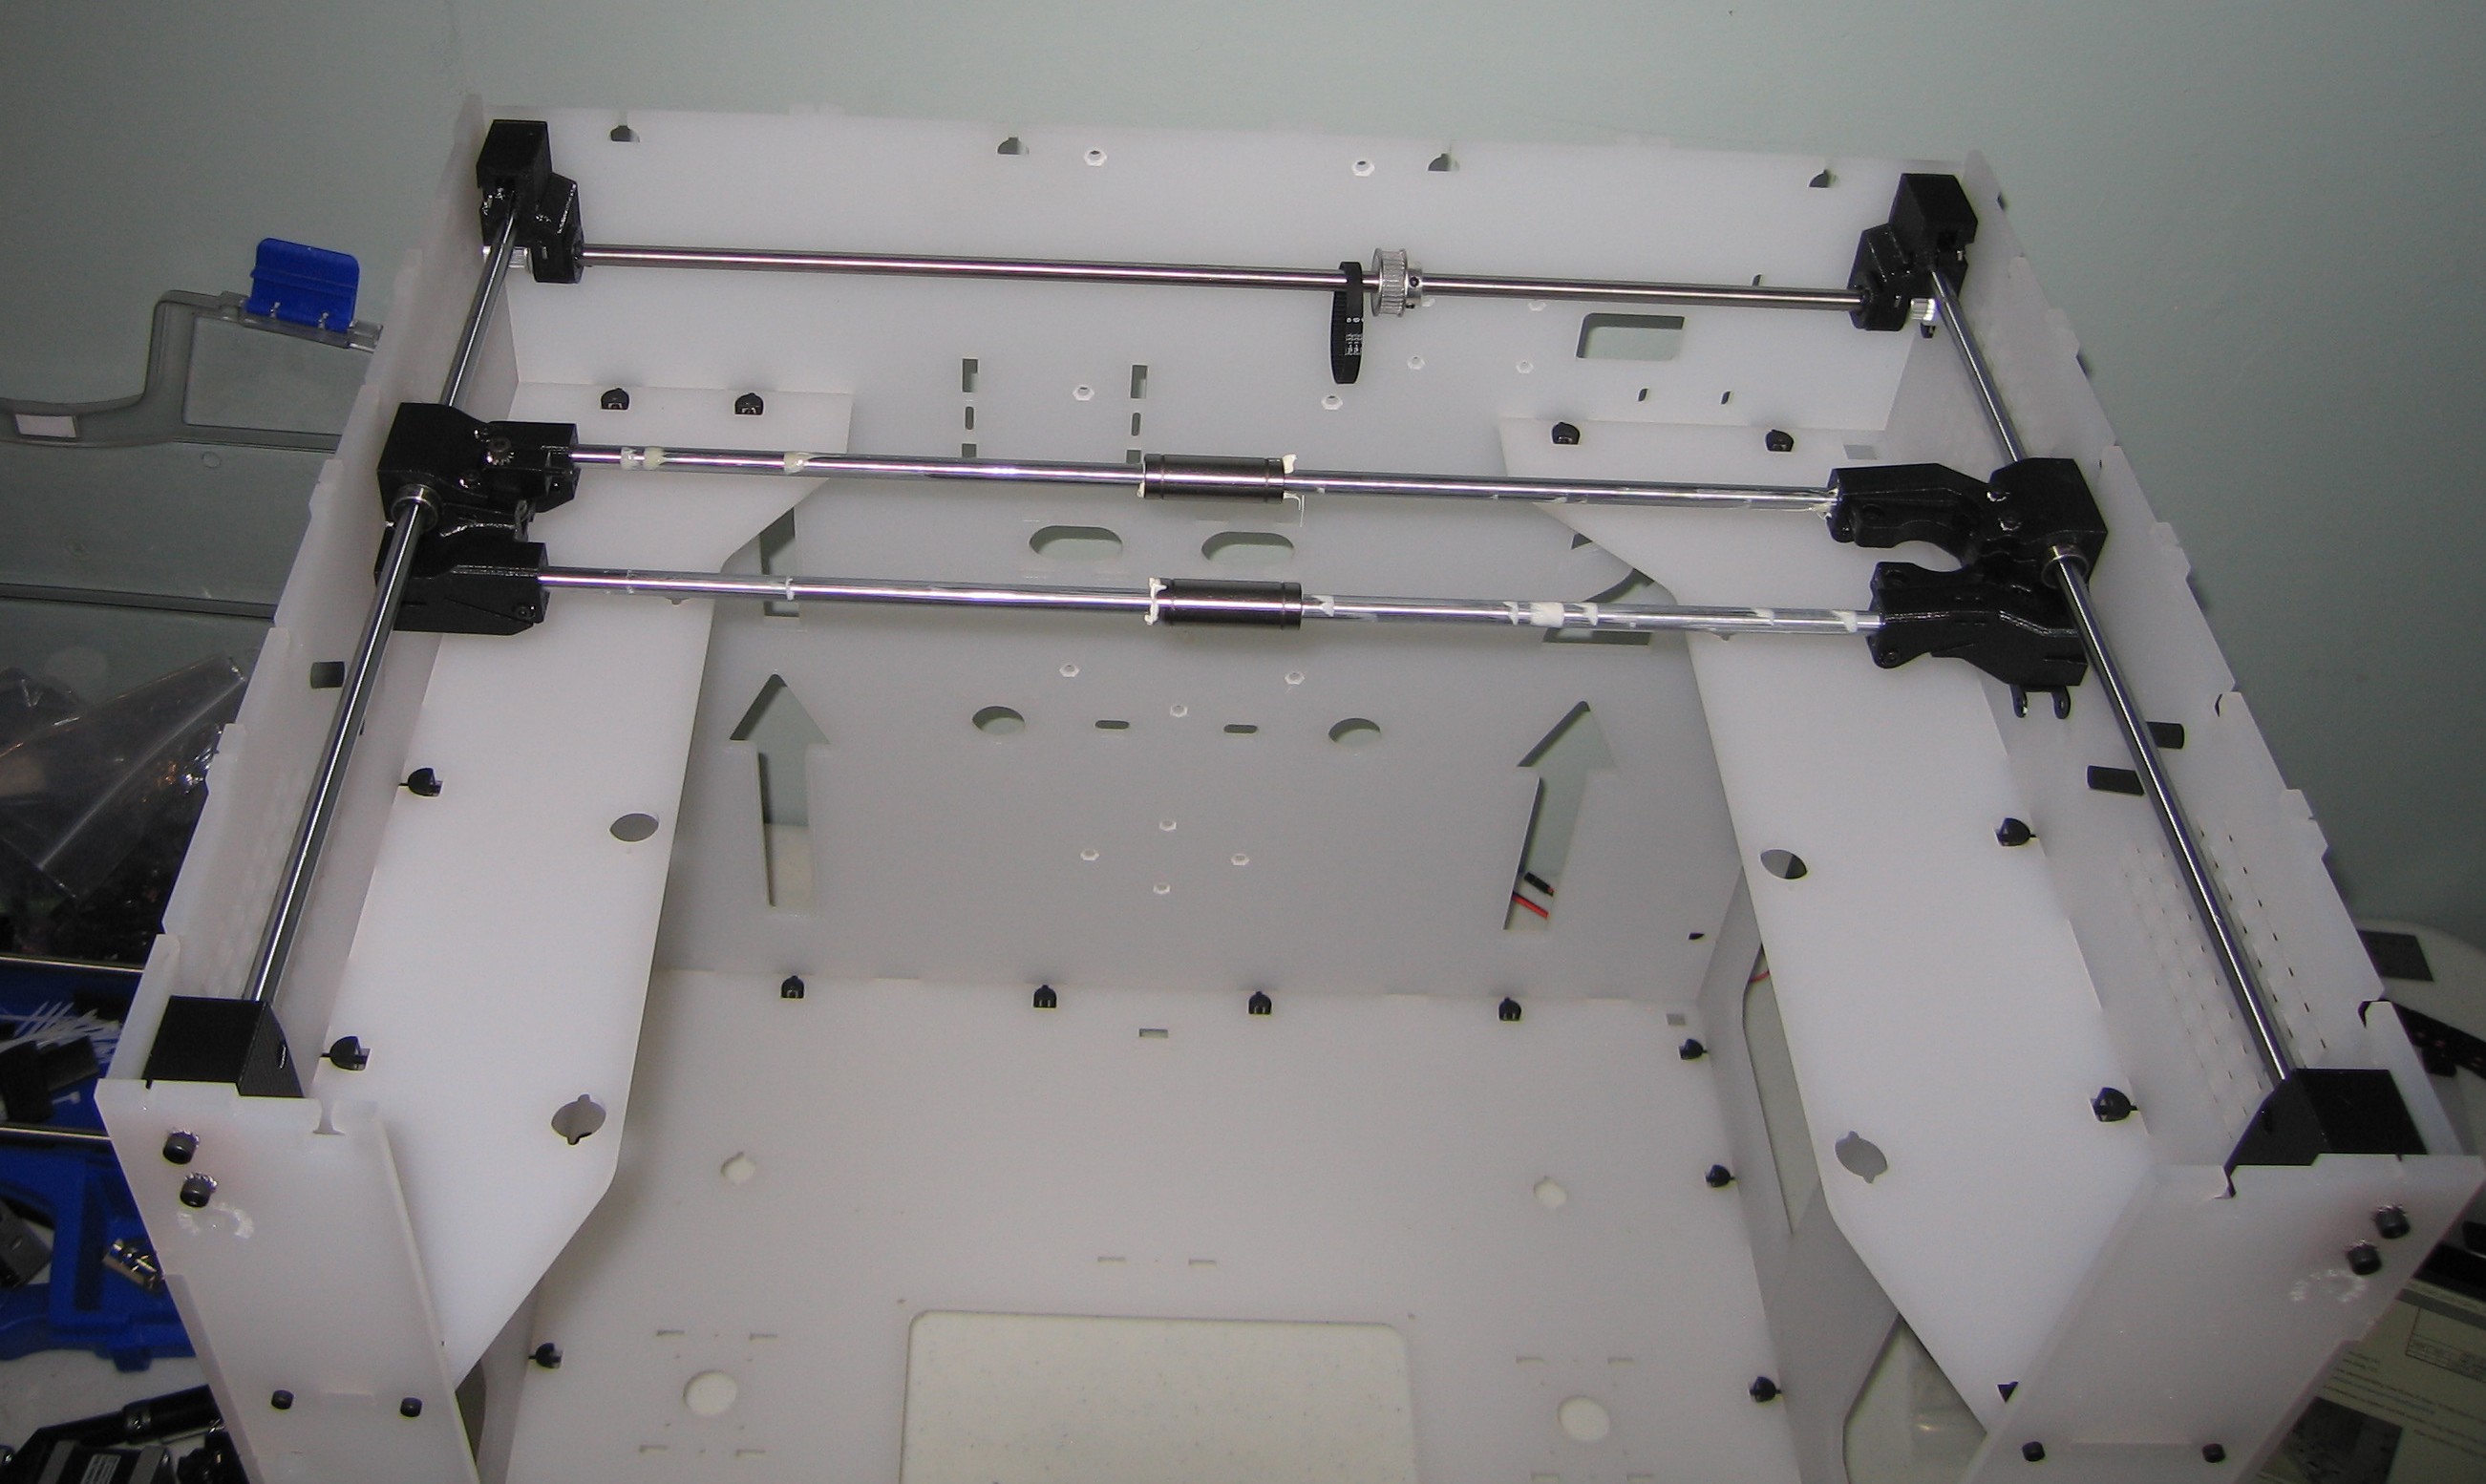
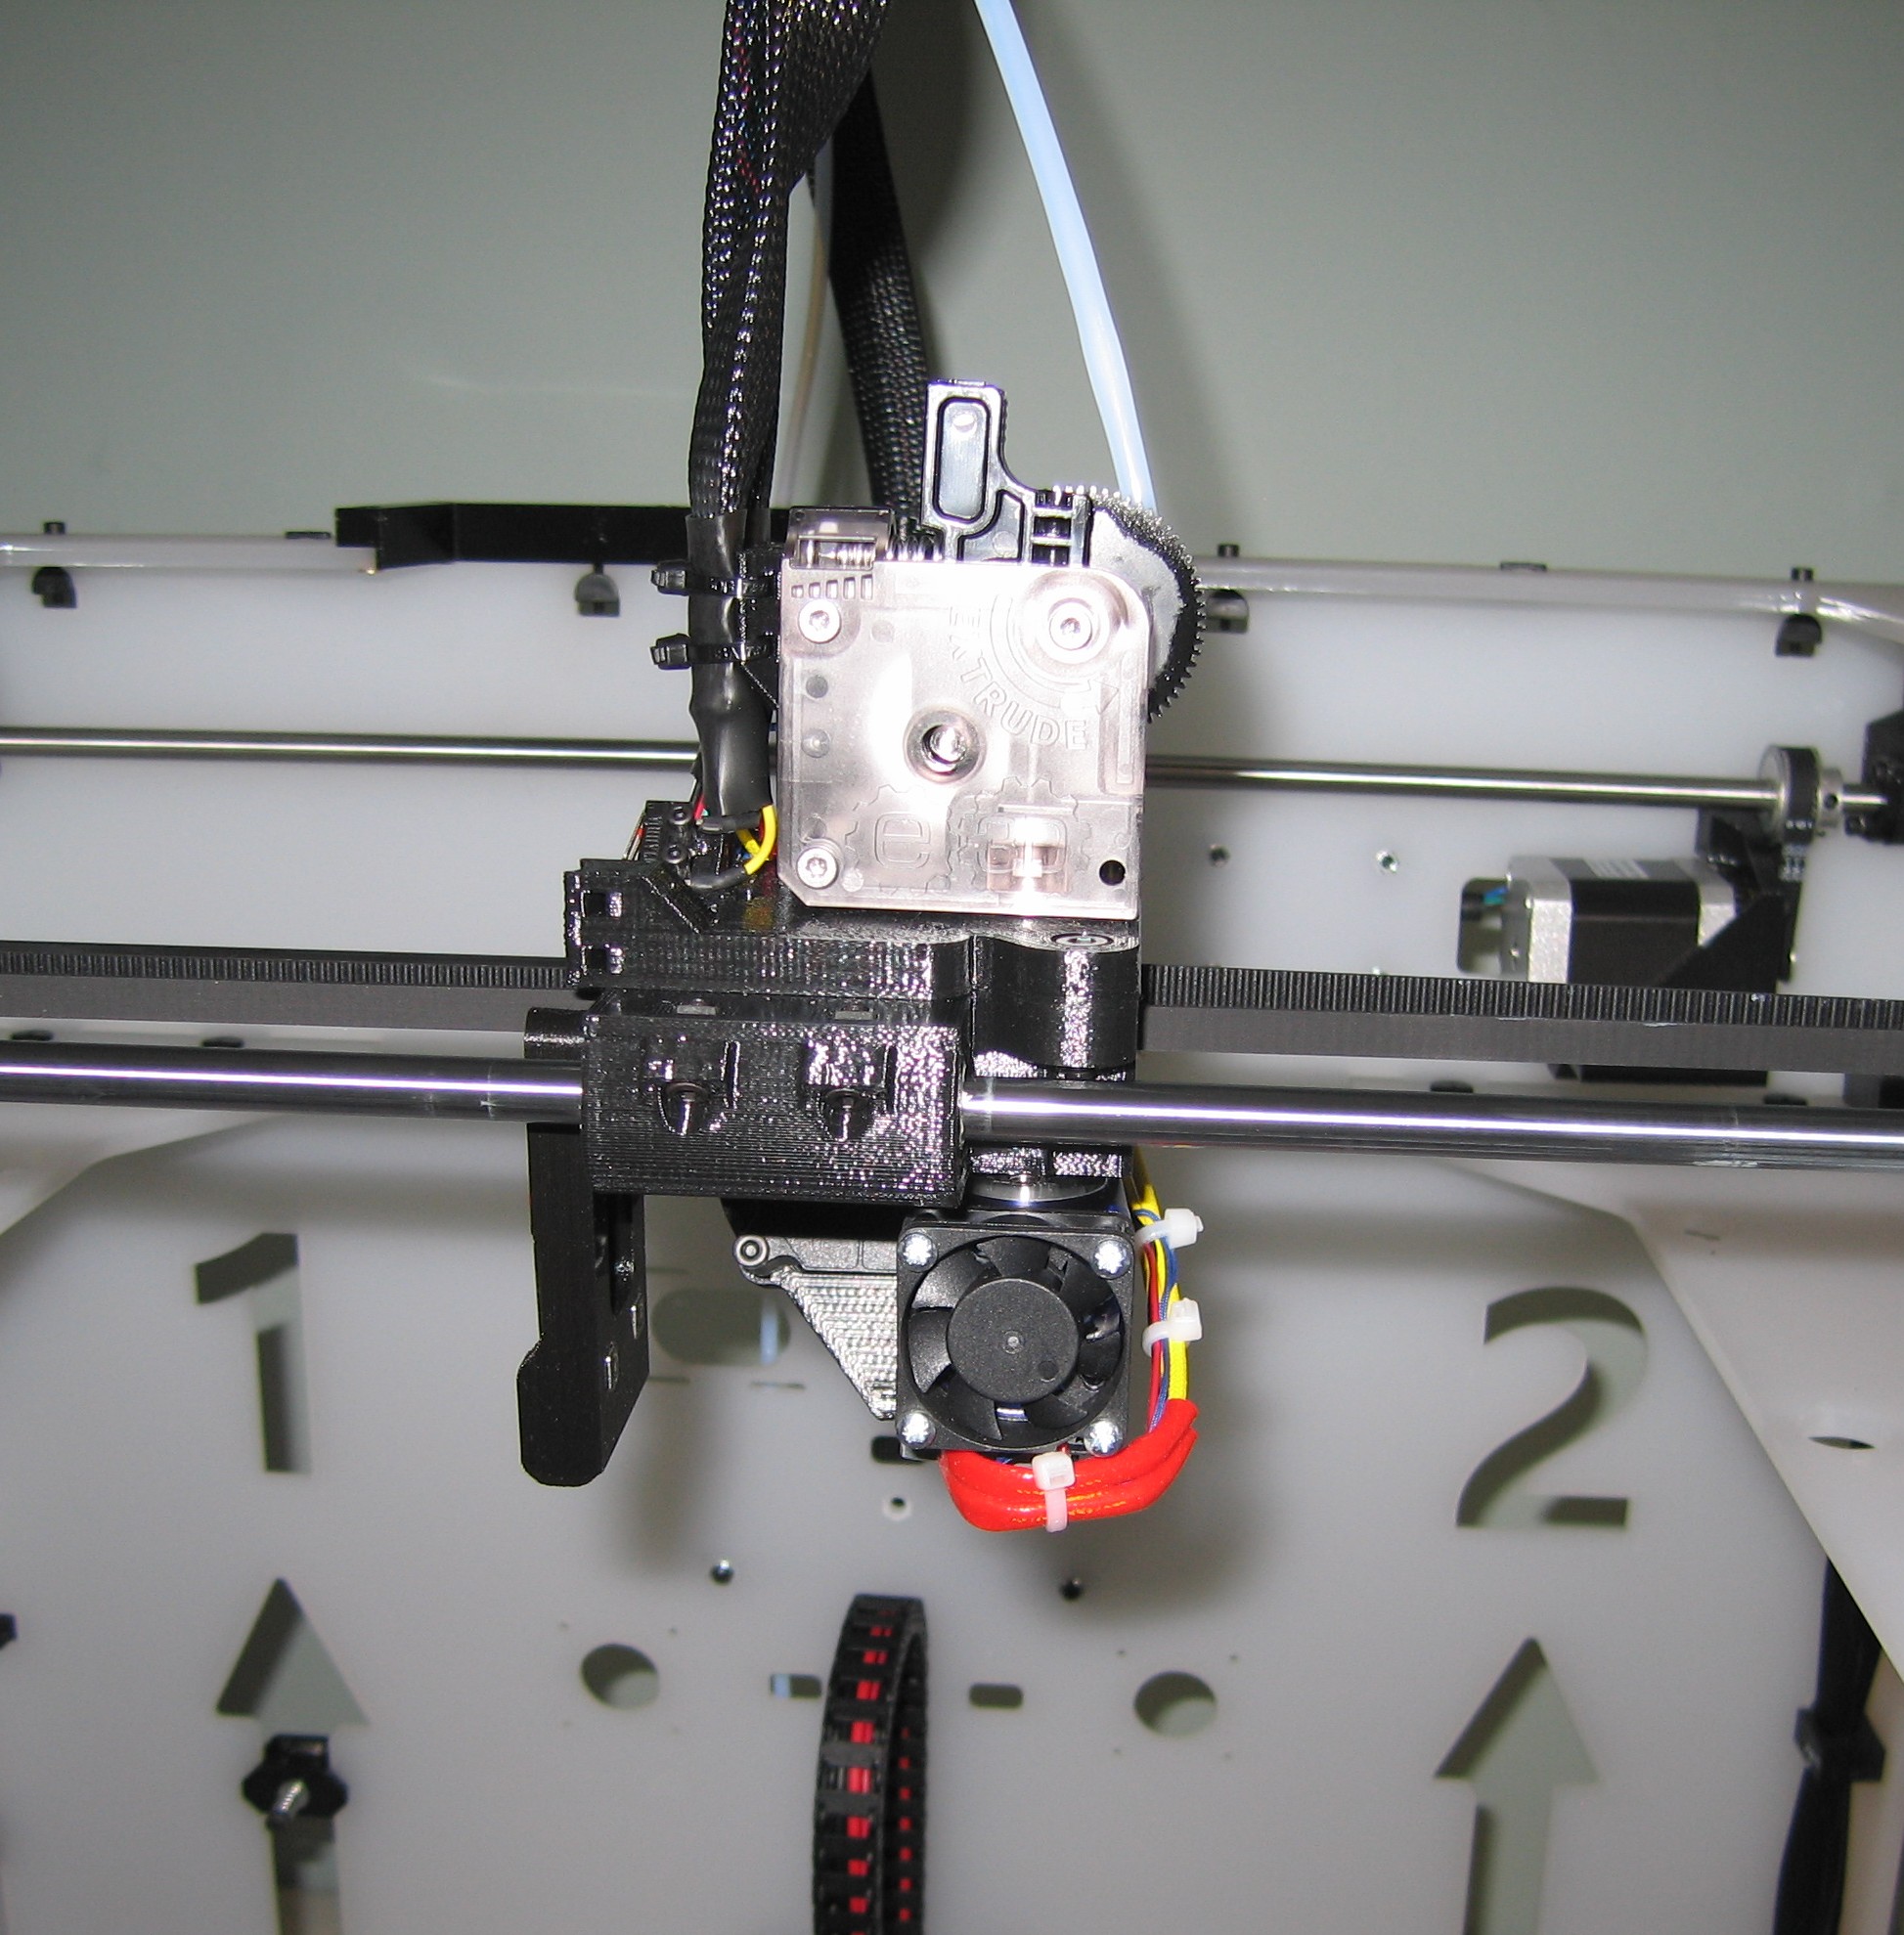
Installing the drive belts onto the main extruder carriage, note the tension adjustment built into the 3D printed part.
The assembly now includes stepper motor and y-end stop switch.
The rear of the printer has a spine that will allow for the wires to remain bundled and the tube is for feeding the filament to be printed to the extruder.
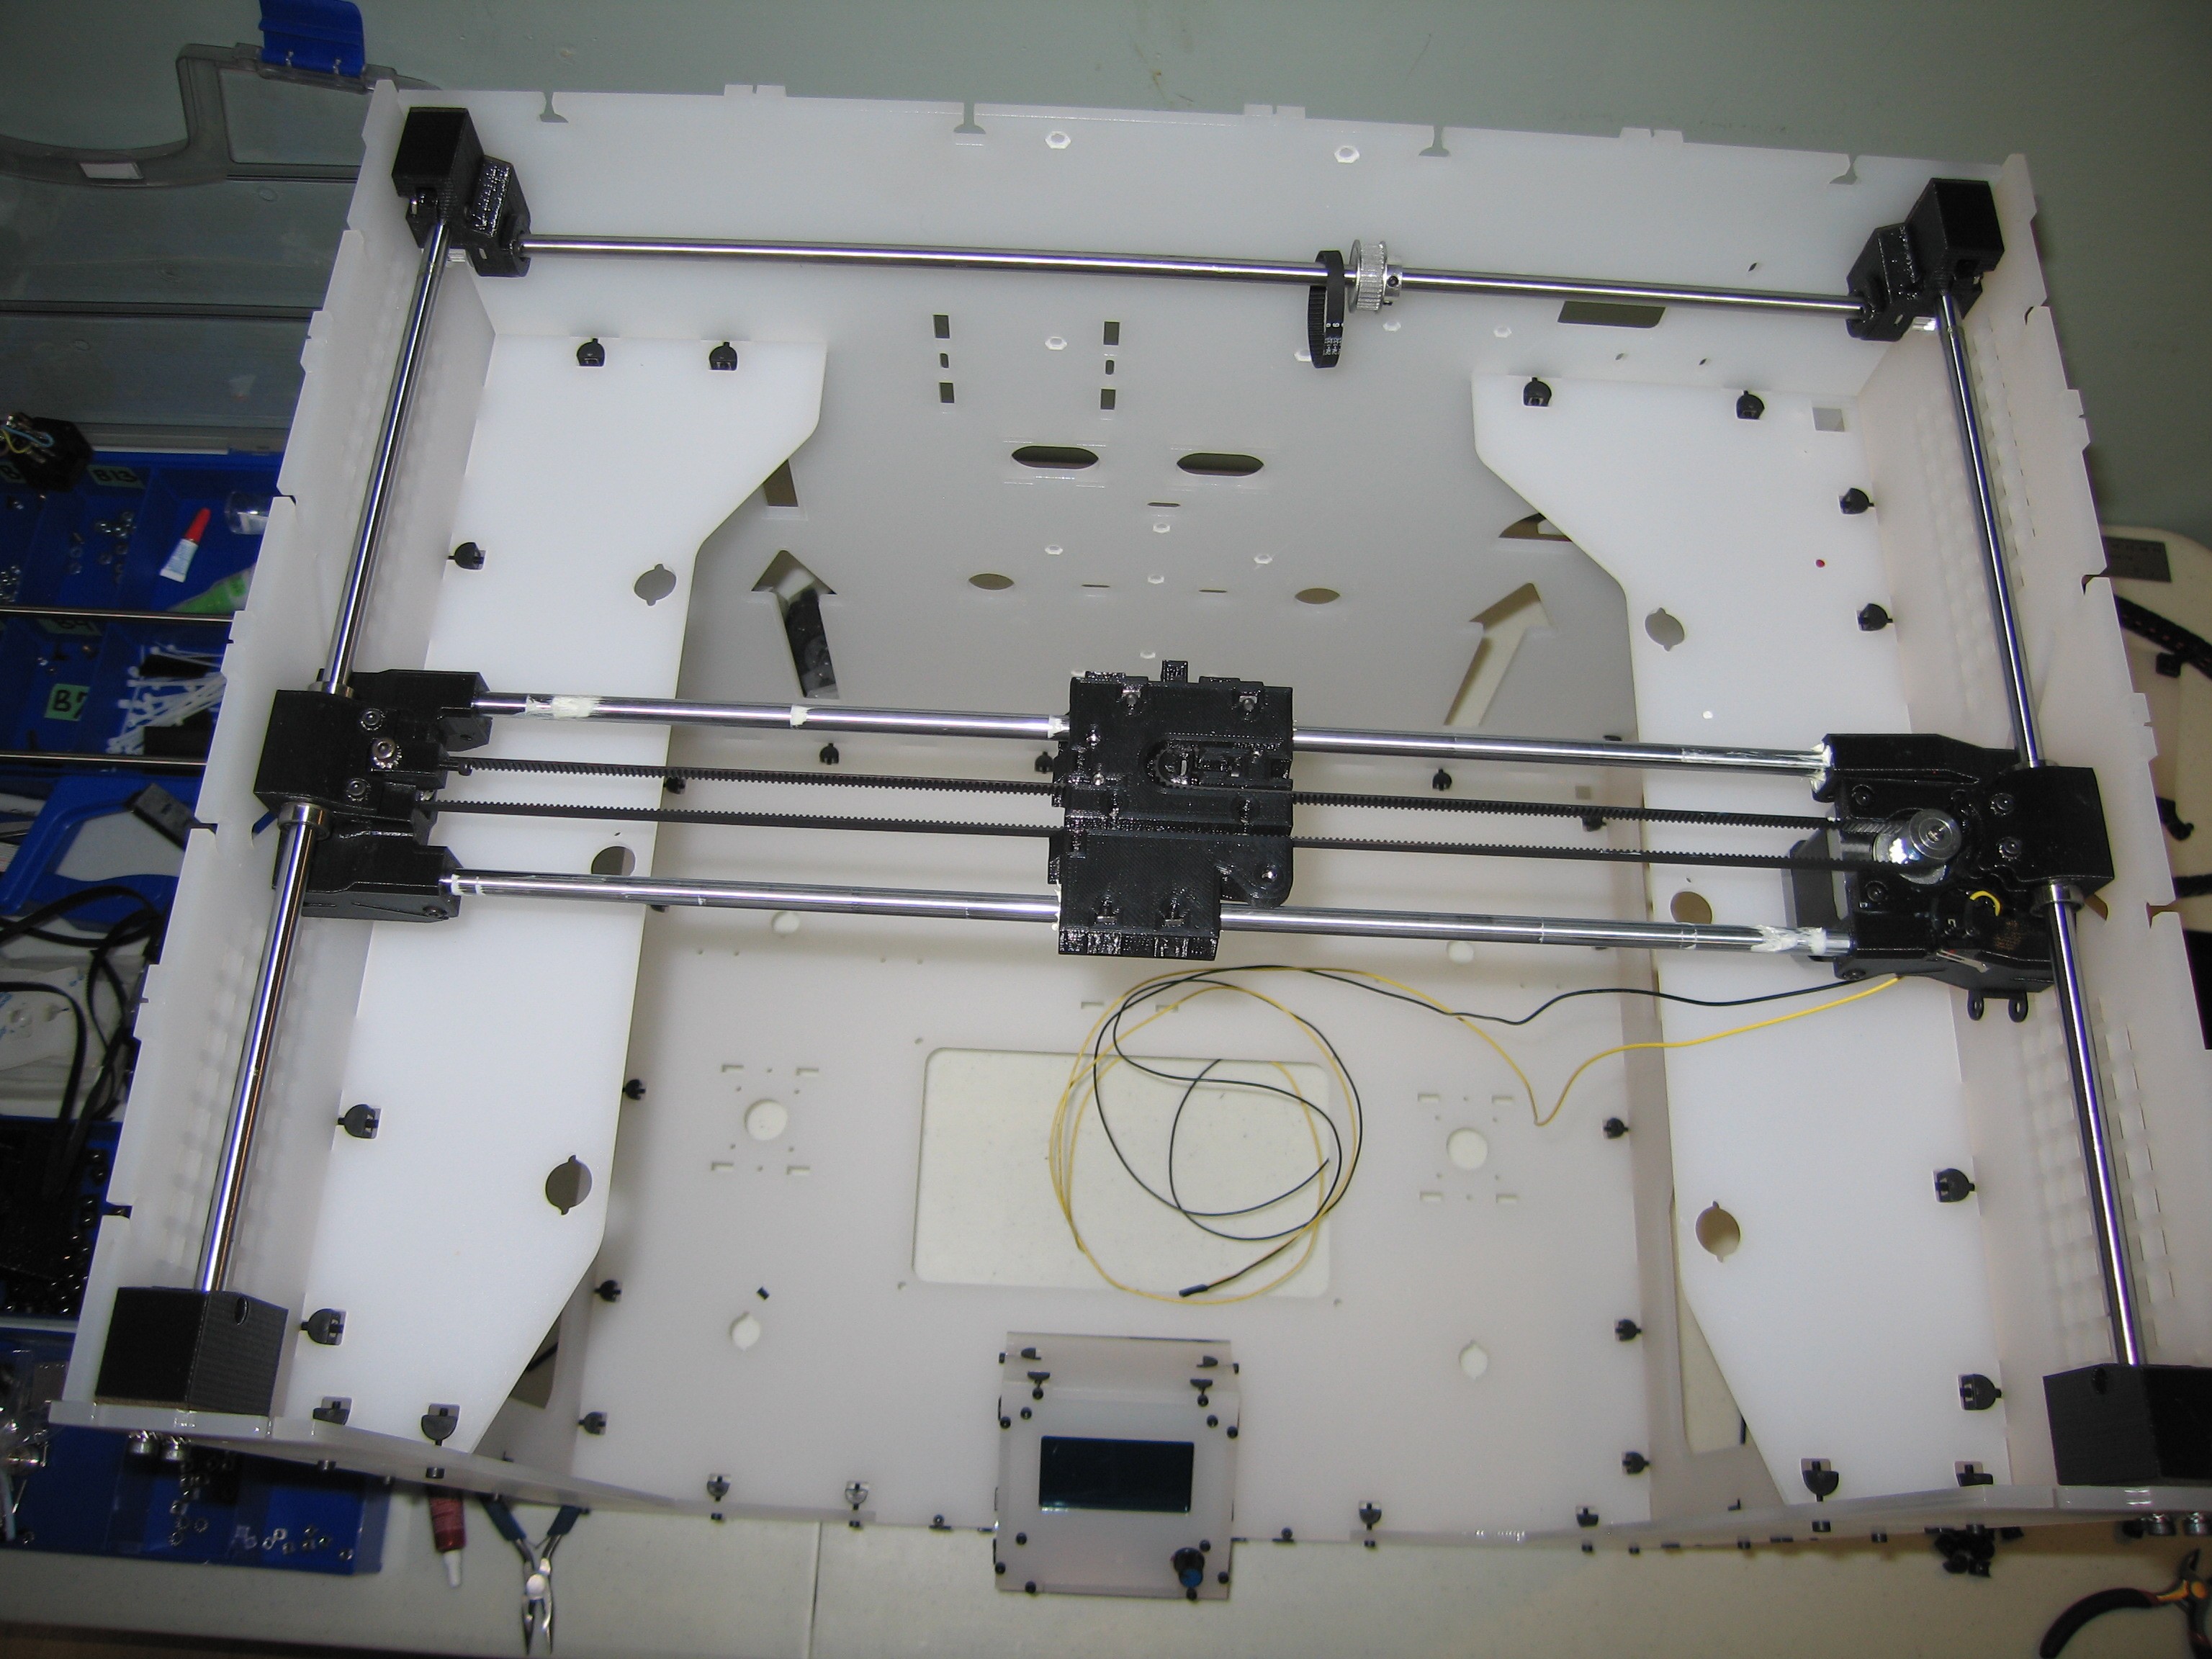
Moving along, X and Y stepper motors are installed and the whole assembly has been adjusted and tightened down to the frame. Also all the cables have been run through the cable chain and down the right side of the printer into the base, The print-bed stepper motors (Z- step motors) are also installed into the base.
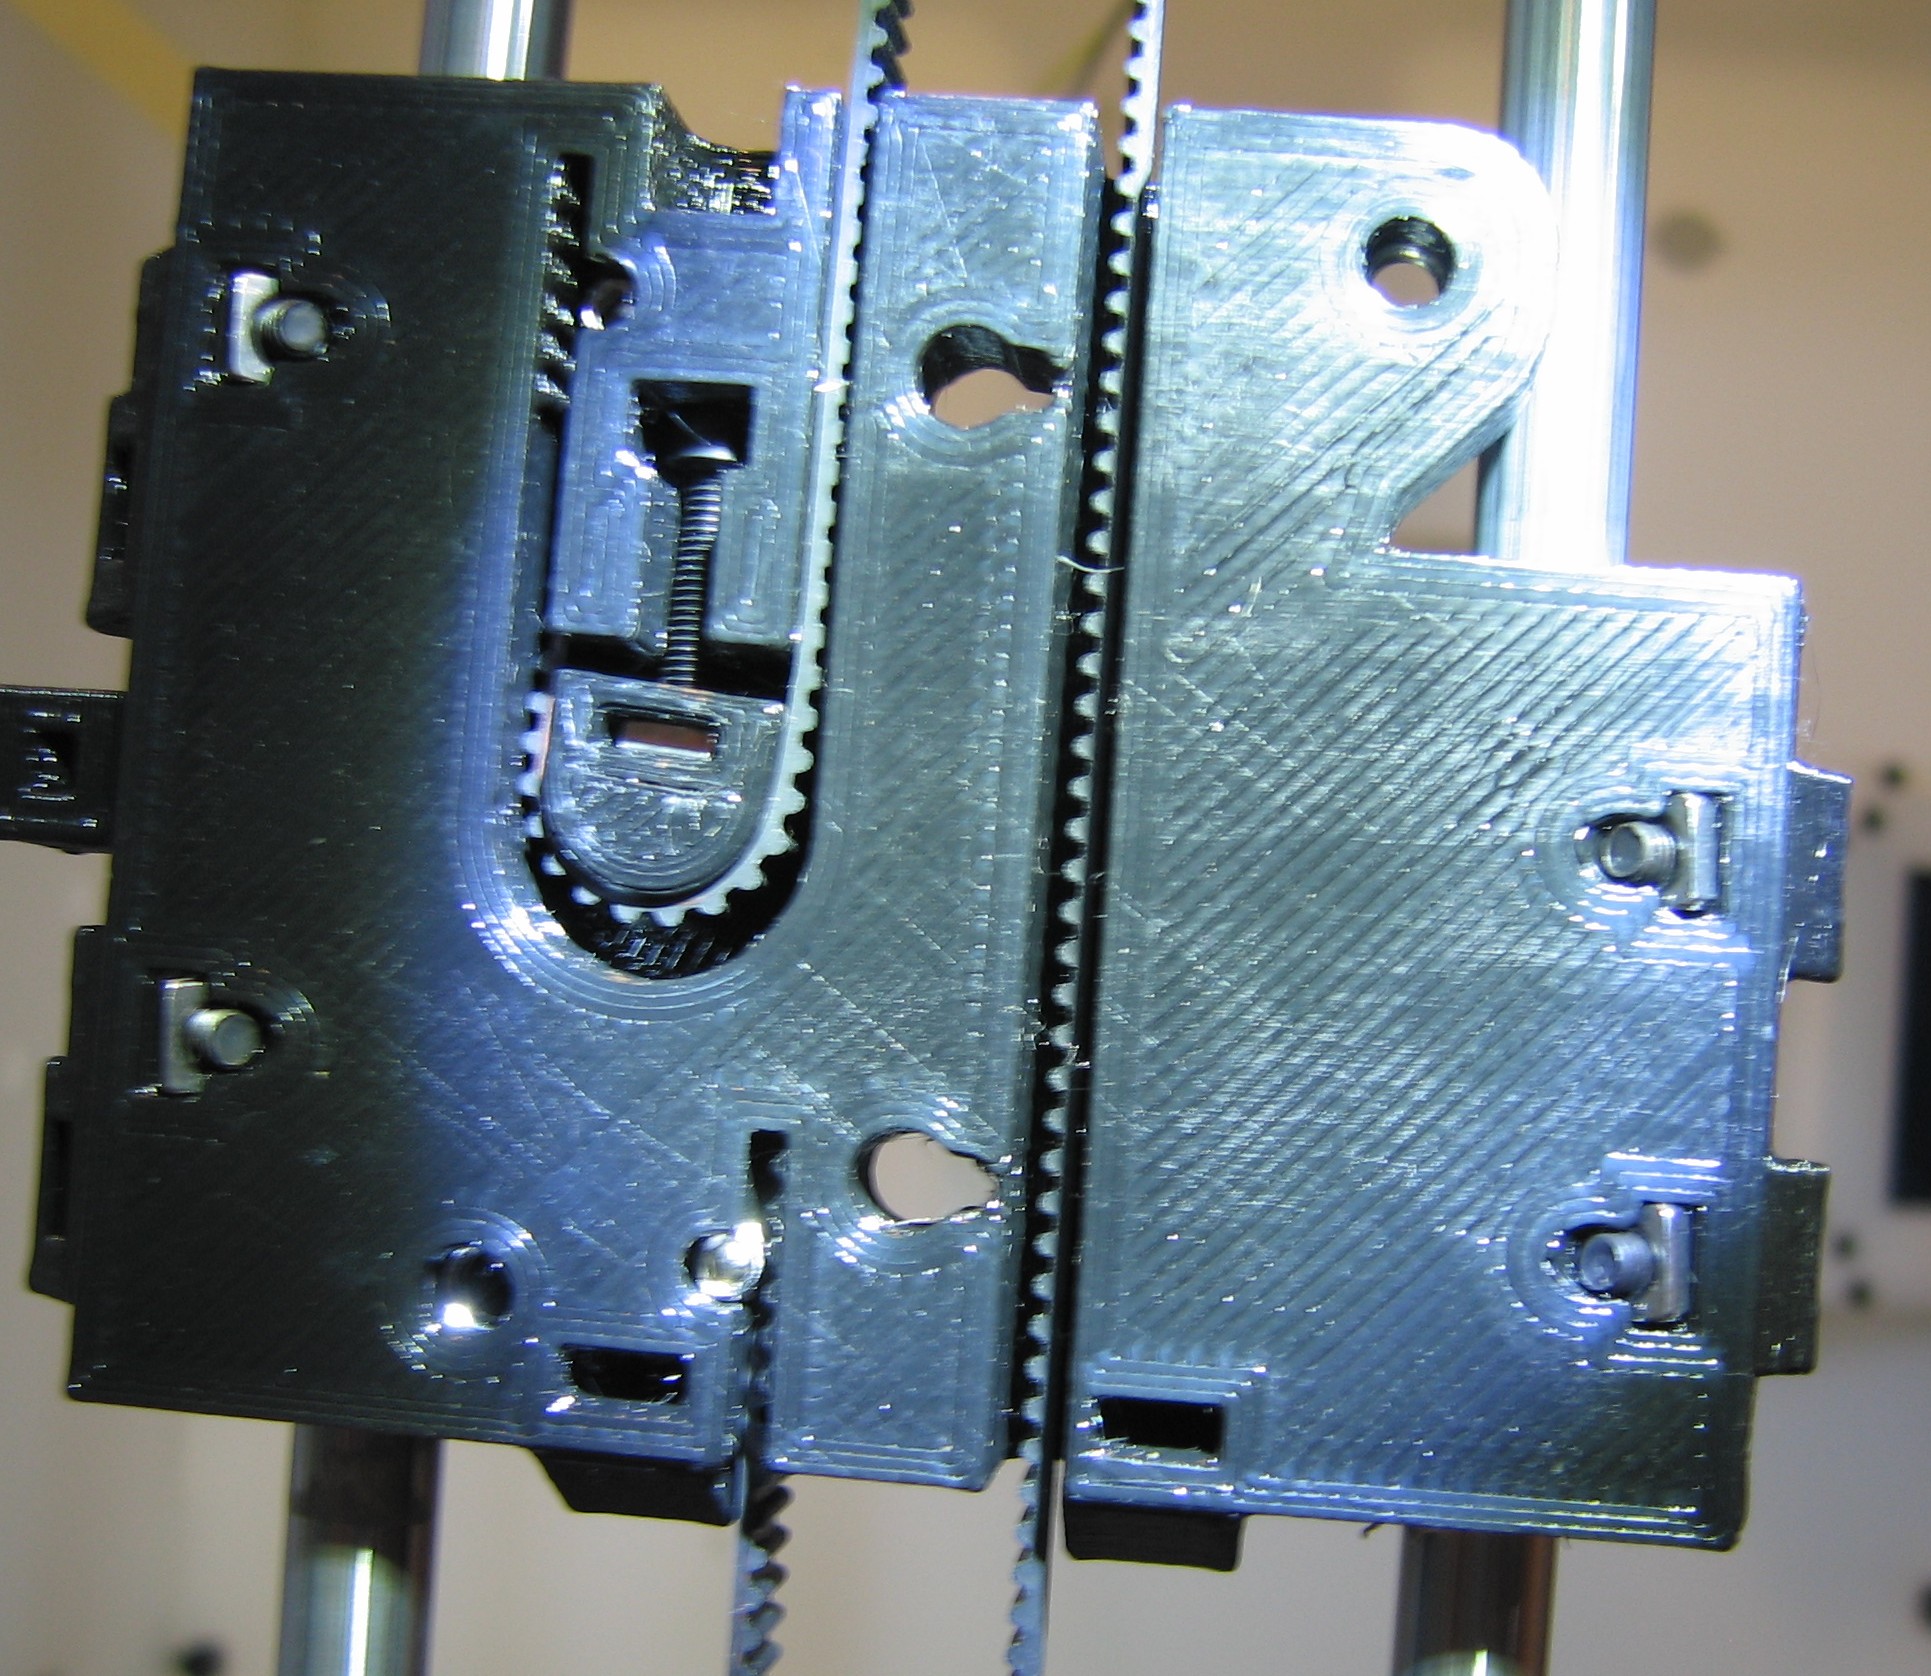
Here the extruder carriage is completely assembled with the e3D V6 hot-end and the e3D Titan extruder
Here is another photo showing the cable
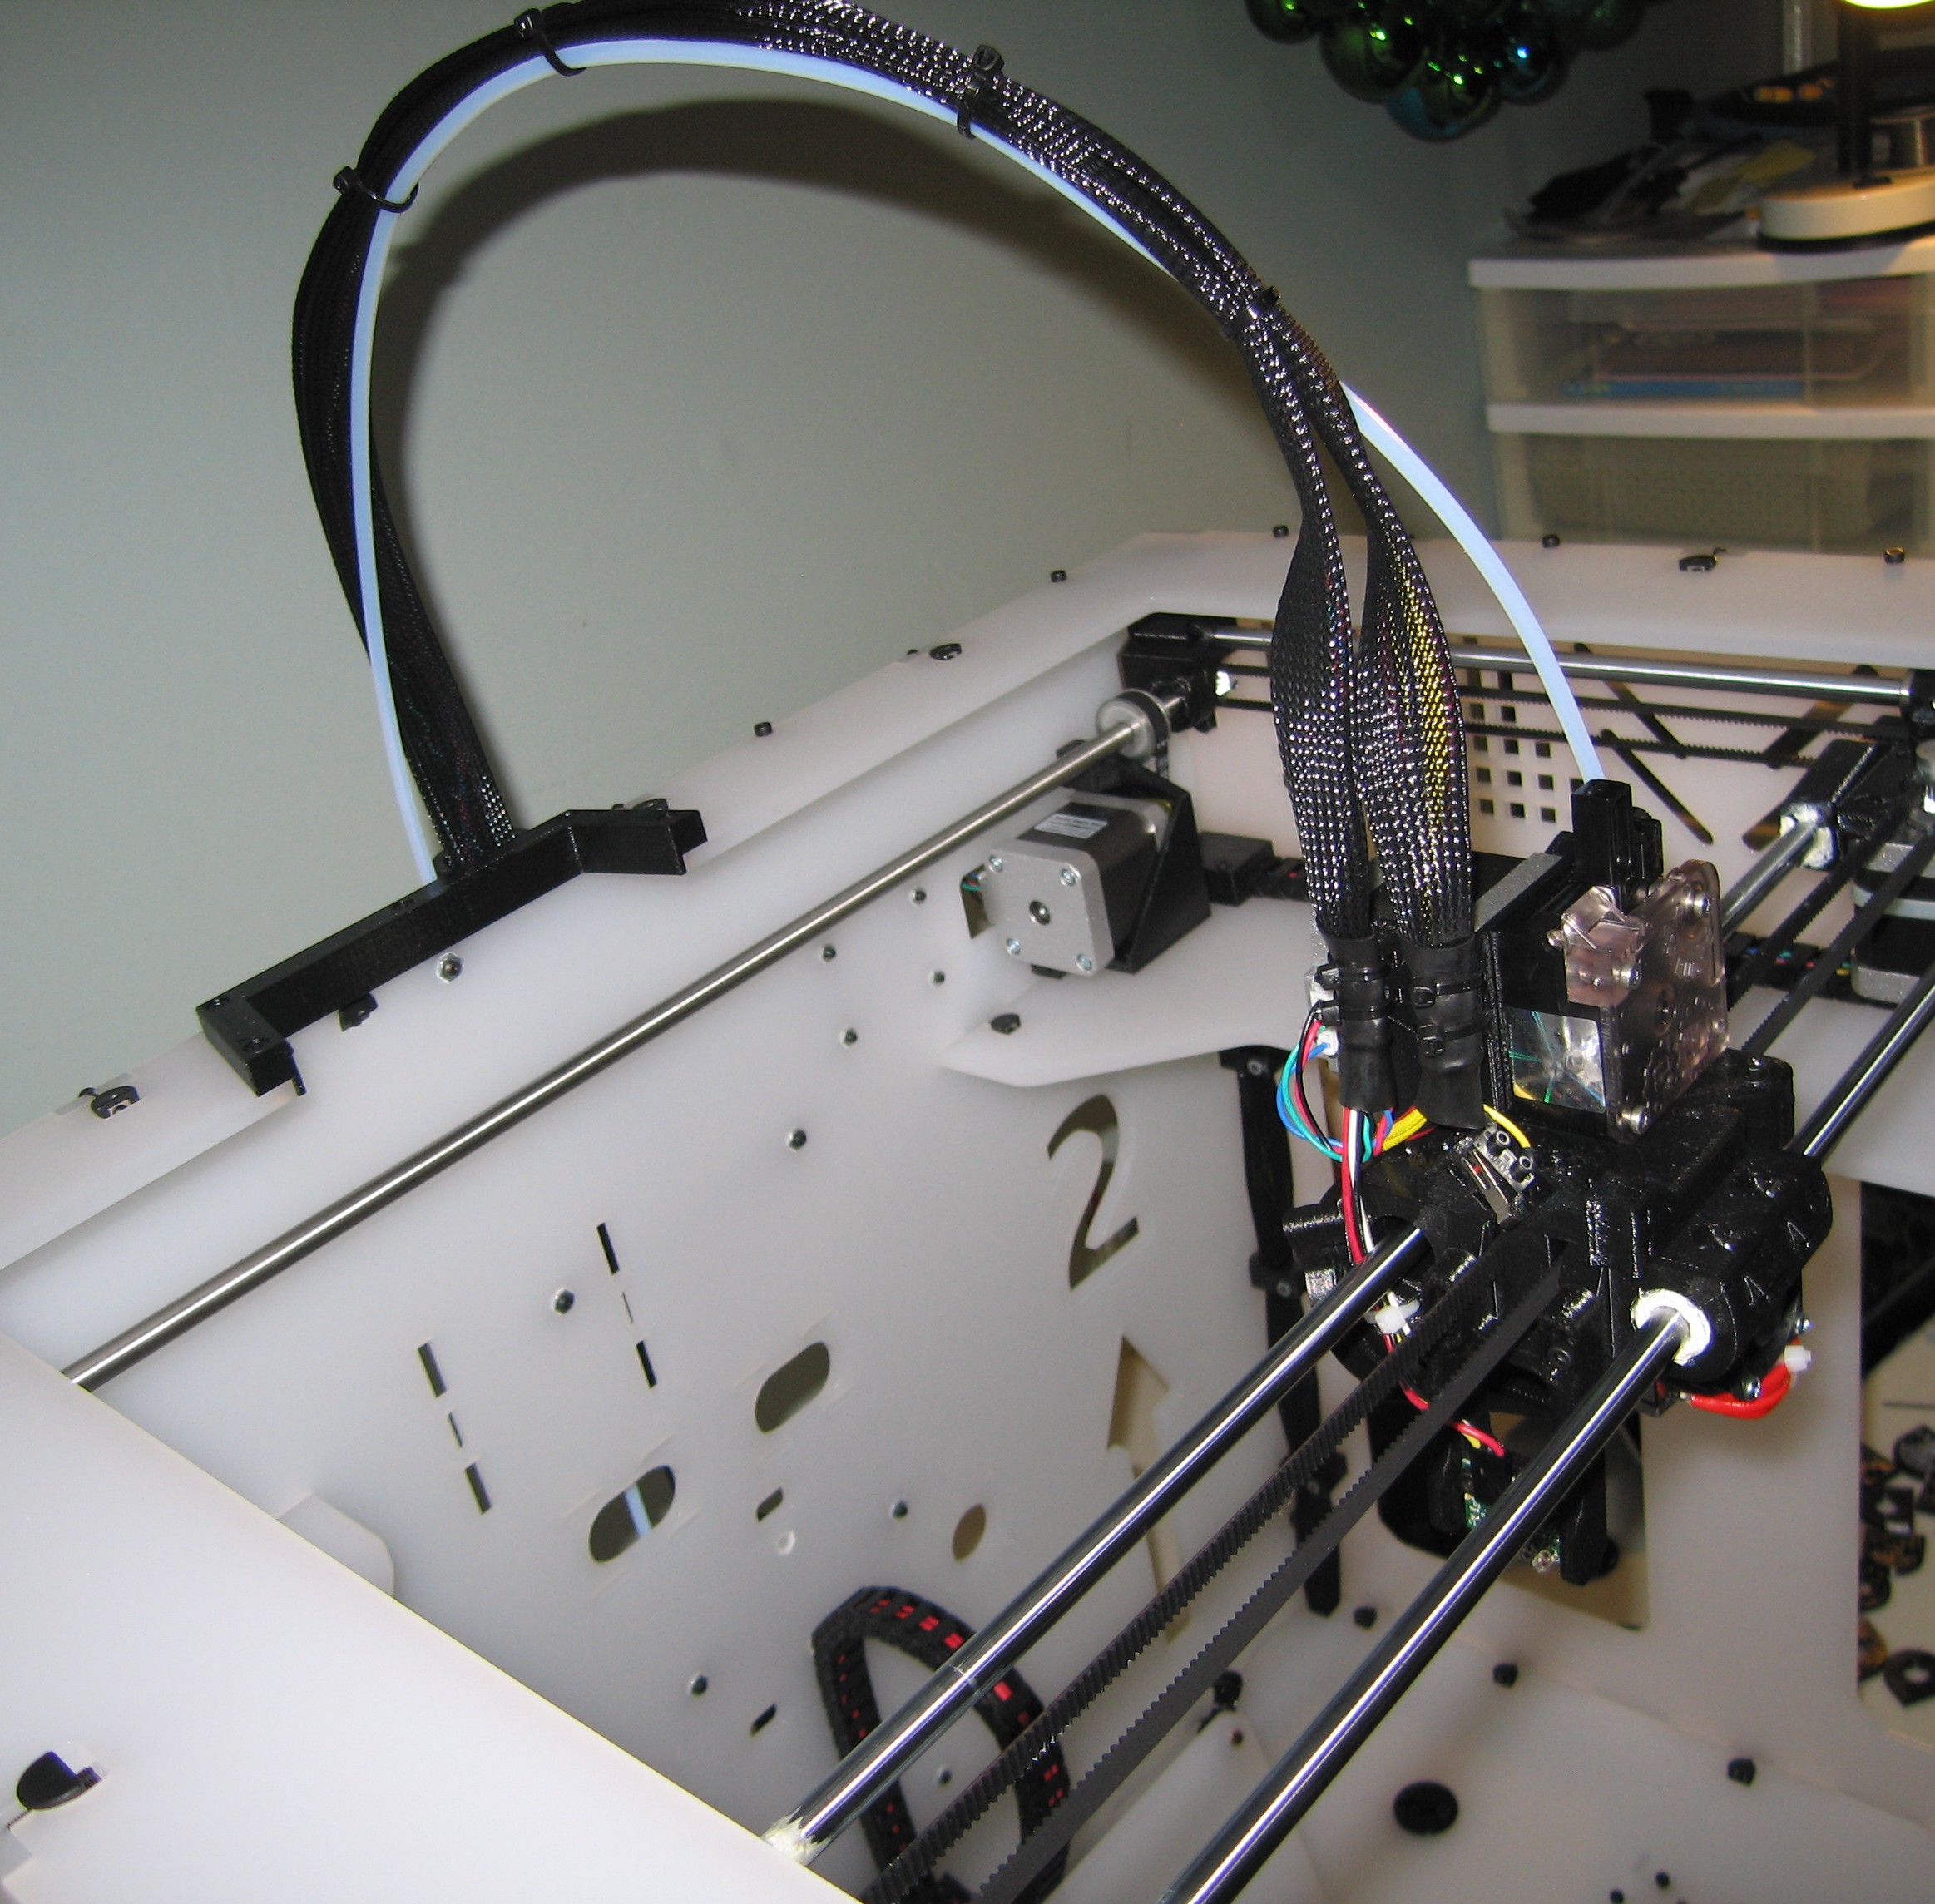
The rear of the printer with all the wires running into the base.
All of the wires are now connected to the Rumba board.
Time to install the Heated Print-bed, the table needed to be 'Trammed' so that it is able to slide as easily as possible up and down the four main support rods
The printer is now waiting for the 'Commissioning' process I was ready to power-on and everything seemed to be working but I hit an issue while trying to 'Auto Home' the printer the Y-end-stop wasn't being seen causing the Y axis to repeatedly bounce off the switch until I powered off the printer. I suspected the switch itself and again the forums proved helpful in describing the best ways to test my theory but it turned out that the switch was working. I emailed e3D and my problem was identified as a defective Rumba. I had to wait for a replacement but when it arrived I had to remove the old board and reconnect all my wires. this was not as easy as it sounds, you see the first time I knew where each bundle came from now it was a mess so I had to trace everything back to it's source part and reconnect all the wires. I was smarter this time and labeled all the connecters using a silver marker (can be seen on black connectors easily) Finally I was able to pass the 'Auto Home' process.
Below is the Rumba all lit up and working correctly.
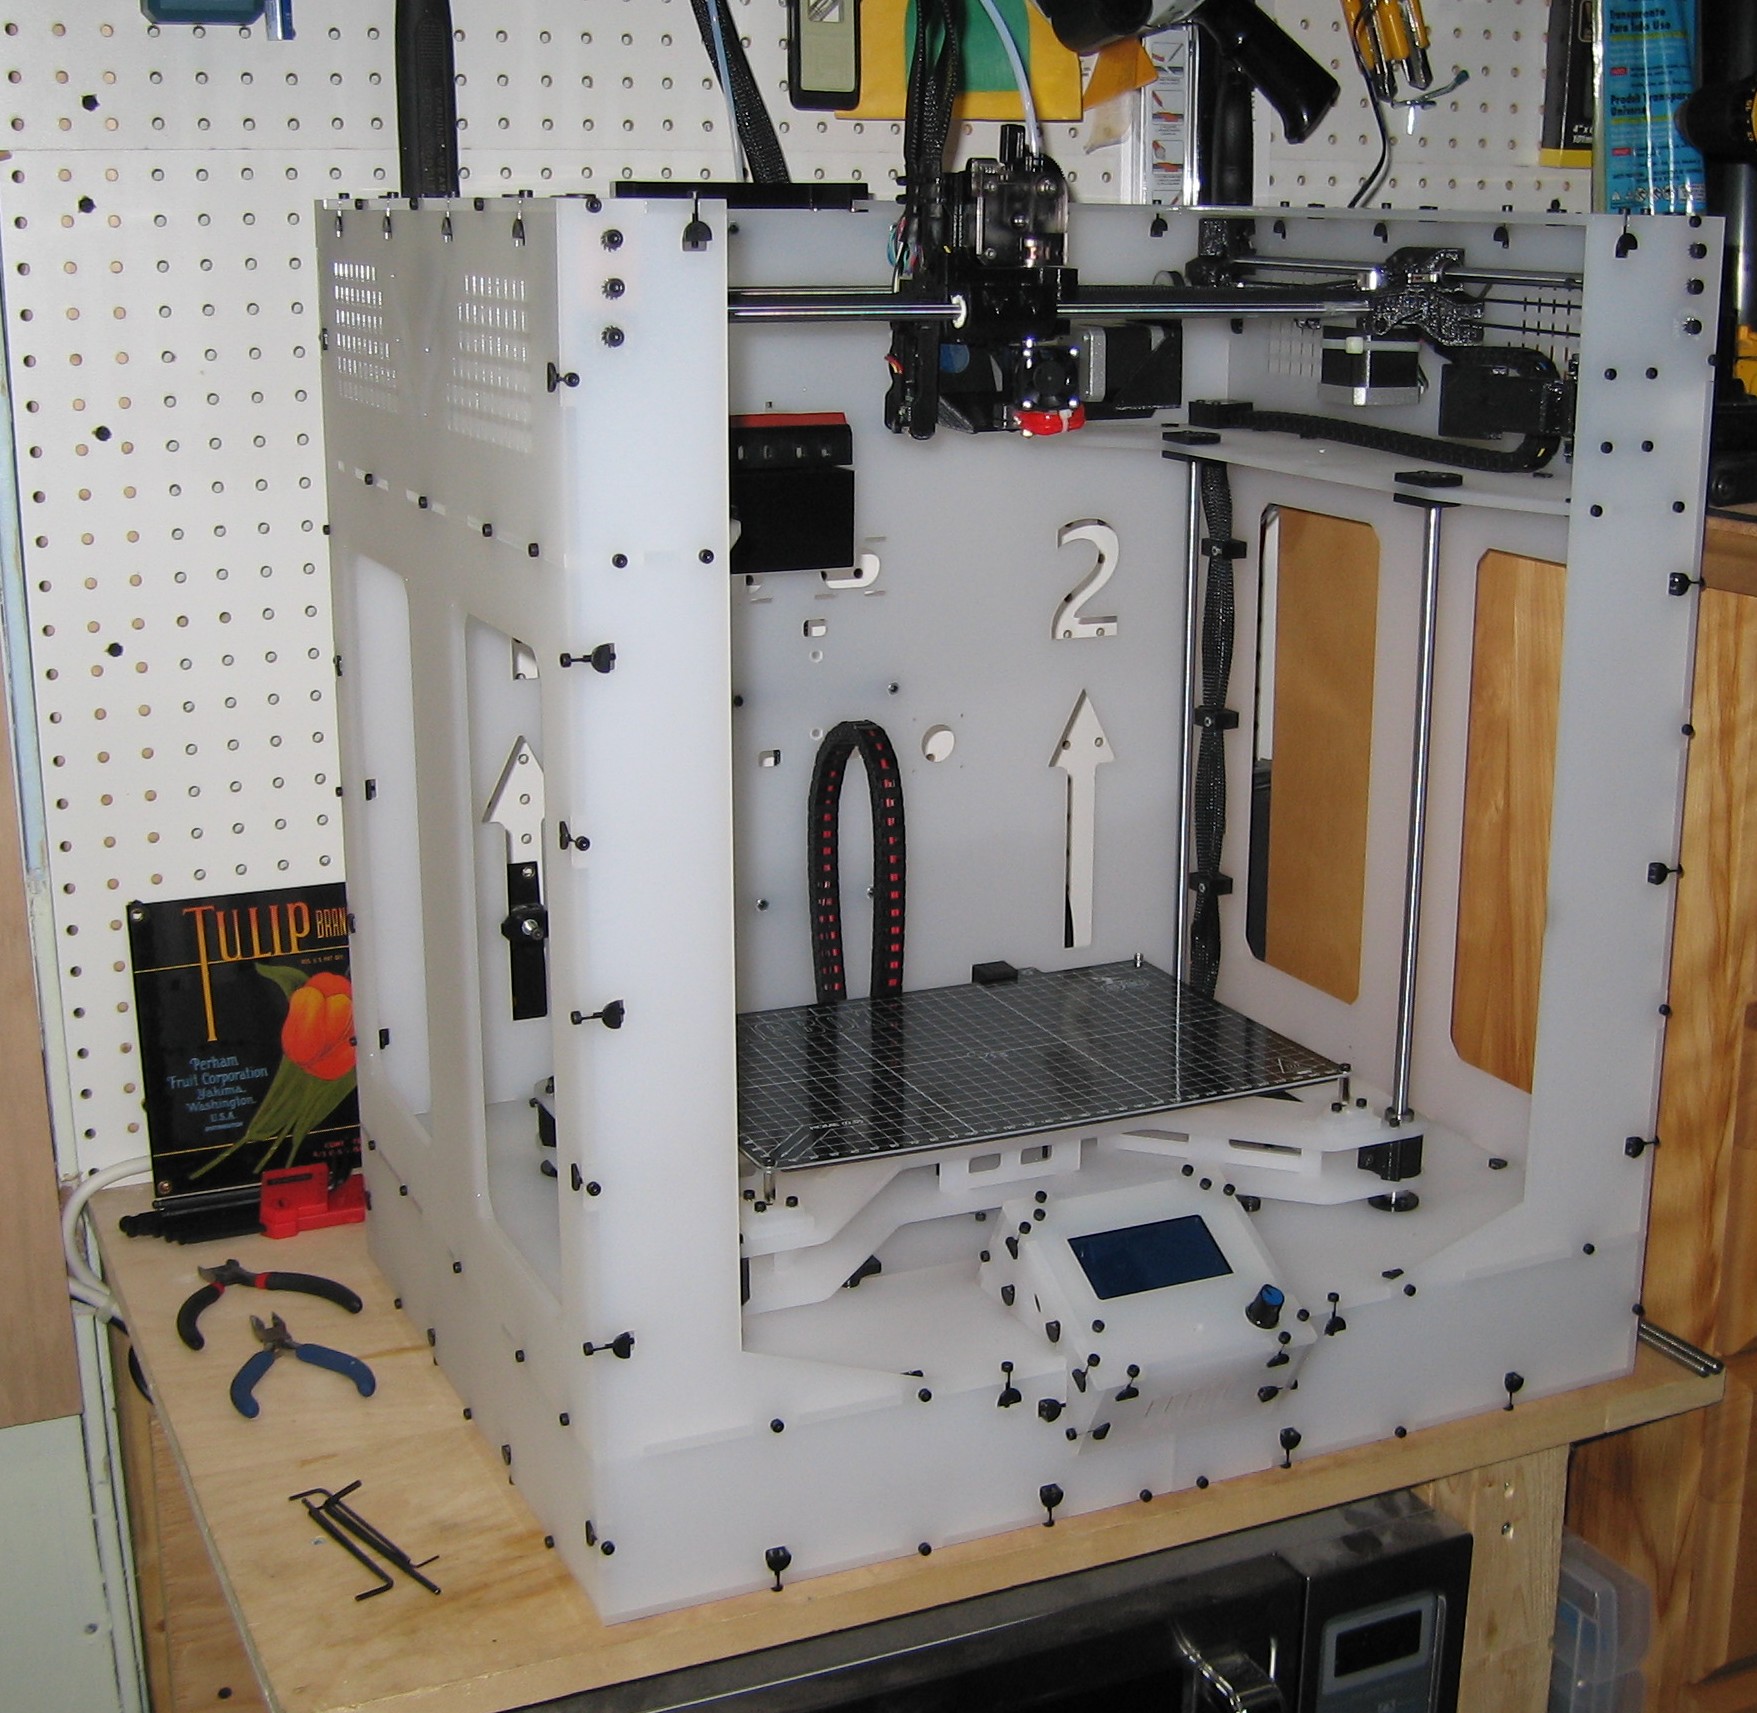
The finished and Commissioned printer waiting for it's first print.

Well lets just say setting up your 'Z-Offset' is not quite as easy as I thought, it took quite a few tries to sort things out between the software 'Simplify3D' and the printer. In the end I sorted it all out and here is my BigBox v1.1 Hybrid working on a print called 'Fantastical Heart Gears' have a look at the finished print Here

For a closer look at the process check the time-lapse video Here and to see a few of my 3D prints check out my 'Gallery of 3D prints' Here.
Final words and thoughts
While challenging to build it's not impossible, it does take some patience the instructions are not perfect. While the forums provide a place where help is available for all your build questions and issues it may take some time to get answers back. My assembly took 80+ hours but it was mostly in bite-size amounts of 1-4 hrs at a time to allow for questions/setbacks and to avoid frustration. You will most likely have to take apart a section/assembly and change a something that was missed in a step. when I installed the LCD screen I had to take it apart twice, once to flip cables and the second time was to replace the LCD screen. My worst issue was the ribbon cable that goes from the camera to the Raspberry Pi board, it was not working I had no video. After lots of hunting and checking I posted to the forums and was told I had connected the ribbon cable to the wrong port on the Raspberry Pi (apparently I was not alone) but that simple change meant taking the entire base of the printer apart and it involves a lot of nut-traps and time.
Also the learning curve from 'hey I have a printer' to one that works correctly with no issues is not without many smaller issues you need to learn to overcome including software and firmware issues and lots of cancelled prints. Small issues such as 'Simplify3D' profiles that use a docking location based on the v1.0 design the v1.1 is not in the same location causing the system to slam into the back of the printer in the wrong spot. Technically an easy fix once you know how but figuring out all these little issues does take time and patience
Review part of the article
I won't touch on the Octoprint upgrade or Simplify3D as they are not really part of the BigBox printer they do make huge differences in ease of use but need to be talked about as separate things.
The printer itself is worked exactly as described, the motion system designed by LittleBox is rigid, smooth and accurate with fantastic resolution for low layers. The E3D-v6 HotEnd can cope with almost every filament available on the market. The Frame is solid looks great. The printer is ready to accept new parts and better designs as they come along and all the parts are easy to obtain from many providers and performance is really among some of the best printers available on the market.
As I learn more about the settings in Simplify3D and how each material needs different settings to work optimally the prints keep getting better. Really sometimes it's more about certain settings than the printer itself. Obviously I only have the Mod-t to compare with and the prints from the BigBox are much better overall with more accurate dimensions, much less warping issues and better in overall aesthetics. But it's not a fair comparison and I don't have enough experience with all the various makes to really say it's a 'Best Buy' but someone who knows much more about 3D printers is Thomas Sanladerer or Richard Horne and they both have pretty kind words for this printer so trust them more than me.
I have looked at many prints from other printers and can say the BigBox holds it's own every time!
Have a look at my Gallery Here for more proof.
Printer Modifications that I have done.
The first and most simple was Hinges for the electronics access hatch these allow for much easier access to the area.
Second was to adjust the Camera angle by printing an new holder that tilted it down an extra +10°
I found that one Here
Third was to print some Heated bed supports this would prevent the cork under the heater element from sagging over time, I found this Here
Fourth was to solve a small design flaw, the spool holder allows for the spool to rub against some of the nut-trap bolts holding the frame together so this design pushes the spool to sit farther back and allow for much needed space in this area, I found it Here
Fifth upgrade was to invest in a UPS (uninterruptible Power Supply) I used an APC BackUPS Pro 550 which gives me time to keep printing while a power outage exists but what happens when it runs out of juice and where is all that heat stored in the Hot-end going with no active (Fan) cooling working to get rid of it? I wasn't going to be the one to find out so I followed the instructions Here to allow the printer to cancel the print and cool down the Hot-end before losing back-up power from the UPS
Sixth upgrade is to the print cooling fan shroud, the new model allows for more air on the print and less directed towards the hot-end improving print cooling considerably, I found this Here